Page 6 of 15 ENG 0019.14 Part # 93030
To install:
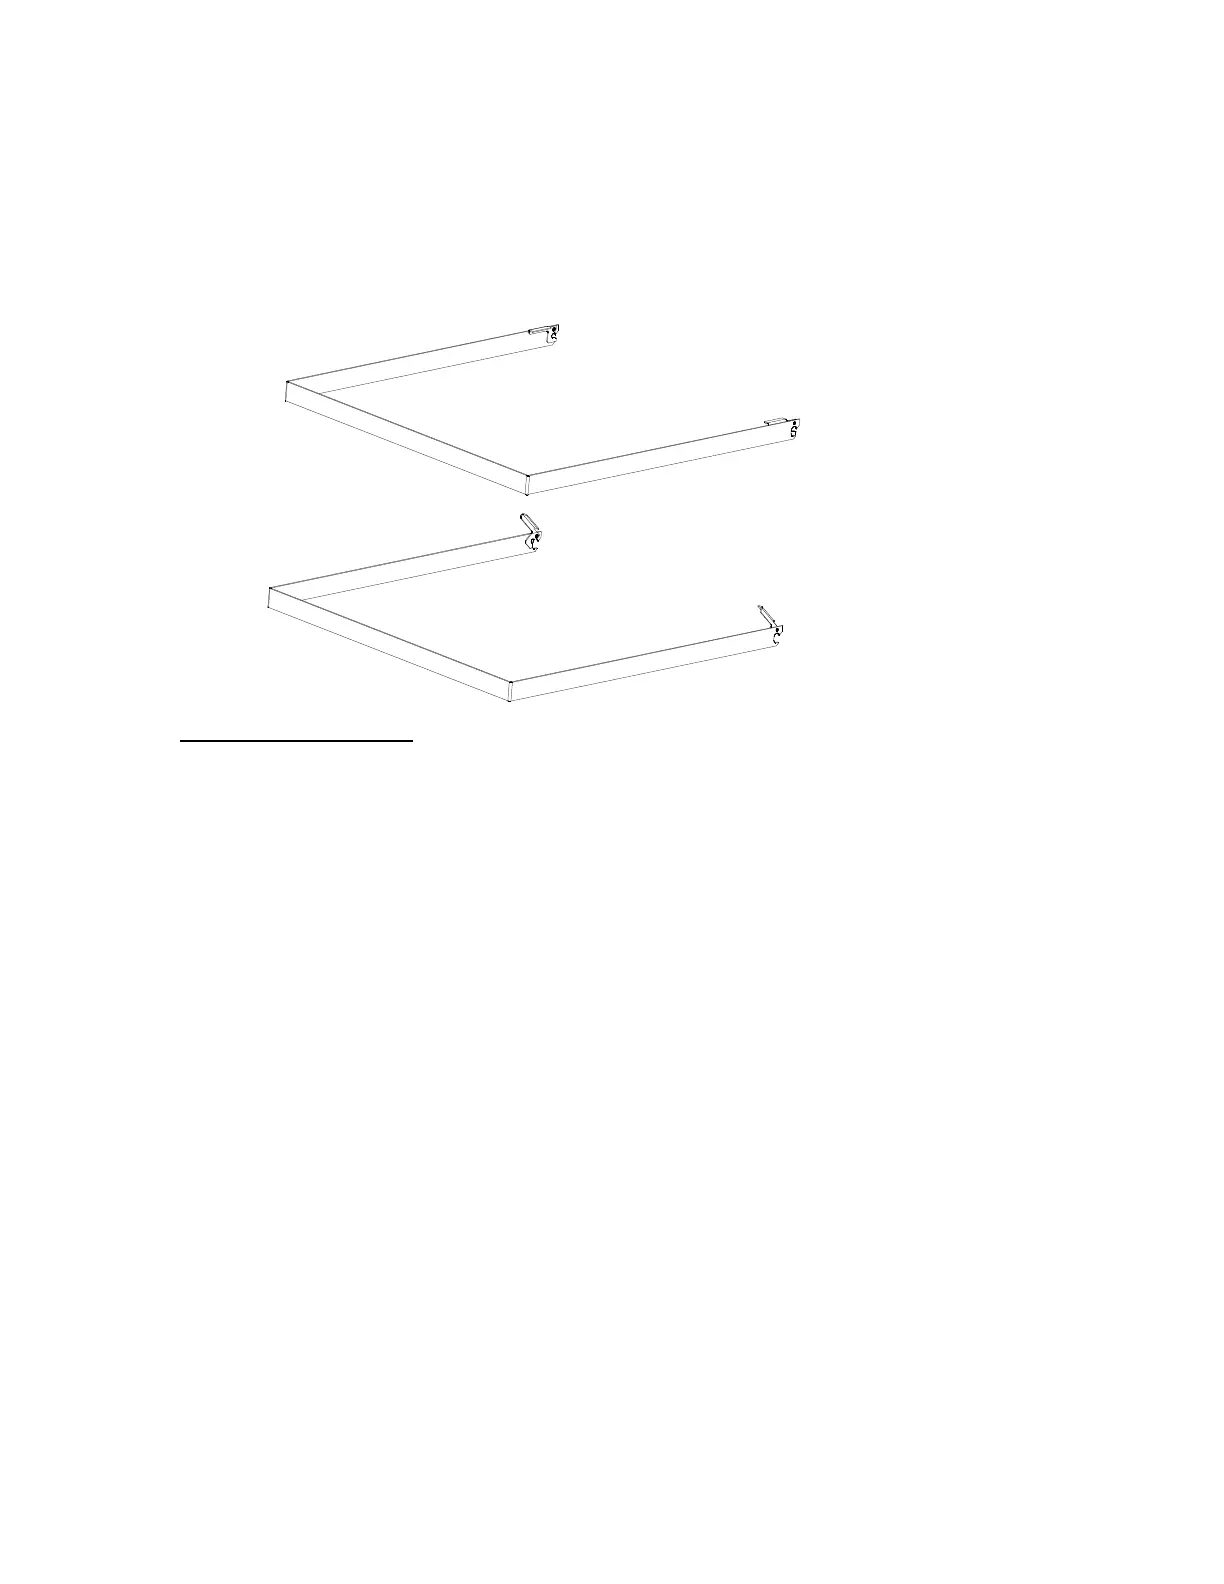
To replace the grill simply reverse the procedure. Make sure that the clasps are
open, then while holding the rear of the grill up slide the frame hooks over the top
of the spools. Push down the clasps so that they engage the spool center groove.
Check the alignment of the grill with the stove body, it should be square and feel
secure and be able to rotate freely upward.
Top Burner Operation
Before lighting, ensure the Burner Caps are on the burners.
All the burners are equipped with a flame failure device (thermocouple). If the flame
goes out for any reason, the solenoid inside the control valve cuts off the supply of gas to
the burner.
To light the top burners:
Push in the control knob that corresponds to the burner you are lighting, and turn
counter-clockwise 90º.
Continue pushing the control knob in. If your unit is equipped with an integrated
spark system the burner will light automatically, or continue to hold in the control
knob and push the ignition button located on the left side of the control panel. (Both
systems will produce a spark at all the burners)
Once the burner is lit, continue to hold the control knob in for (20) seconds to allow
the thermocouple to heat up and energize the solenoid inside the valve.
Turn the control knob counter-clockwise to adjust the output down.
To turn the burner off, turn the control knob clockwise to the off position.
If the burner fails to light from the electronic spark system, turn of the burner for (1)
minute to allow the gas to dissipate. Relight using a match or butane lighter.
CLASP
OPEN
CLASP CLOSED
(MUST ENGAGE SPOOL)