Increase Force
Decrease Force
Auto Close enabled
Auto Close disabled
Photo Beam disabled
Decrease A/C time
Photo Beam enabled
17
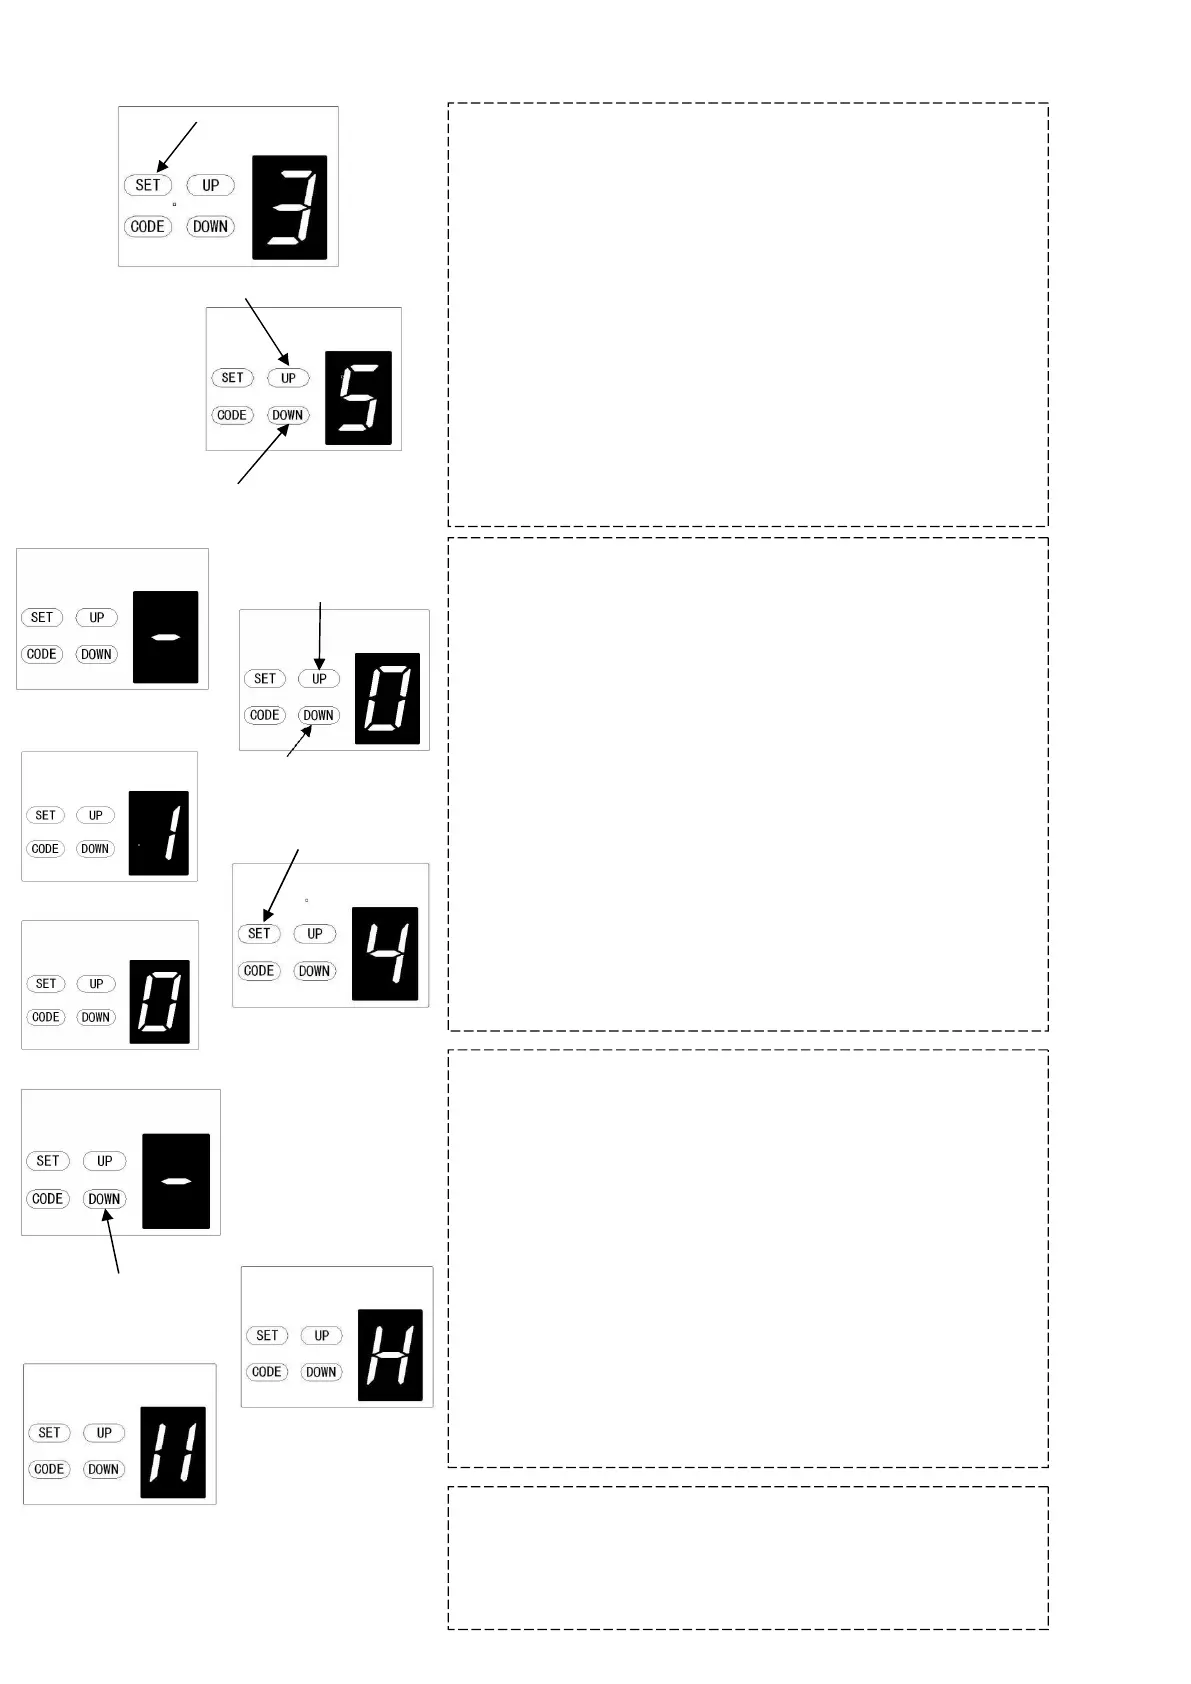
4. OBSTRUCTION FORCE ADJUSTMENT
CAUTION: the obstruction force adjustment is set automatically
during programming. Normally no adjustment is necessary.
a)
Press and hold the SET button until 3 appears on the
display then release the button.
The unit is now in force adjustment mode.
Press the UP button to increase the force setting or the
DOWN button to decrease the force setting.
The minimum force is 1 and it can be adjusted upward.
b)
Press SET to confirm your setting
NOTE: The force is set on 3 as standard in factory.
NOTE: We recommend that Safety Photo Beams be used in any
installation where the Auto Close function is enabled.
a)
Press and hold UP button until a horizontal bar is indicated
on the display. Now press UP button once to set the auto
close time (in minutes).
b)
Press UP button to increase the time, or DOWN button to
decrease the time.
The Maximum time is 135 seconds. To disable Auto Close,
set time to zero (0).
c) Press SET button to confirm the set.
6. PHOTO ELECTRIC SAFETY BEAM
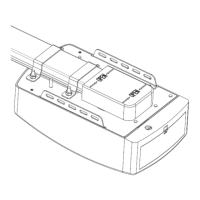
NOTE: Make sure the photo beam has been correctly installed
and use Normally Closed contacts to the accessory terminals of
the opener (Fig. 19, Fig.20)
Also note that the photo beam function must be disabled if
NO photo beams are fitted, otherwise the door cannot be
closed, and the LED will blink once time as an indication.
a)
Press and hold the DOWN button until 11 appears on the
display. To enable the photo beam option press UP again,
the display will indicate a H(enabled) or press DOWN
button to disable (display 11) the option.
b)
Press SET to confirm the set.
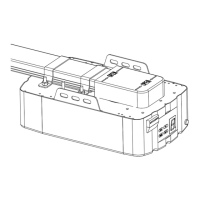
7. OPEN / STOP / CLOSE TERMINALS
The O/S/C facility can be used for an external push button switch
to operate the opener. The switch must have voltage free
normally open contacts (Fig. 22)