— 57 —
Tent Camper Owner’s Manual
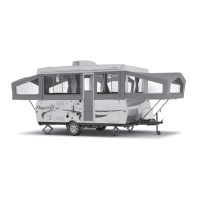
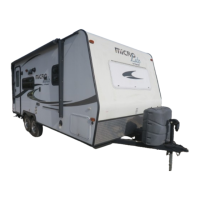
While applying outward pressure on the wall di-
rectly below, secure the le side latch at the top of
the wall into the plate mounted on the ceiling.
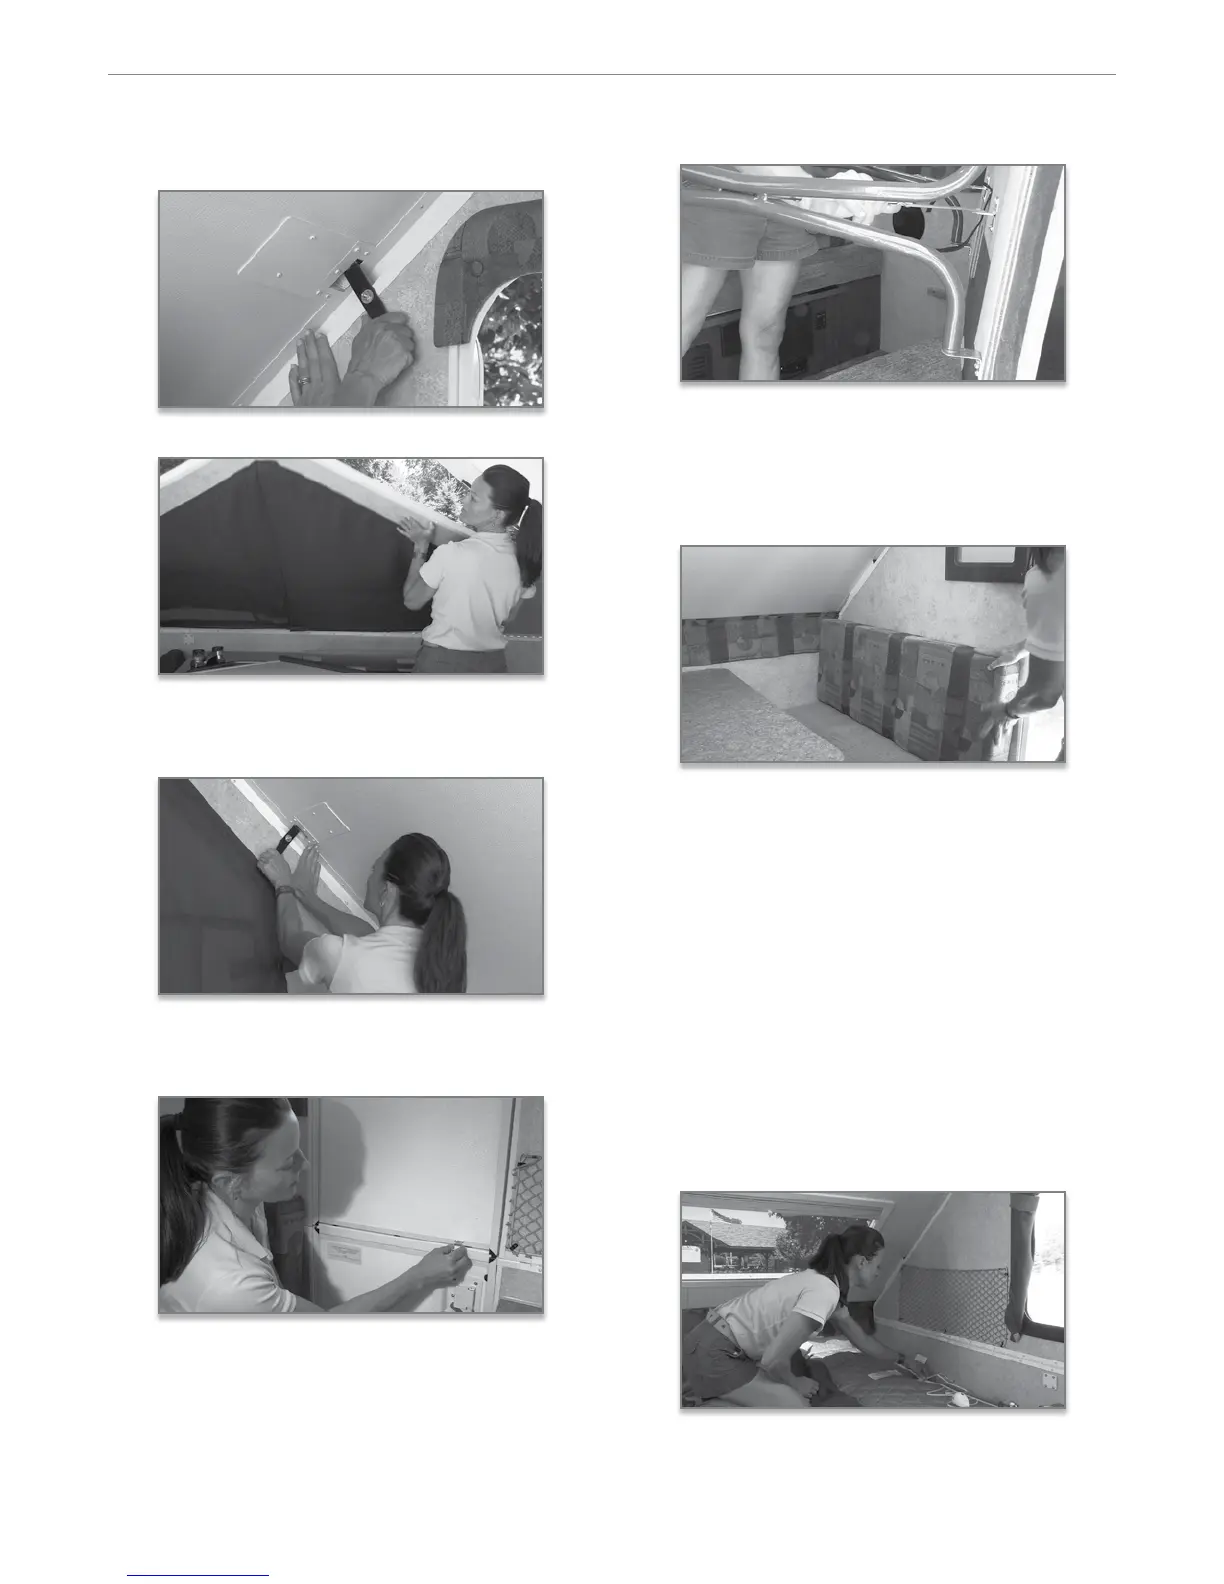
6. Li to set the o door side wall until up right.
7. Secure both the latches as done previously. en,
secure the other door side latch using the same
procedure.
8. Attach the door sections by securing the latch
mounted to the lower door section to the catch
mounted to the upper section.
9. Remove the dinette cushions from the bed position,
and place the table on its side or on the bed. In
most models, Flagsta uses a free standing table so
it can be utilized both inside and outside the camp-
er. Simply unfold the table legs and lock into place.
If your model has a oor mounted table base, install
the pedestal legs into the oor pedestal, and set the
table into place.
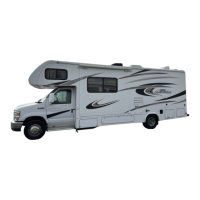
10. Next, position the seat cushions and supported
back cushions on the bases.
11. Most Flagsta models feature the Fantastic Vent.
is 12 volt, 3 speed fan is quiet, dissipates conden-
sation, and exchanges the air in your tent camper
allowing you to breathe natural ambient outside
air. Note: It is important to always secure the vent
cover with the lock on the inside before closing
for travel.
12. If you have the Model T12RB or 12BH, your
Flagsta has been equipped with standard heated
mattresses that generate a warm, gentle, soothing
heat for those chilly nights. To provide power to
your heated mattresses, simply plug in the power
cord and controller provided into the outlet sewn
into the side of the mattress and plug into a 110 volt
outlet located on the walls near the bed ends.
13. Since the appliances in your Flagsta camper may
vary according to oor plans and options, we sug