— 60 —
Tent Camper Owner’s Manual
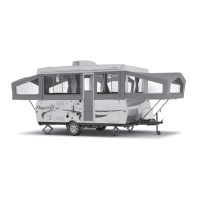
1. Install the A-Frame Awning Screen Room fabric to
the Velcro tape along the top inside edge of the door
side wall. ese initial steps will only be complet-
ed during the rst time set up.
Return outside the camper to complete the remain-
ing steps of the awning and screen room set up.
2. Install Velcro to the outside edge of the front and
rear wall and along the bottom outside edge of the
lower wall to attach the skirting later.
3. When raising the door side wall, be sure the A-
Frame Awning Screen Room fabric is positioned
outside the wall and properly positioned under the
roof edge.
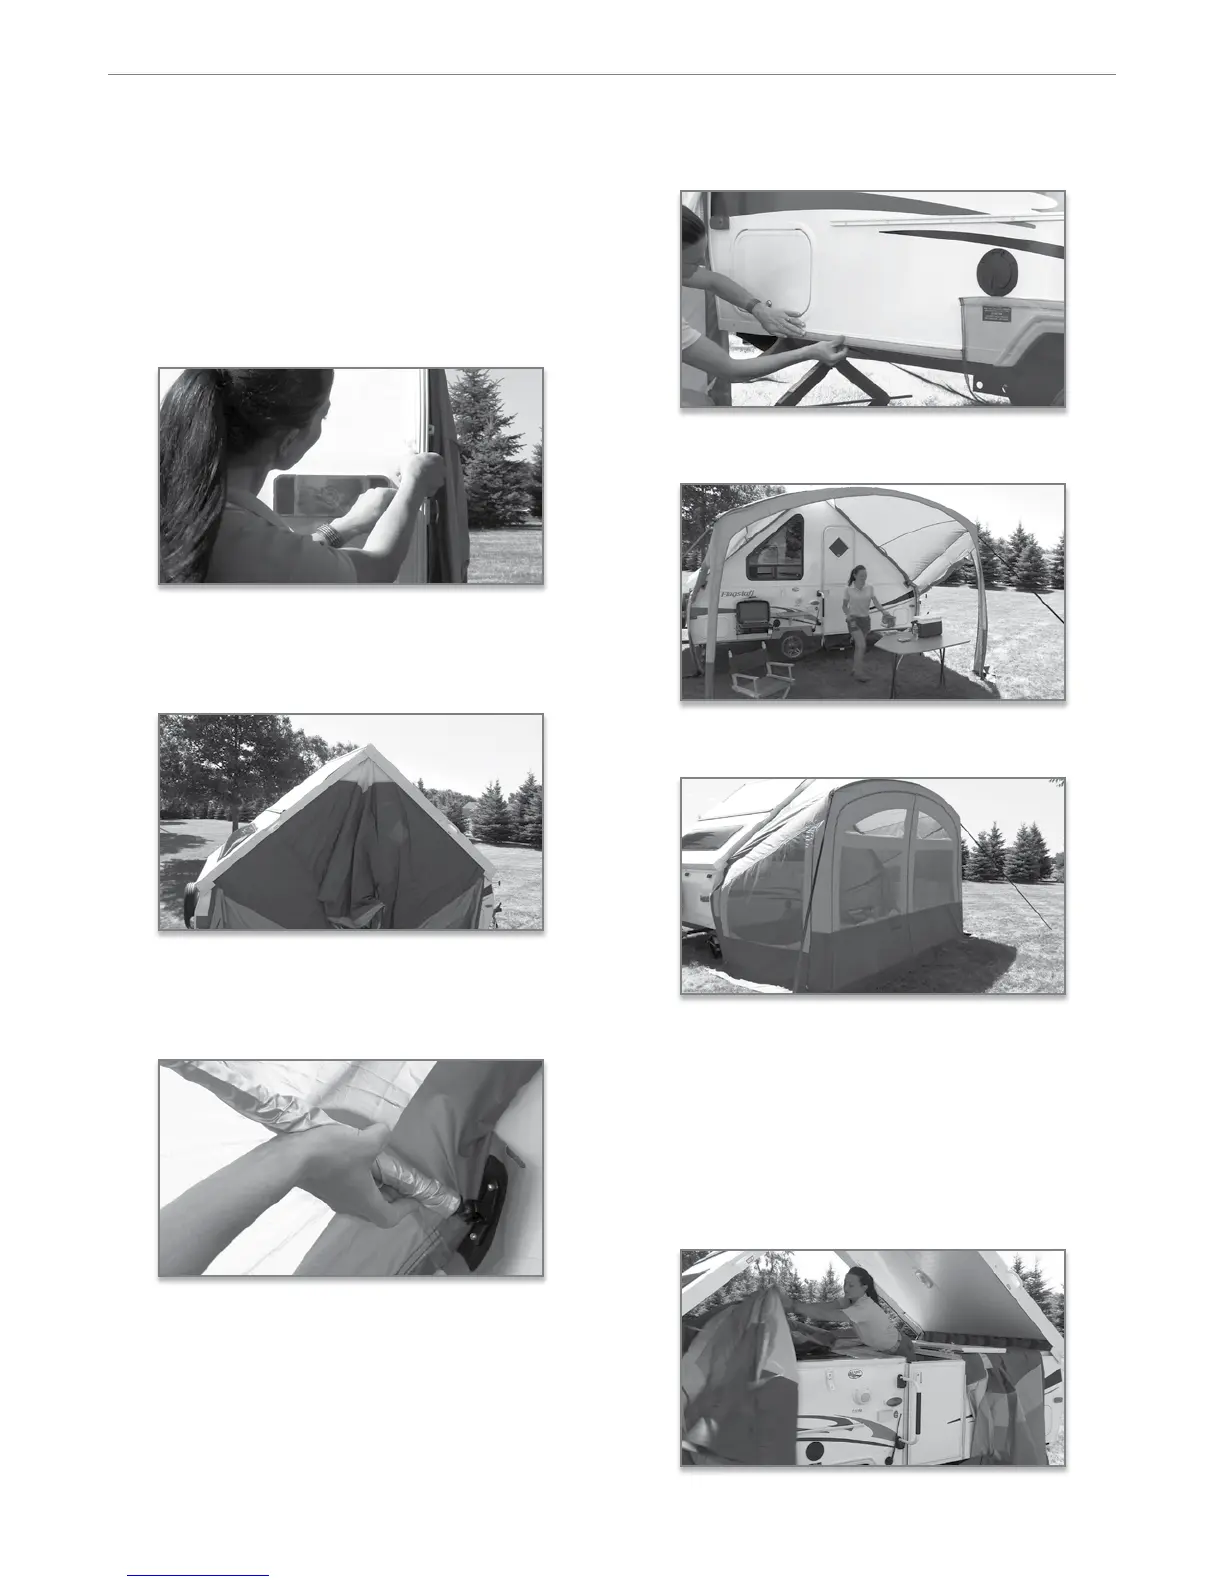
4. Assemble the aluminum poles and insert them into
proper position through the sleeves sewn into the
fabric. Be sure that the poles are properly secured
into the mounting brackets attached to the fabric.
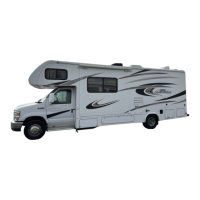
5. Now, attach the mesh skirting to the Velcro tape
installed previously along the bottom outside edge
of the lower wall.
6. Complete by securing the fabric to the ground with
the stakes provided.
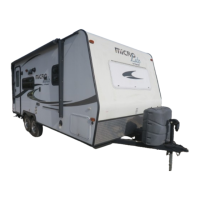
7. To convert the A-Frame Awning as a Screen Room,
simply zip on the front panel.
QUiCk disassembly proCedUre
8. When closing your camper, you must rst complete
the disassembly procedure. Begin by pulling up all
stakes, and disassembling the support poles and
removing the front screen room panel, if attached.
9. Once the sidewalls are lowered, it is important to
position the attached material on to the o door
side wall to allow the roof to close properly.