7
GB
Changing the mode
Changing the mode between video mode/shooting mode/preview mode/options of images in
batch mode /self-lming/options is done by pressing the power button.
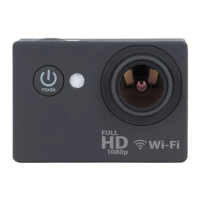
Recording mode
Make sure that your camera is in video recording mode. This mode is symbolized by a yellow
icon. To start recording aim the camera at the right target, and then press the „REC” to start re-
cording. Alternate color change of recording icons from yellow to red indicates start recording.
To stop recording, press „REC” again. Recording will also end when the batteries are depleted.
The recording is automatically saved on the memory card.
Shooting mode
Make sure that your camera is in shooting mode. It is symbolized by a camera symbol.
To take a picture, aim the camera at the right target, and then press the „REC” ‚to take a picture.
Making pictures is signaled by a blink of the display. The photo is automatically saved on the
memory card.
Mode self-timer shots
Make sure that your camera is in shooting mode with the self-timer. It is symbolized by a came-
ra symbol with a loop on the left.
To take a picture, aim the camera at the right target, and then press the „REC” ‚to take a photo
after the time specied in the settings. Making pictures is signaled by a blink of the display. The
photo is automatically saved on the memory card.
Preview videos and photos
Make sure that your camera is in viewing videos or viewing photos. There is an arrow symbol
on a green background on the display.
To play a video, press the REC button. To scroll through the content, use the arrow buttons.
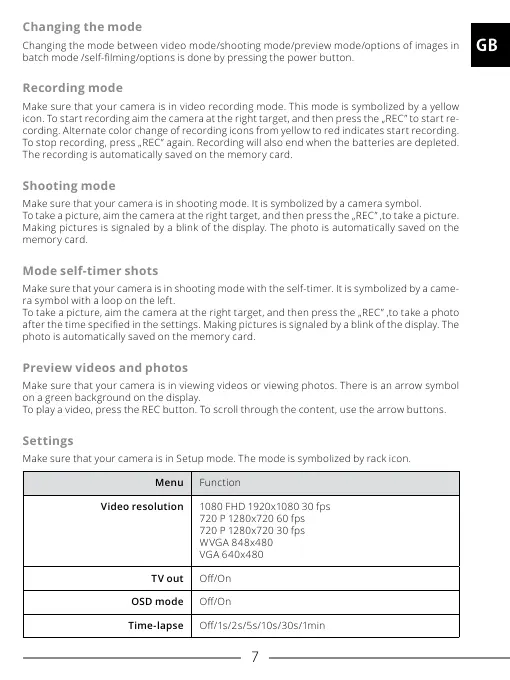
Settings
Make sure that your camera is in Setup mode. The mode is symbolized by rack icon.
Menu Function
Video resolution 1080 FHD 1920x1080 30 fps
720 P 1280x720 60 fps
720 P 1280x720 30 fps
WVGA 848x480
VGA 640x480
TV out O/On
OSD mode O/On
Time-lapse O/1s/2s/5s/10s/30s/1min