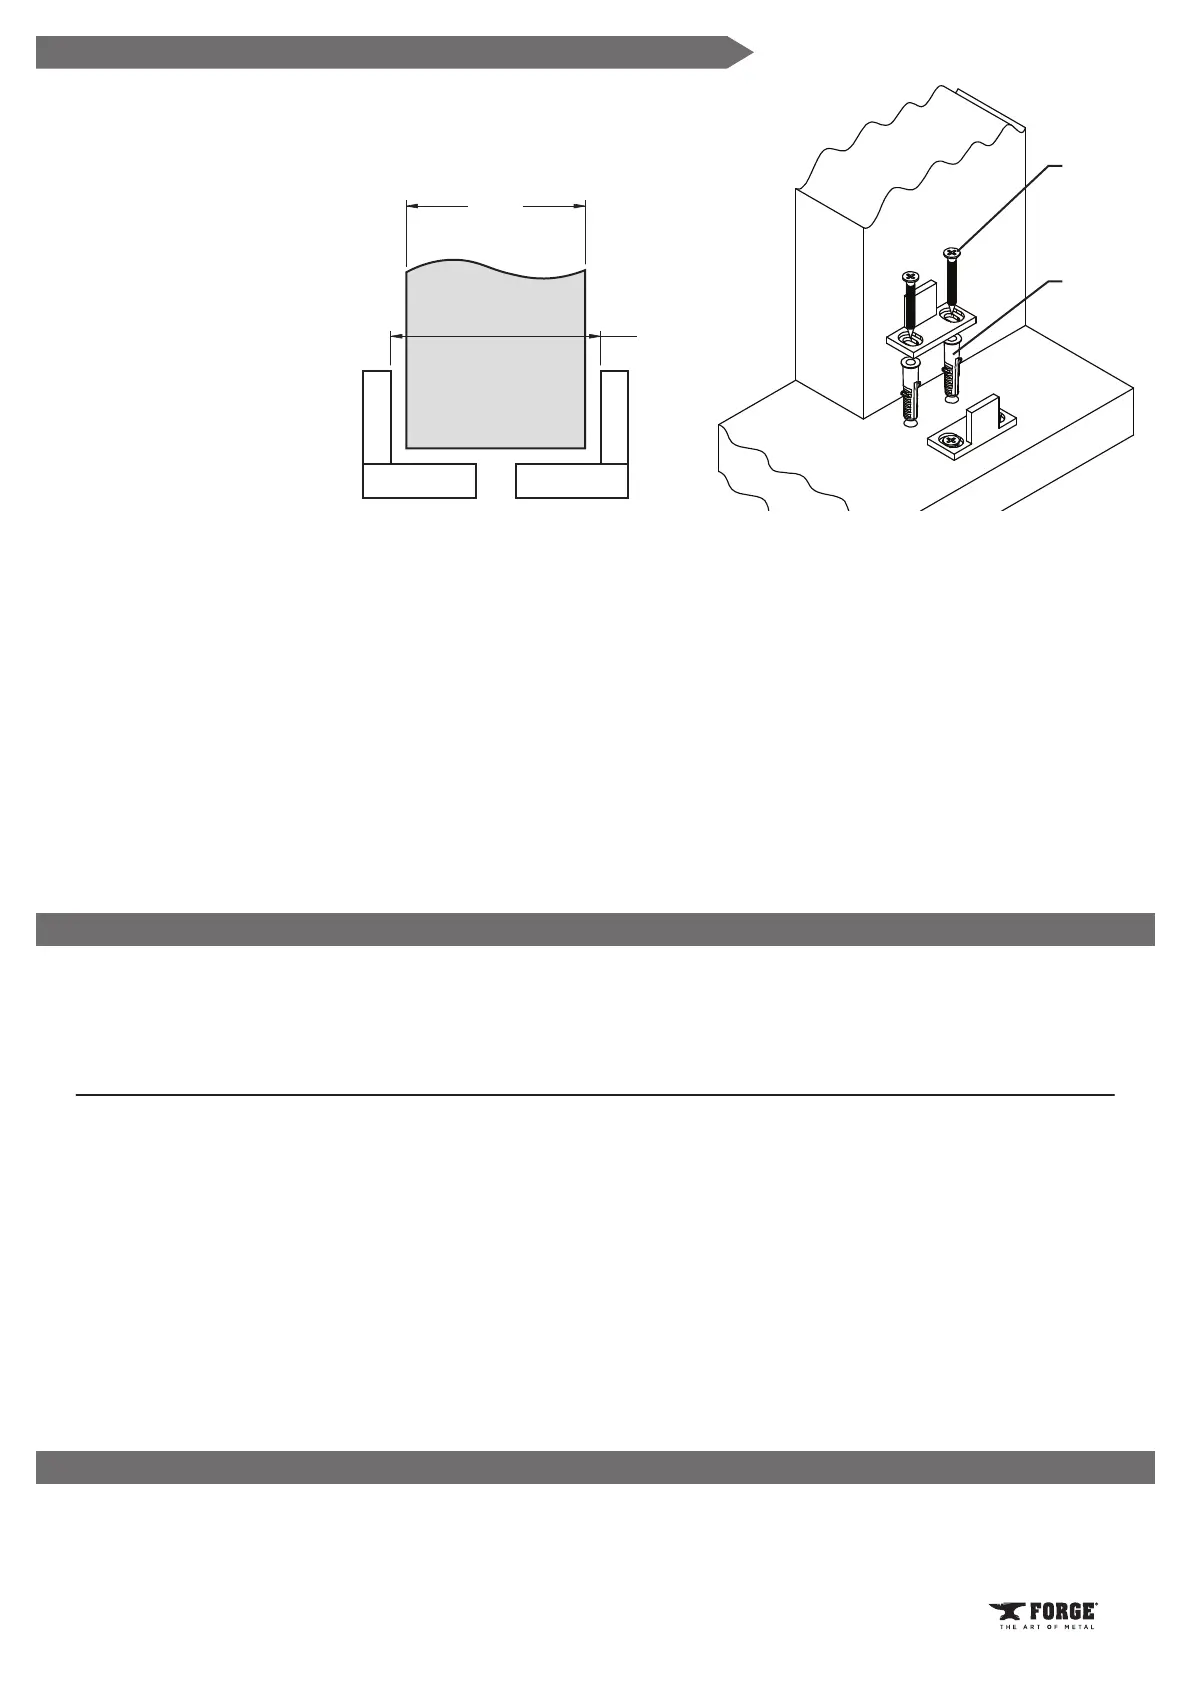
(T)
plus
3
/32”
(2mm)
Door
Thickness (T)
Floor
Anchor
1
-
1
/4”
Screw
Designer Series
Locate the Door Guides on either side of the door, as close
to the doorway as possible. See the diagram for proper
Move the door to the desired closed position. Place a Door Stop so that the bumpers contact
the door. Secure the Door Stop by tightening both set screws.
Move the door to the desired open position and repeat with the remaining Door Stop.
NOTE: On the left side of the Rail, the set screws in the Door Stop will be facing up. On the right
side of the Rail, the set screws in the Door Stop will be facing down.
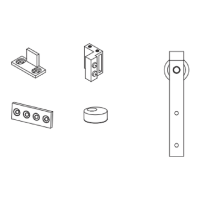
5 - Install Door Guides and Secure Door Stops
OTHER QUESTIONS?
NEED EXTRA PARTS or OPTIONAL ACCESSORIES?
spacing.
If the oor is not solid
wood, it may be
necessary to use
the Floor Anchors in
addition to the screws.
Drill
3
/32” pilot holes if
using screws only, or
1
/4” pilot holes if using
Floor Anchors.
REV-08
DO NOT RETURN TO THE STOREContact Customer Care
1-800-721-4191
Monday – Friday
8 - 5 Central Time
Additional parts and accessories are available exclusively at
www.menards.com/barndoorhardware
or your local Menards store, including rails, rail connectors, spacer kits,
soft-close mechanisms, bypass brackets, locks, and handles.
NOTE: If installing a soft-close mechanism (431-0451) check the soft-close instructions
BEFORE beginning installation.
NOTE: If installing bypass brackets (431-0446, 431-0447, 431-0452) check the bypass bracket
instructions BEFORE beginning installation.
 Loading...