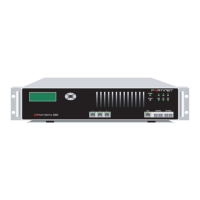
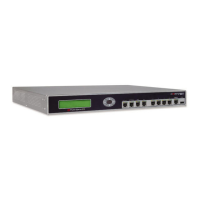
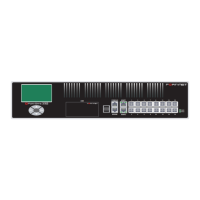
Installing the FortiGate unit LCD front control buttons
FortiGate-3016B, FortiGate-3600A and FortiGate-3810A FortiOS 3.0 MR5 Install Guide
01-30005-0343-20071113 21
4 Select the following port settings and select OK:
5 Press Enter to connect to the FortiGate CLI.
The login prompt appears.
6 Type admin and press Enter twice.
The following prompt is displayed:
Welcome!
Type ? to list available commands. For information about how to use the CLI, see
the FortiGate CLI Reference.
LCD front control buttons
You can use the front control buttons and LCD to configure the basic settings on
your FortiGate unit. This configuration method provides an easy and fast method
to configure your FortiGate unit. You can configure:
• IP addresses
• netmasks
• default gateways
• operating modes
• restore factory default settings
The LCD provides information on the FortiGate unit’s operating mode and
whether or not it is part of a High Availability (HA) cluster. Figure 2 shows the
default LCD main menu setting of a FortiGate unit, operating in NAT/Route mode
and not connected to a HA cluster.
Figure 2: Default LCD main menu settings
Table 3: LCD main menu definitions
Bits per second 9600
Data bits 8
Parity None
Stop bits 1
Flow control None
Menu The menu the LCD currently displays.
[Fortigat ->] The FortiGate unit.
NAT The current operational mode of the FortiGate unit.
Standalone The FortiGate unit is not part of a HA cluster. For more information
on standalone mode and HA, see the FortiGate Administration
Guide.
Menu [ Fortigat -> ]
NAT, Standalone
 Loading...
