Setting Up Your Foscam
Security Camera
Package Contents
Camera Setup Steps
A. Getting Started
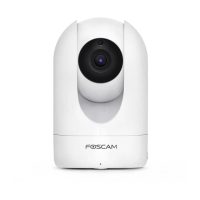
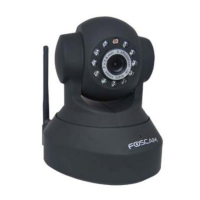
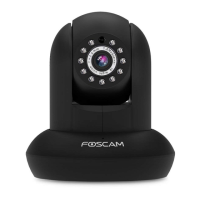
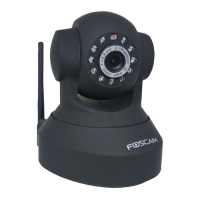
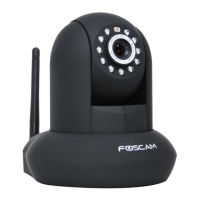
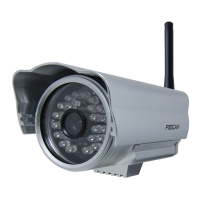
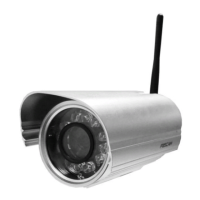
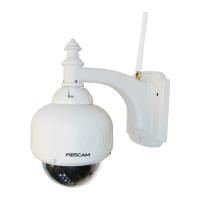
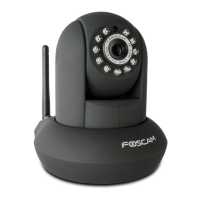
B. Physical Description
C. Setting Up Your Camera:
Wired Connection via Foscam App
(Recommended)
WPS/Reset
Micro SD
Card Slot
Microphone
Infrared LED
Lens
LAN
Power
Network light
Power light
Antenna
Speaker
Security Tips
Model: R2/R4/R2C/R2E
V1.5
EQR00013
Please change the password of your camera regularly, using a
combination of numbers, letters and special characters.
We recommend that you regularly update your camera to the
latest available software and rmware versions to help ensure
the best experience for your camera.
The cords on this product presents a potential strangulation hazard.
For child safety, please keep these cords out of the reach of children.
(Part of the pure wireless models without cable)
IP Camera
Quick Setup Guide
Mounting Bracket
Power Adapter
WiFi Antenna
Quick Setup Guide
Indoor 1080P FHD Security Camera
Note: We highly recommend that you rst begin the setup process
by connecting your camera to your Internet router with an
Ethernet cable. After setup is successful, you’ll be able to unplug
the cable and login to your wireless network for WiFi operability.
Minimum Requirements: To help ensure a smoother video
experience on the smartphone, it’s recommended that your
smartphone has the following:
iOS: version 8.1 or higher.
Android: 4.1 or higher, using a device with a Graphics Processing
Unit (GPU) function.
1. Please mount the antenna and make sure it is in a vertical upright
position.
2. Connect the camera to your Internet router using an Ethernet
cable.
3. Connect the power adapter to the camera, and wait for a few
moments until the camera alerts you that the “Wired connection
succeeded.”
4. From your smartphone, search for “Foscam” via the App
Store or Google Play Store. Download, install and open the App to
begin conguration.
5. Under “My Cameras,” select “Tap + to add new camera” and then
scan the QR code, which is located at the bottom of your camera
(see illustrations below).
6. On the “Which way to choose” screen, conrm that “Wired” is
selected (upper-left corner) and tap “Ready.” Wait a few moments
for a message conrming that the setup process has been
completed (see illustrations below).
3
To view this guide in other languages (e.g. Español, Français,
Deutsch, Nederlands), and for detailed manuals, tools, etc.,
please visit foscam.com/downloads .
Connection
succeeded!
Scan the QR code which is located
at the bottom of your camera.
Conrm “Wired” and
then tap “Ready ”
Tap + button
Tap + to add new camera
My Cameras
Which way to choose
<
Ready
Wired Wi-Fi
Complete
Congratulations!
Successfully added!
Scan
<
Quick Setup Guide
Indoor 1080P FHD Security Camera
Warning: