4
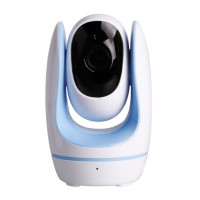
KEY AND INTERFACE INTRODUCTION
1. For upgrade use
2. Reset Button
3. Sound pick up
4. Light sensor
5. Lens
6. Speaker
7. Antenna
8. Digital Temp Sensor
9.Micro USB Port
2.1: Indicator Light: The light shows green during working and red when charging. After the
monitor fully charged turns to green
2.2: Back Button: In Monitoring Mode press the button to enter volume and
brightness settings. In Main Menu press the button to back to Previous menu.
2.3: Camera Switch Button: Press the button to switch camera from one to the next.
(In the Status Bar will show the camera channel which working now)
when the status bar show means the monitor is under auto tour mode each
camera image will stay for 10s.