When carrying a heavy payload:
The Flight Frame is calibrated to function with a GoPro Hero4 from which the battery has been removed. If you operate the Fotokite with a dierent and
heavier device, your unit’s center of gravity shifts, which can cause it to y unbalanced.
When experiencing odd ight behaviour:
All Fotokites are calibrated during production. However, it can happen that the calibration is not done perfectly or needs to be done again for various
reasons.
Thrust equalization
1. Turn on the Flight
Frame and the Leash,
making sure that they
are paired.
2. Press and hold the
Yaw and Orbit
buttons of the Leash.
Then, press the leash
Power button to enter
the calibration menu.
The leash will buzz and
vibrate to conrm and
the Yaw and Orbit lights
will turn yellow.
3. Press the Yaw
button to navigate
through the calibration
menu until the Yaw
and Orbit lights are
teal (normally reached
after two presses).
4. Press the Orbit
button to start the
calibration.
WARNING: THE
MOTORS WILL START
SPINNING
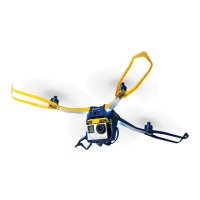
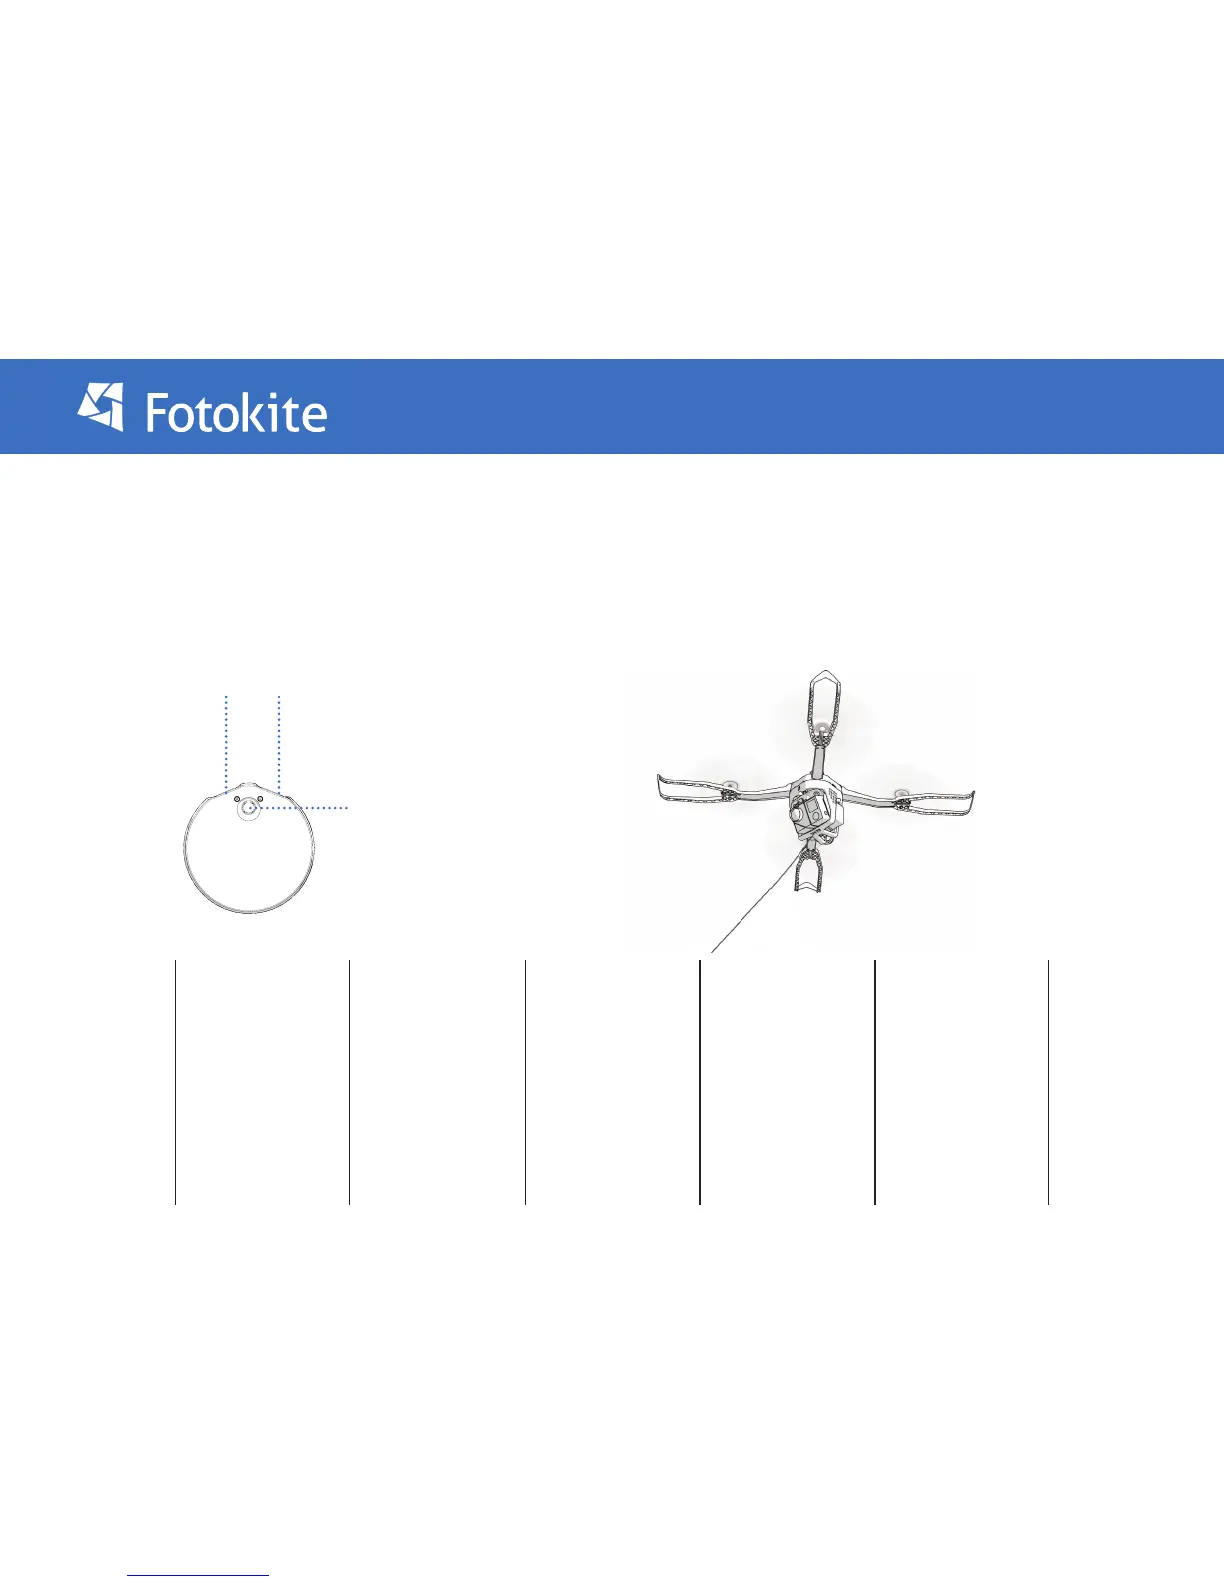
5. The Fotokite will
hover slightly.
Simply hold it by the
string at about 5-10
cm from the ight unit.
Move as little
as possible.
6. The 4 lights situated
under each arm of
the Fotokite will
turn red when the
calibration starts.
They will change color
gradually as the
calibration
progresses, going from
red, to orange, to
yellow, to green.
 Loading...