18
When operating the Fotokite at an altitude way above sea level:
The Fotokite is calibrated to y at an altitude slightly above sea level (0-1000m). If you go higher than this altitude, the air gets thinner and the thrust
provided by the Flight Frame needs to be increased.
When carrying a heavy payload:
The Fotokite is calibrated to function with a GoPro Hero4 from which the battery has been removed. If you operate the Fotokite with a dierent and
heavier device, you will need to increase the thrust provided by the Flight Frame.
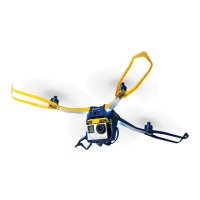
1. Turn on the Flight Frame
and the Leash, making sure
that they are paired.
2. Press and hold the Yaw
and Orbit buttons of the
leash. Then, press the
Leash power button to
enter the calibration menu.
The leash will buzz and
vibrate to conrm and the
Yaw and Orbit lights will
turn yellow.
3. Press the Yaw button
to navigate through the
calibration menu until the
Yaw and Orbit lights are
purple (normally reached
after one press).
4. Press the Orbit button
to start the calibration.
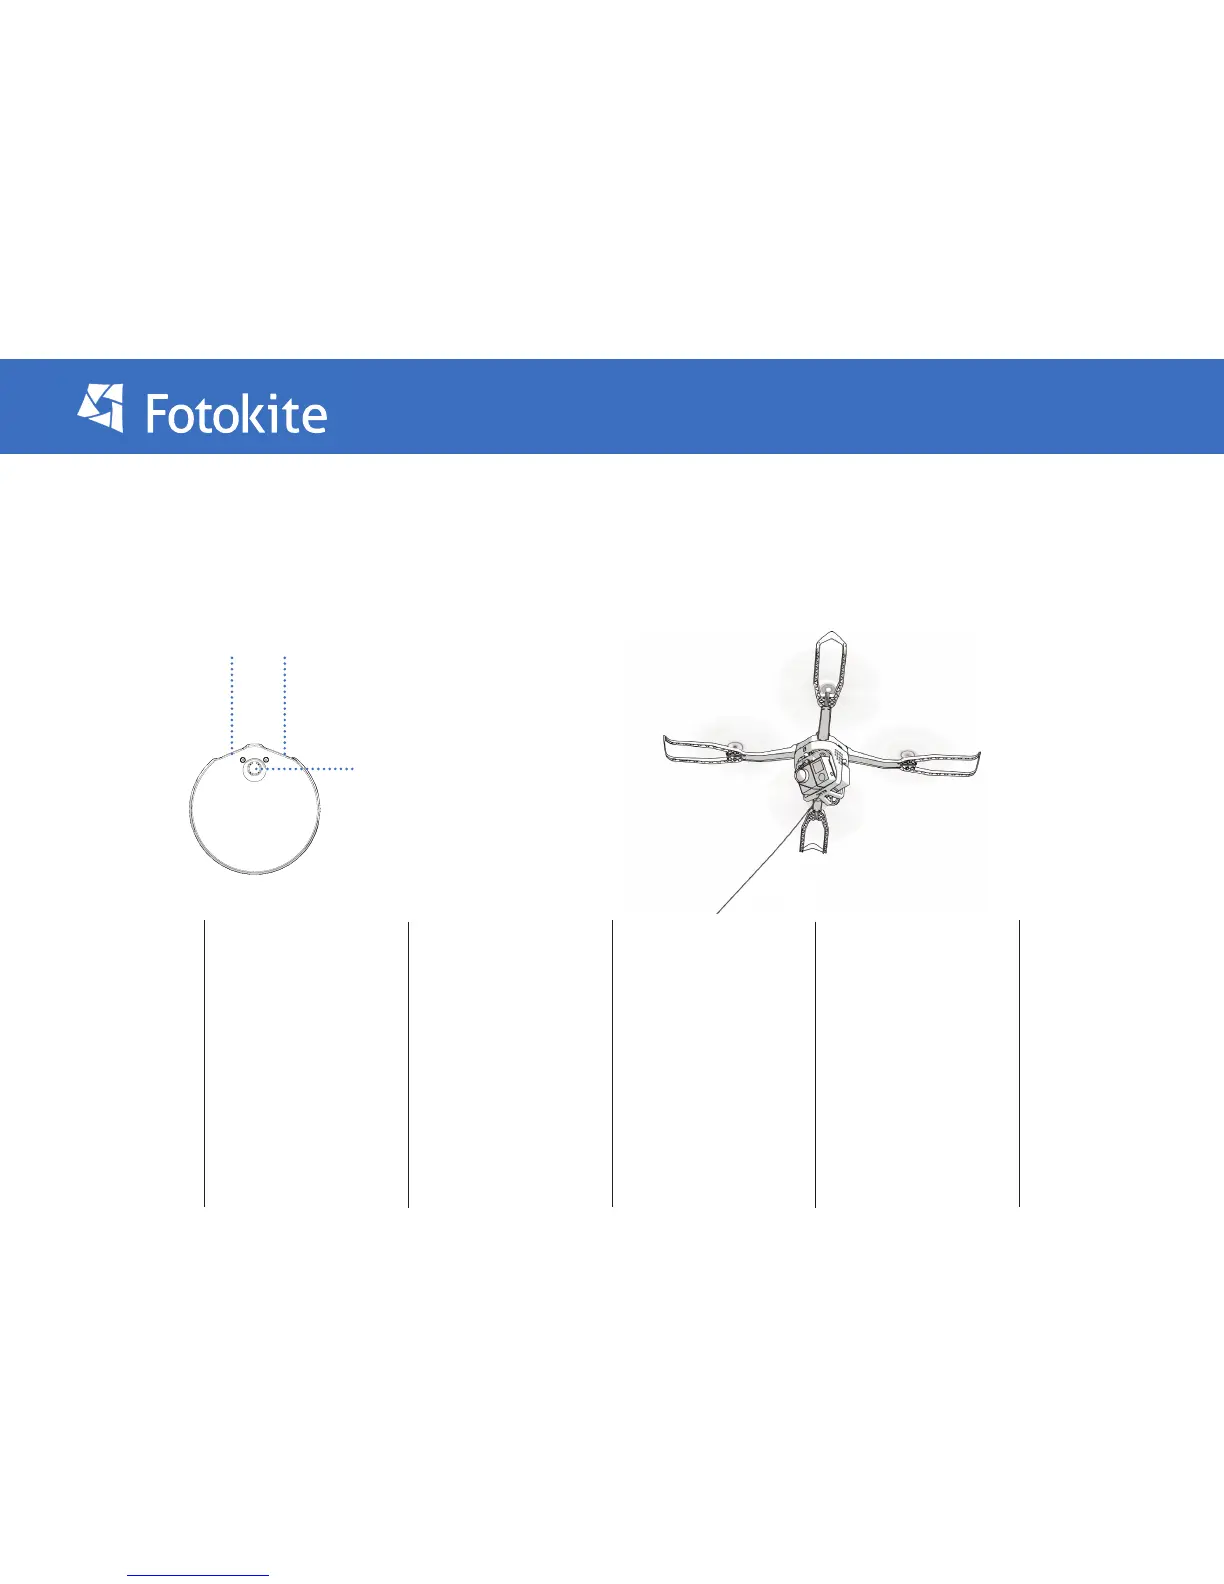
WARNING: THE MOTORS
WILL START SPINNING
5. The calibration is ideal
when the Fotokite hovers
in the air: it does not fall
to the oor nor does it y
to the up.
The calibration is done by
increasing or decreasing
the overall thrust:
Increase the thrust by
pressing the Yaw button
Decrease the thrust by
pressing the Orbit button
6. Once the Flight Frame-
successfully hovers
with minimal vertical
movement, press both
the Yaw and Orbit button
to validate the calibration.
Then, restart the Flight
Frame.
Thrust calibration
Orbit ButtonYaw Button
Power Button