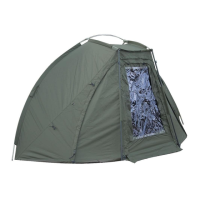
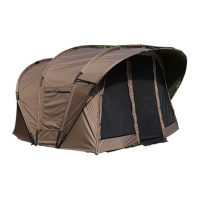
EVOLUTION PLUS X
EVOLUTION PLUS X
GB
GB
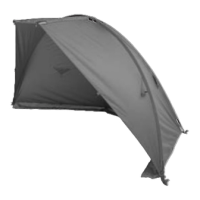
NOTE: Like all materials, the cover to the Evolution Plus X may be affected by hot or wet weather.
This may cause the cover to go slack in wet conditions or tighten during warm weather.
To allow you additional flexibility, you will see that above each moulded foot there is an elastic
loop fitted to the cover. These may be hooked over the claws on each moulded pivot which will take up
any slack in the cover.
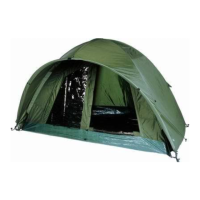
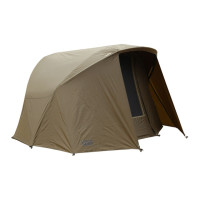
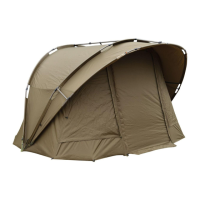
To compliment your Evolution
Plus X a heavy duty PU/PVC
groundsheet is available,
featuring corresponding
buckles to match the
Evolution Plus X allowing ease
of assembly. Supplied in a PU
sleeve for protection and
storage.
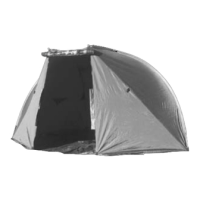
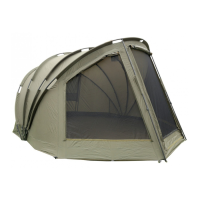
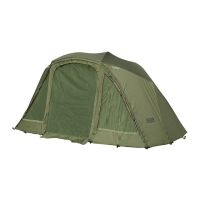
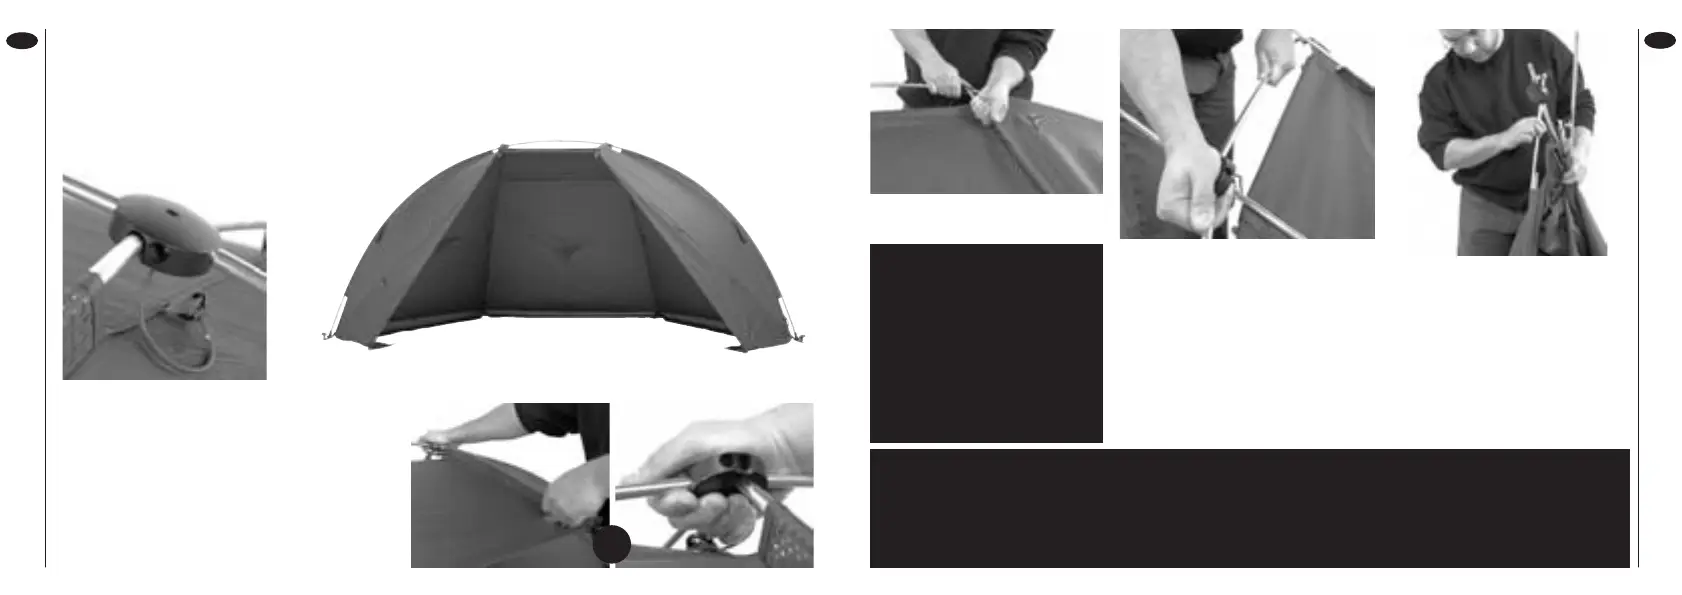
9. The Evo is now fully erected – peg down the two rear pegging
points. A unique feature of the Evo is that it can be set at a range of
different heights and widths. To alter the size and shape simply move
the two side poles outwards to lower and increase coverage in bad
weather, or move them inwards to increase the height and narrow the
shelter to fit tight swims
10. To dismantle the Evo, unhook the
tension elastics if they have been used, and
remove all pegs. Standing at the front of the
Evo place a hand on top of the boss and
apply gentle downward pressure, tilting the
boss towards you. At the same time lift the
front pole slightly upwards and slide out.
Repeat for the other front pole.
11. Disconnect the rear poles.
12. Remove the short centre pole.
This should be done by lightly
pressing down on boss and centre
pole to decrease the tension. As
the centre pole straightens it is
simply disconnected from the two
bosses. Store the pole inside one
of the front mesh tunnels.
13. Gather all of the
poles together and roll
the Evo up, storing it in
the supplied sleeve.
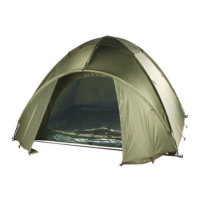
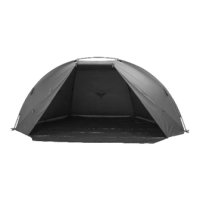
8. The remaining socket is
for the fitting of a Winter
Skin or Wrap which can
be purchased separately.
This image shows the
right hand boss from the
front of the Evo.
10
Evolution Plus X.QXD 17/5/06 4:24 pm Page 6