605-01-378 12
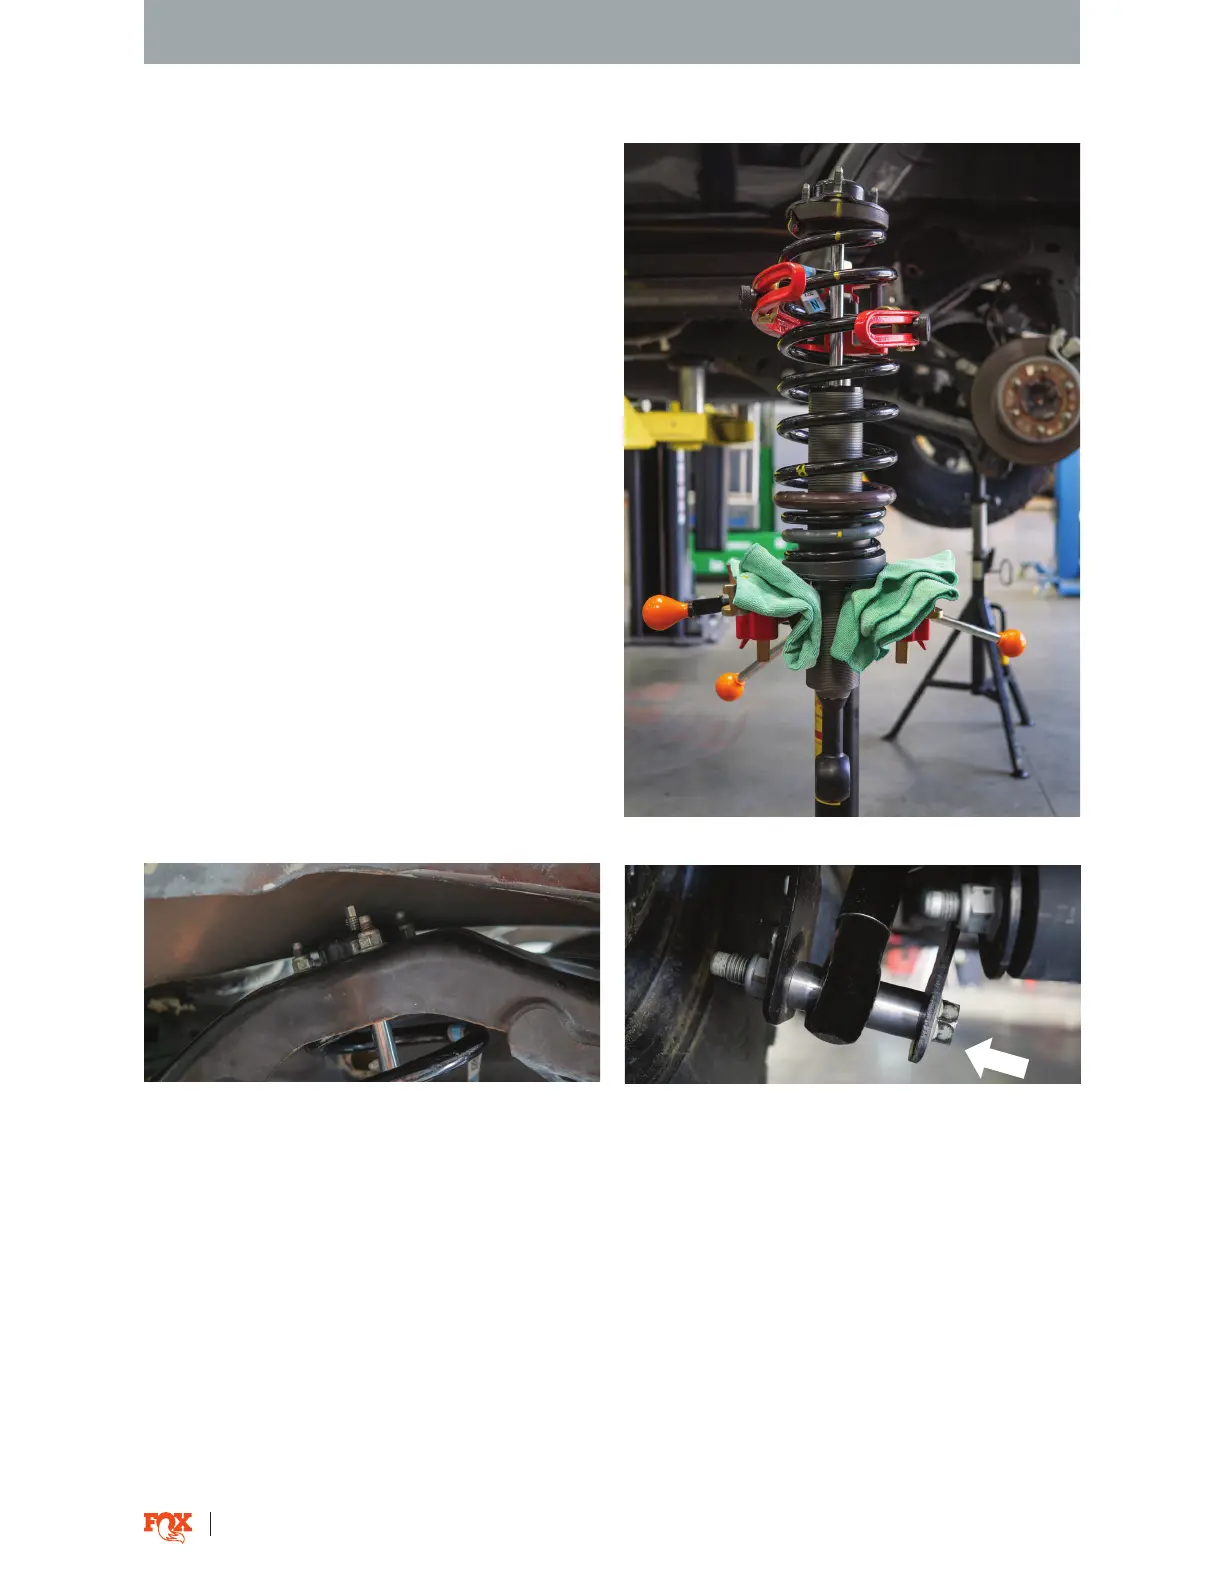
Fig. 27: Align the marked top hat, spring, and eyelet.
7. Mark the stock assemby’s top mount and spring to
ensure correct alignment.
8. Refer to pages 7-8 on how to disassemble the
stock coil-over and reassemble with the FOX shock.
9. Align the FOX shock’s eyelet perpendicular to the
the marked top hat and spring (Fig. 25).
FOX SHOCK INSTALLATION
10. Orient the FOX coil-over.
11. Attach the top hat nuts first and torque to OEM
specification. (Fig. 26).
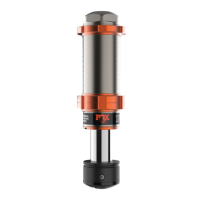
12. Use the OEM lower nut and bolt. Install the lower
eyelet of the shock with the longer spacer on the
inside of the vehicle. Torque to OEM specifications
(Fig. 27).
Fig. 28: Attach the top hat nuts. Fig. 29: The larger spacer mounts on the inboard
side of the eyelet.
FINAL CHECK AND DETAILS
13. Check that the suspension has proper clearance.
14. Reinstall the wheels and torque to OEM specifications.
15. Set the vehicle back on the ground and drive back and forth several feet to allow the suspension to
settle. Now measure ride height and adjust if necessary. READ INSTALLATION GUIDELINES ON HOW TO
PROPERLY ADJUST PRELOAD.
16. It is highly recommended that you have your wheel alignment checked.