12
GENERAL ASSEMBLY PROCEDURE FOR INSTALLATION
PLEASE KEEP AND READ FOR FUTURE REFERENCE
GENERAL ASSEMBLY PROCEDURE FOR INSTALLATION
_______________________________________________________________________________________________________________________
Ensure all packaging, including polystyrene, plastic and cardboard has been removed from around the appliance and burner
area.
Ensure that all burner(s), trivets, grates and panels are correctly located and supported.
ABNORMAL OPERATION
_______________________________________________________________________________________________________________________
If you are aware of any change in the operation of the appliance consult a qualified service person. This could be such things
as: Noisy flame due to burner being lit back or parts being dislodged during cleaning. Do not use the appliance if the ceramic
surface is accidentally damaged, contact your local service agent
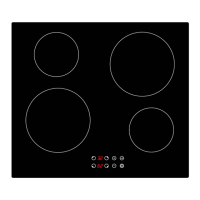
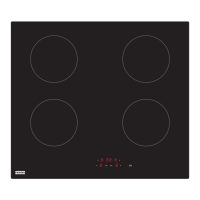
WARNING: IF THE CERAMIC SURFACE IS CRACKED, SWITCH OFF TO AVOID THE POSSIBILITY OF ELECTRICAL SHOCK.
THE GAS OPERATION
_______________________________________________________________________________________________________________________
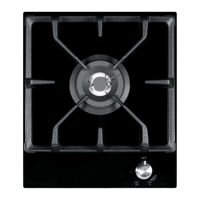
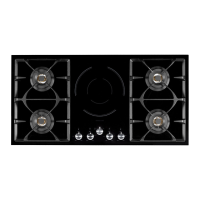
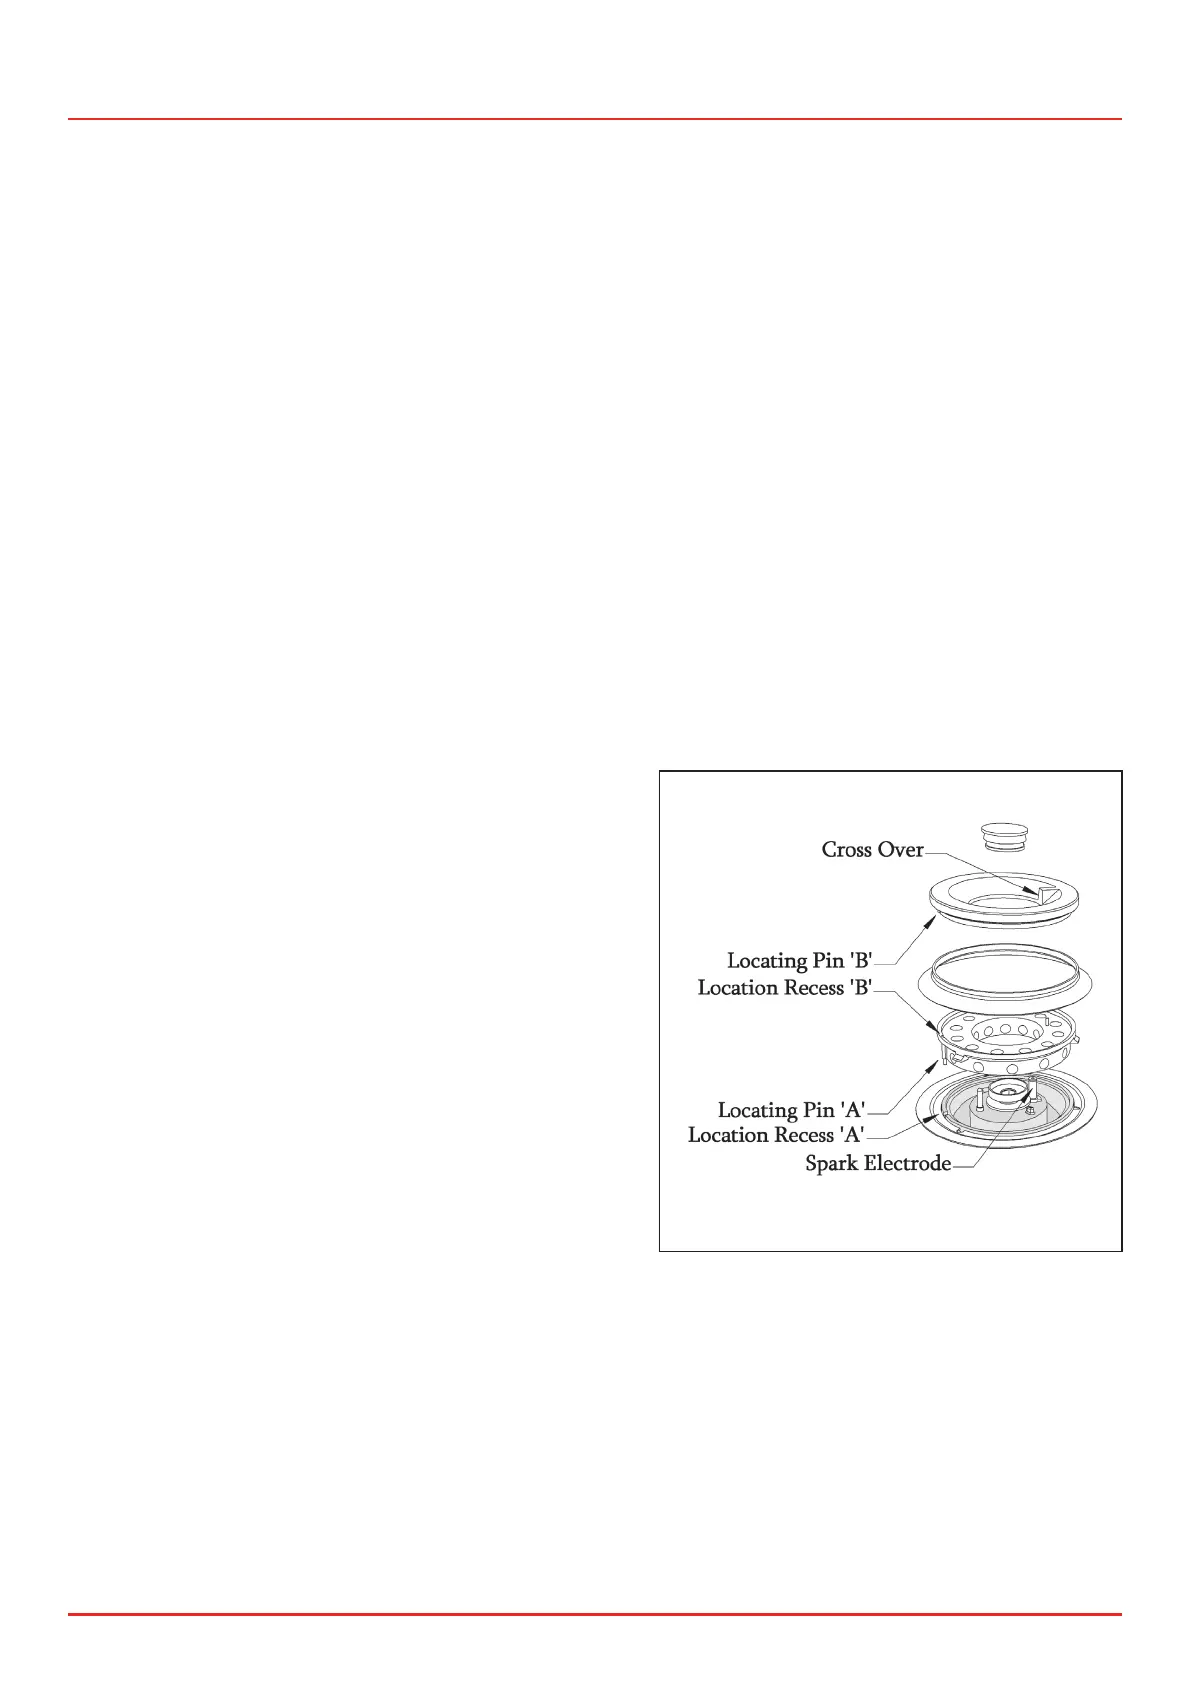
Assembly of the FullSpectrum burner
1. Ensure that the locating pin `A` on the distributor
ring is securely located in the recess hole of the
FullSpectrum burner body. This is easily achieved by
placing the distributor ring on the FullSpectrum body
and then rotating the distributor until the locating
bezzle `A` drops into the recess with a firm level fit
being then accomplished.
2. The black dress ring should then be fitted over the
top of the distributor ring.
3. The outer burner cap should then be placed onto the
distributor ring with the locating pin `B` securely
locating in the location recess `B` of the distributor
ring. When correctly assembled the cross over on the
outer cap should lie adjacent to the spark electrode
protruding from the burner body.
4. Finally, gently place the inner burner cap into position
in the centre of the FullSpectrum burner.
 Loading...