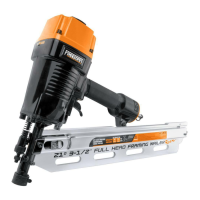
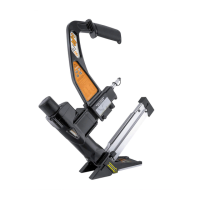
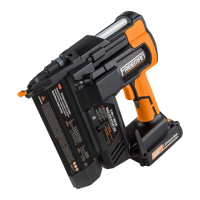
MODEL: PFR2190
FEATURES
3600 ADJUSTABLE EXHAUST
Allows user to direct air away from debris.
OIL-FREE DESIGN
For less maintenance.
e ONE PIECE DRIVER BLADE
For increased durability.
ANODIZED ALUMINUM CYLINDER
MAGAZINE
For long lasting durability.
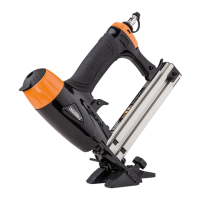
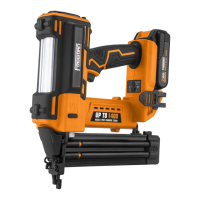
COMFORT-GRIP HANDLE
For increased comfort and control.
MAGNESIUM BODY
Light—weighttool great for extended use.
AIR FILTER
Keeps interior components debris
extending tool life.
DUAL-MODE TRIGGER
AND
free,
REErnan
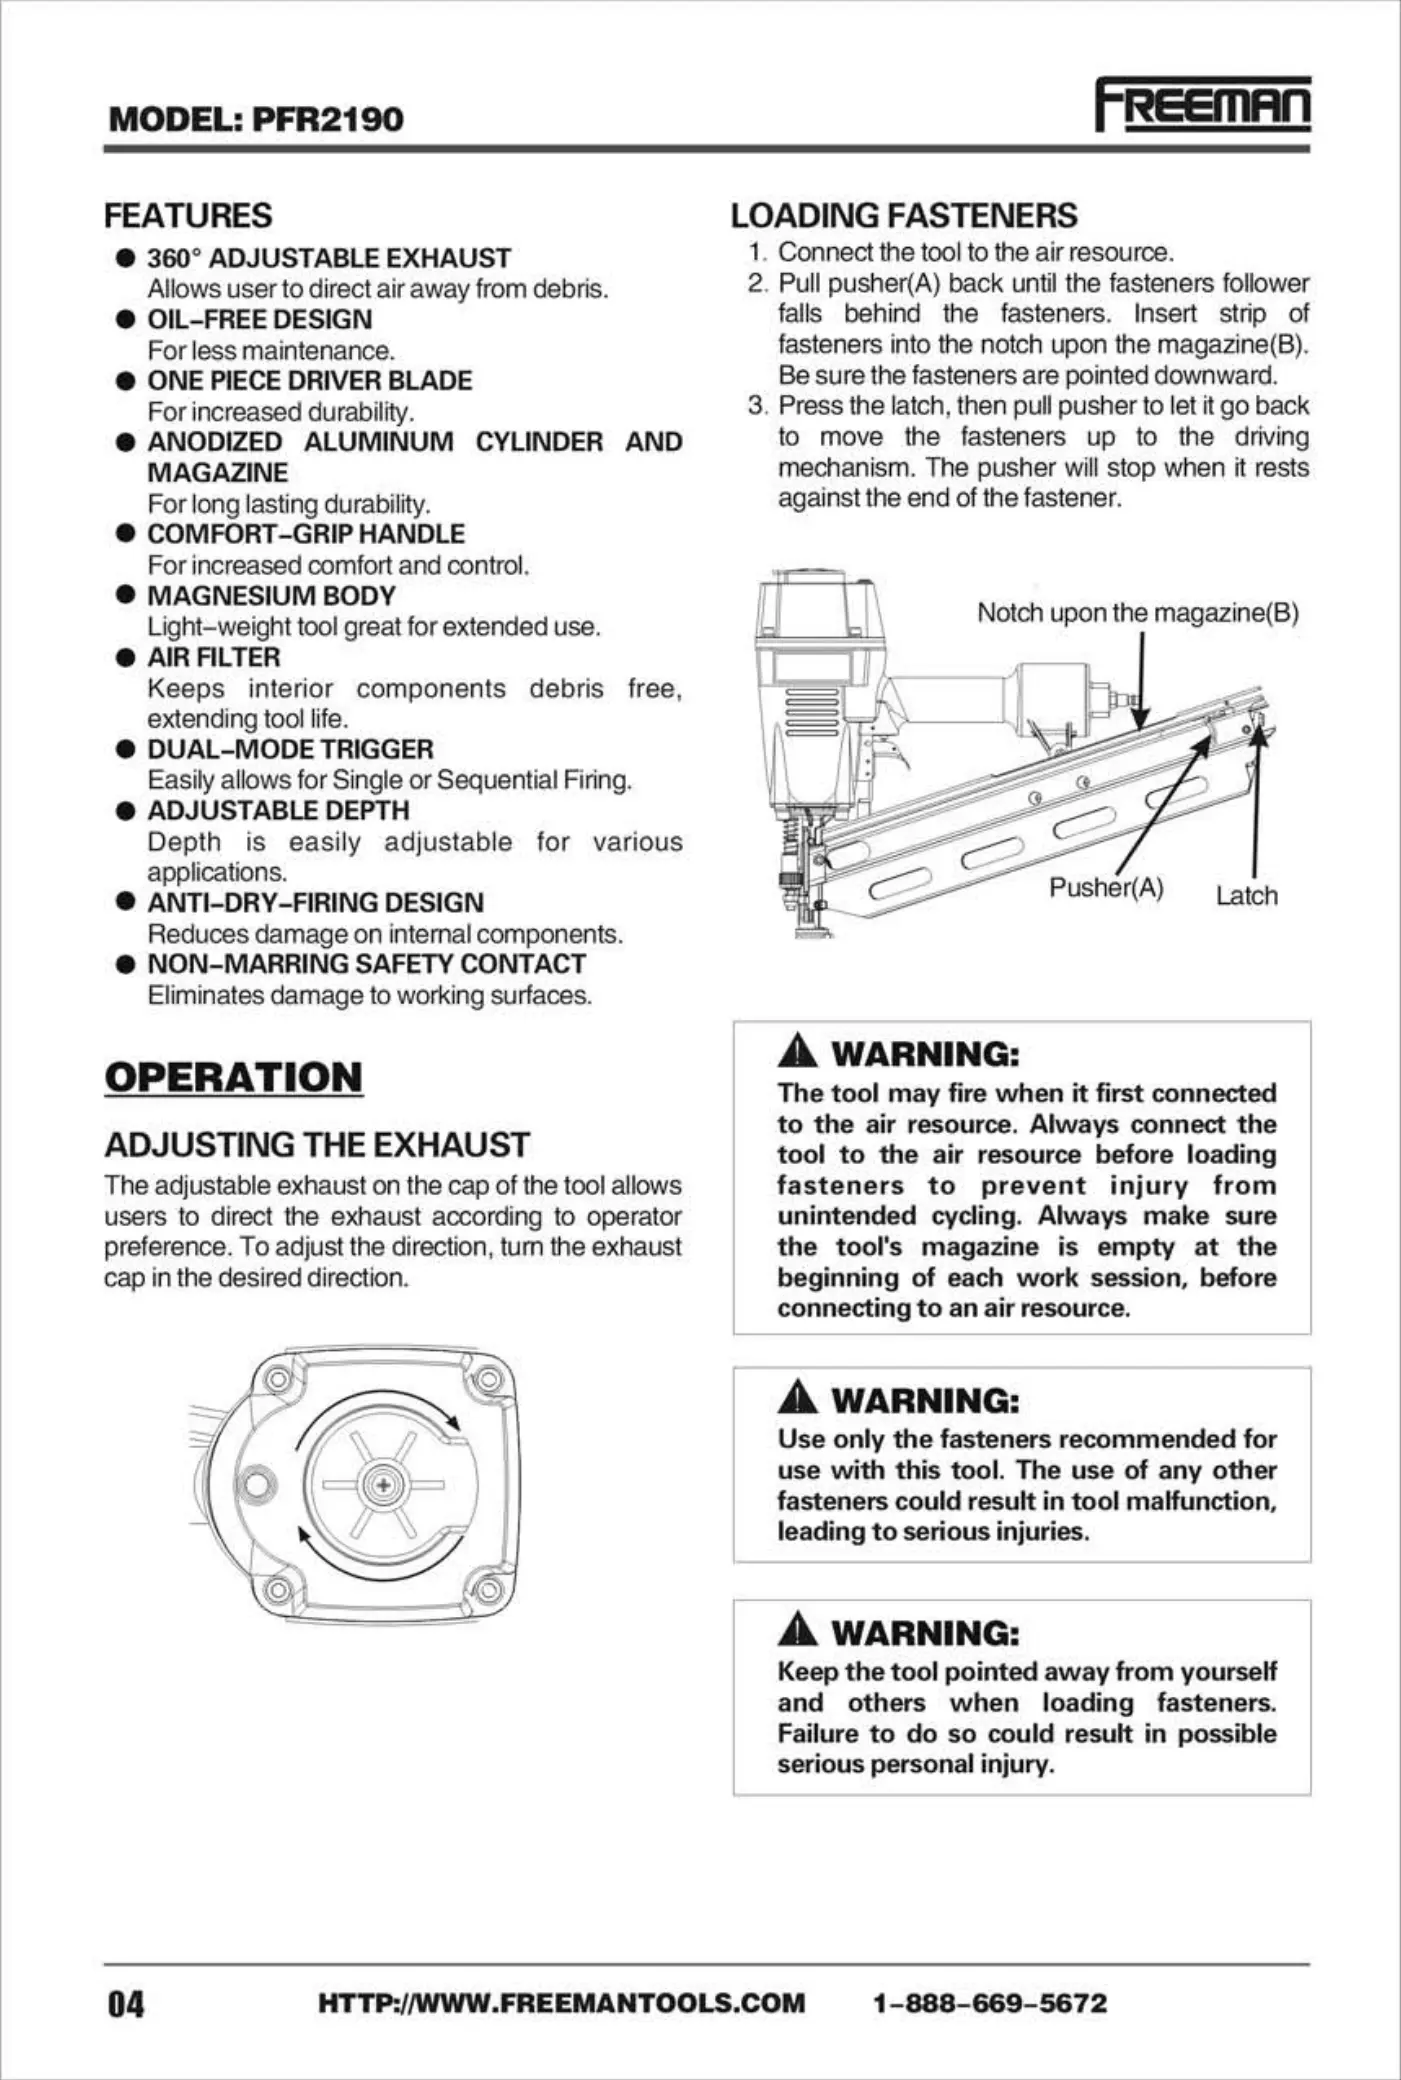
LOADING FASTENERS
1. Connect the tool to the air resource.
2. Pull pusher(A) back until the fasteners follower
falls behind the fasteners. Insert strip of
fasteners into the notch upon the magazine(B).
Be sure the fasteners are pointed downward.
3. Press the latch, then pull pusher to let it go back
to move the fasteners up to the driving
mechanism. The pusher will stop when it rests
against the end of the fastener.
Notch upon the magazine(B)
MODEL: PFR2190
A WARNING:
Never load fasteners with the workpiece
contact or trigger activated. Doing so
could result in possible serious personal
injury.
UNLOADING FASTENERS
Unloading is the reverse of loading, except always
disconnect the air resource before unloading.
A WARNING:
Always unload all fasteners before removing
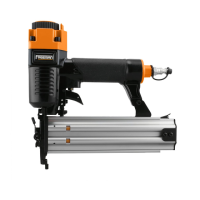
Easily allows for Single or Sequential Firing.
ADJUSTABLE DEPTH
Depth is easily adjustable for various
applications.
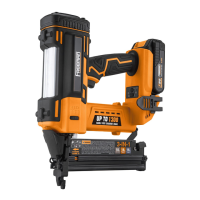
• ANTI-DRY-FIRING DESIGN
Reduces damage on intemal components.
• NON-MARRING SAFETY CONTACT
Eliminates damage to working surfaces.
OPERATION
ADJUSTING THE EXHAUST
The adjustable exhaust on the cap of the tool allows
users to direct the exhaust according to operator
preference. To adjust the direction, tum the exhaust
cap in the desired direction.
Pusher(A)
A WARNING:
Latch
tool from service.
A WARNING:
Always disconnect the air resource
unloading.
CLEARING JAMS
before
The tool may fire when it first connected
to the air resource. Always connect the
tool to the air resource before loading
fasteners to prevent injury from
unintended cycling. Always make sure
the tool's magazine is empty at the
beginning of each work session, before
connecting to an air resource.
A WARNING:
Use only the fasteners recommended for
use with this tool. The use of any other
fasteners could result in tool malfunction,
leading to serious injuries.
A WARNING:
Keep the tool pointed away from yourself
and others when loading fasteners.
Failure to do so could result in possible
serious personal injury.
Occasionally, a fastener may become jammed in
the firing mechanism of the tool, making the tool
inoperable. To rernove a jammed fastener, follow
the steps below:
1. Disconnect the tool from air resource.
2. Remove fasteners from the tool. Failure to do
so will cause the fasteners to eject from the front
of the tool.
3. Pull the jamrned fastener out from the nose, use
pliers or a screwdriver if required to clear the
jammed fastener. Using caution not to bend or
damage the driver blade.
4. Reconnect the tool to the air resource.
5, Reload the tool with fasteners.
A WARNING:
Make sure there is no fastener
magazine before clearing a jam.
in
REEman
A WARNING:
Disconnect the tool from the air source
whenever clearing a jam. After
disconnecting the tool from the air
compressor, there should still be enough
air pressure to fire the tool. After the air
hose is disconnected, always fire the tool
into scrap wood repeatedly to make sure
all of the compressed air is expended.
NO-MARRING PAD
The no—marringpad attached the nose of the tool
helps prevent marring and denting when working
with softer woods.
A WARNING:
Disconnect the tool from the air resource
before removing or replacing the no—
marring pad or replacing the no—marring
pad. Failure to do so could result in serious
personal injury.
SETTING THE AIR PRESSURE
The amount of air pressure required depends on
the size of the fasteners and the workpiece material.
Begin testing the depth Ofdrive by driving a test nail
into the same type of workpiece material used for
the actual job.
Drive a test fastener with the air pressure set at 90—
95psi. Raise or lower the air pressure to find the
lowest setting that will perform the job with
consistent results.
It may be possible to achieve the desired depth with
air pressure adjustments alone.
DEPTH ADJUSTMENT
The driving depth of the fasteners are adjustable.
To adjust the depth, use the drive depth adjustment
wheel(C) on the tool.
I. Disconnect the tool from the air resource.
2. Turn the depth wheel left or right to change the
driving depth.
3. Reconnect the tool to the air resource.
4. Drive a test nail after each adjustment until the
desired depth is set.
04
HTTP://WWW.FREEMANTOOLS.COM
1-888-669-5672
HTTP://WWW.FREEMANTOOLS.COM
1-888-669-5672
05
 Loading...