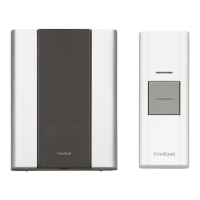
Libra+ 100m Chime with Push
Thank you for choosing this Friedland product. Please use the following instructions to
ensure correct installation and use. Keep these notes in a safe place for future reference.
Unpack your chime kit and identify the
following parts:
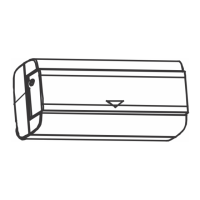
¬● Chime
● Chime bracket
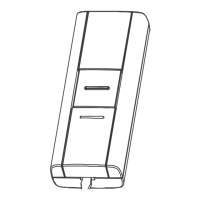
● Bell push
● CR2032 battery for bell push
● 2 x fixing screws for push
● 2 x fixing screws for chime
● 2 x wall plugs
● Adhesive pad
You will need:
● 3 X LR6 ‘AA’ Alkaline batteries
● A 4mm cross-head scrwdriver
● A small flat bladed screwdriver
● A 6mm masonry drill
Checking pack contents
Before proceeding with the installation,
please note the following safety warnings:
¬● Always follow the manufacturer’s advice
when using power tools and wear suitable
protective equipment (e.g. safety goggles)
when drilling holes etc.
¬● Before drilling holes in walls, check for
hidden electricity cables and water pipes,
the use of a cable/pipe locater maybe
advisable if in doubt.
Safety
The bell push supplied with this kit is pre-programmed to operate with the chime. You need to do the following to get started:
● Open the bell push
● Fit the push battery
● Fit the chime batteries
● Check the volume setting
When you operate the bell push, the chime will sound and the1st Icon will flash. If you have additional
pushes or you want to assign a different icon to your push, you will need to follow the programming procedure.
Quick start
2