Do you have a question about the Friedrich EP12G33 and is the answer not in the manual?
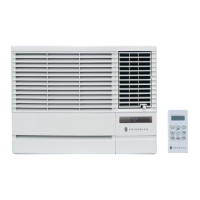
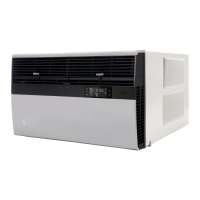
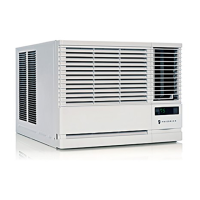
Information on model details and owner registration for your Friedrich air conditioner.
Ensure proper wiring, grounded outlets, and avoid extension cords for safe operation.
Tips for performance: keep filter clean, ensure good airflow, and optimize unit placement.
Follow instructions to prevent injury/damage. Understand WARNING and CAUTION symbols.
Use only specified, undamaged cords. Avoid wet hands and damp environments.
Do not direct airflow at occupants. Avoid harsh detergents for cleaning.
Avoid sharp parts when removing filter. Do not clean with water. Switch off and unplug before cleaning.
Do not operate without filter. Avoid direct airflow on pets/plants. Do not use for special purposes.
Handle batteries carefully. Wash skin if contact occurs. Consult doctor if liquid is ingested.
Explains power, temperature, mode, fan speed, timer, and auto swing functions.
Instructions for inserting AAA batteries into the remote control, noting polarity and type.
Close vent for cooling; open to discharge stale air. Adjust lever as shown.
Adjust louvers for horizontal/vertical airflow. Press top/button of horizontal louver for vertical adjustment.
Check and clean filter every 2 weeks. Includes removal, washing, and drying instructions.
How to drain excess water from the base pan using the drain cap and drainpipe.
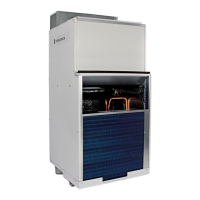
Diagrams labeling key components: deflectors, intake, filter, compressor, controls.
List of required tools: screwdrivers, ruler, scissors, pencil, level, hammer.
Installer/consumer notes, safety cautions on power cord and grounding.
Install securely, avoid direct sunlight, ensure proper clearance, and maintain a downward slope.
Specifications for standard double hung windows: opening width and vertical clearance.
List and images of screws, nuts, frame curtains, guides, supports, brackets, and drain pipe.
List of tools required: screwdriver, knife, pencil, ruler, hammer, level.
Steps: remove shipping screws, slide unit out, attach Foam-PE to window sash.
Insert frame guides and curtain, then secure curtains with Type A screws.
Mark center line on stool, place cabinet, align marks, pull sash behind Upper Guide.
Assemble and attach Sill Support near outer point on sill using Type A screws.
Install with downward tilt. Adjust Sill Support for balance. Secure cabinet to stool with Type B screws.
Pull frame curtains, attach to sash. Insert unit into cabinet, re-secure screws.
Cut Foam-Strip to width and wedge between window sashes.
Attach the Window Locking Bracket with a Type C screw.
Attach front grille by snapping tabs. Secure inlet grille with a Type A screw.
Window installation complete. Refer to ELECTRICAL DATA for outlet connection.
Ensure louvers project outdoors, case is level with slight tilt, and flashing is used.
Caulk sides, use flashing for moisture. Place support strips and insert unit into case.
Possible causes: unplugged, blown fuse/tripped breaker, power failure, or tripped interrupter device.
Possible causes: restricted airflow, thermostat setting, dirty filter, hot room, or escaping cold air.
Cause: iced-up cooling coils blocking airflow. Set to high fan to thaw; may indicate a bigger problem.
Covers parts for 12 months and sealed refrigeration system for 60 months from original purchase.
Excludes installation issues, consumables, and consequential damages. Applies to US/Canada.
Service by Authorized Dealers. Contact Friedrich for assistance. Proof of purchase required.
| Brand | Friedrich |
|---|---|
| Model | EP12G33 |
| Category | Air Conditioner |
| Language | English |