3) Plug the USB cable to the Micro USB port located inside the lens mount of the adapter.
4) Connect the other end of the cable to a USB port of your PC or MAC. Then a mobile drive named
‘FRINGER’ emerges. Open ‘VERSION.TXT’ on that drive and check current firmware version (the
line begins with ‘Version:’).
5) If upgrading is needed, copy the downloaded firmware file to the drive named ‘FRINGER’. Wait for
about 20 seconds. Ignore any error messages about the drive. The adapter would disconnect itself
and reconnect. The ‘FRINGER’ drive would appear again. If it doesn’t reconnect automatically,
disconnect the USB cable and reconnect it with the computer.
6) Check VERSION.TXT again and make sure its firmware version has changed to the new one.
Note: Do not copy files other than the official firmware to the adapter.
Troubleshooting:
Some of the cables in the market are for charging only and not suitable for data transfer. Thus, if
you can’t find the “FRINGER” drive when adapter is connected to the computer, check your cable!
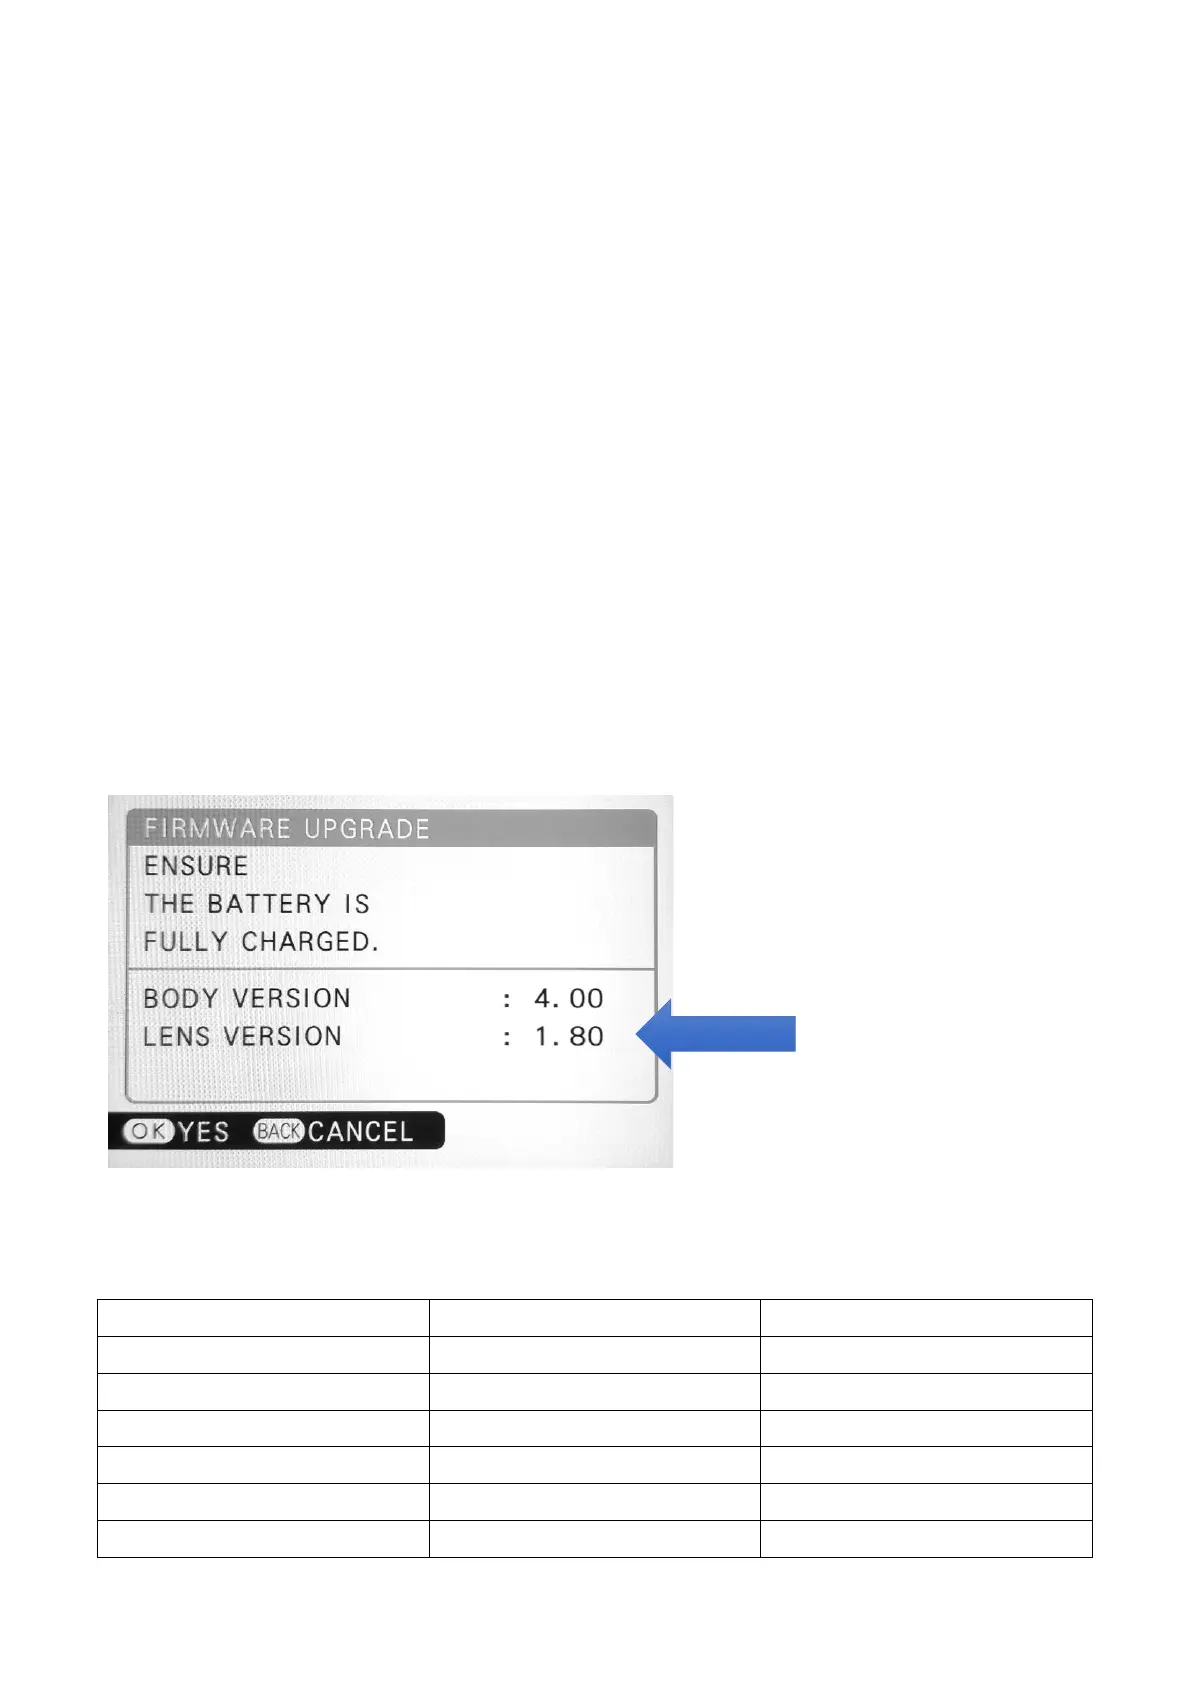
You may also read the adapter’s firmware version by Fujifilm’s method, i.e. press and hold DISP
button before power on the camera. The “Lens version” on the screen is actually the adapter’s
firmware version. See the following figure.
5. Tested and optimized lens list (Gen 2/3 firmware v2.80)
Canon EF/EFS (128)
 Loading...