Do you have a question about the Frizzlife MS99 and is the answer not in the manual?
Check system and components for missing or damaged items upon delivery.
Lists necessary tools like adjustable wrench, screwdriver, and utility knife for installation.
Provides specifications like model, flow rate, water pressure, and temperature limits.
Lists all parts included in the package, such as tubing, fittings, and valves.
Guidance on cutting and connecting PEX tubing if it is too long for the installation.
Connects the system to an under-sink water supply using PEX or copper tubing.
Connects the system to a refrigerator's angle valve using PEX or copper tubing.
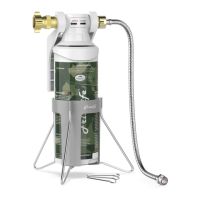
Mounting the bracket onto a wooden plate using provided screws for the filter system.
Connecting the feed water valve to the angle valve and attaching PEX tubing.
Attaching fittings to the filter cap and connecting the supply and filtered tubing.
Seating the filter cap onto the bracket and attaching the filter cartridge to the cap.
Flushing the filter with water for 5-10 minutes to remove carbon fines.
Connecting the outlet tubing from the filter system to the refrigerator inlet.
Final check for any water leaks after the complete installation of the system.
Mounting the bracket onto a wooden plate using provided screws for the filter system.
Connecting the inlet tubing to the refrigerator water valve after removing the nut and insert.
Attaching fittings to the filter cap and connecting the supply and filtered tubing.
Seating the filter cap onto the bracket and attaching the filter cartridge to the cap.
Flushing the filter with water for 5-10 minutes to remove carbon fines.
Connecting the outlet tubing from the filter system to the refrigerator inlet.
Final check for any water leaks after the complete installation of the system.
Step-by-step guide on how to replace the filter cartridge, including unscrewing the housing and flushing.
Details the terms and conditions of the two-year limited warranty for the filter system.
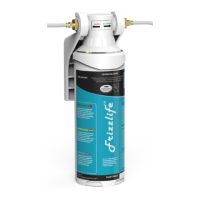
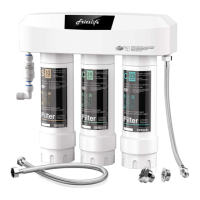
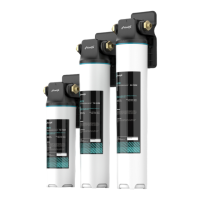
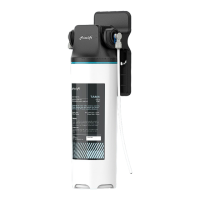
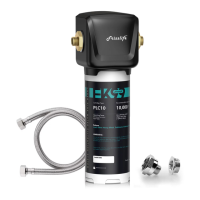
The Frizzlife MS99 is a refrigerator water filter system designed to provide clean, filtered water for household use, specifically for refrigerators with water dispensers or ice makers, or for under-sink cold water lines. This system aims to improve water quality by reducing various contaminants, ensuring that the water used for drinking and cooking is safer and tastes better. The MS99 system is engineered for ease of installation and maintenance, offering flexibility in how it can be integrated into existing plumbing setups.
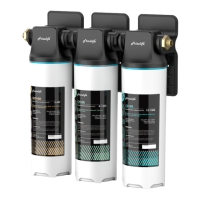
The primary function of the Frizzlife MS99 is to filter tap water, removing impurities before it reaches your refrigerator or cold water tap. It utilizes a 2-in-1 composite filter cartridge (FZ-2) that is designed to tackle common water quality issues. While the manual does not explicitly detail the specific contaminants removed, such composite filters typically target sediment, chlorine, lead, and other heavy metals, as well as improving taste and odor. The system is intended for cold water use only and should not be used with water that is microbiologically unsafe or of unknown quality without adequate disinfection. Its design incorporates an auto shut-off feature, which simplifies filter cartridge replacement by eliminating the need to turn off the main water supply during the change-out process. This ensures a continuous and convenient supply of filtered water, enhancing the overall user experience by making routine maintenance less disruptive.
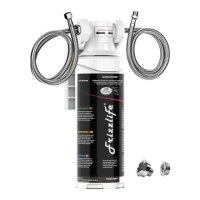
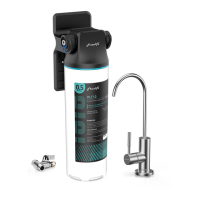
The Frizzlife MS99 offers versatile installation methods, allowing it to be connected either to an under-sink cold water line or directly to a refrigerator angle valve. This flexibility ensures compatibility with various kitchen configurations. The system supports both PEX tubing (included in the package) and flexible copper tubing (not included), providing options for different plumbing preferences.
For installation, the process is broken down into clear, step-by-step instructions. Users begin by installing the system's bracket onto a wooden plate, ensuring a secure mounting. The bracket can be detached from the system for easier marking and drilling of screw spots. Once the bracket is in place, the filter cap is twisted off, and the 1/2' straight fittings are attached to both the 'supply' and 'filtered' sides of the cap. The PEX tubing is then connected to these fittings. The manual emphasizes proper tubing insertion into the quick fittings, advising users to push the tubing fully until it is securely seated and then to apply blue lock clips to prevent accidental disconnections and potential leaks. If space is constrained, an elbow fitting is provided as an alternative to the 1/2' straight fitting on the filter system, offering more convenient installation in tight areas.
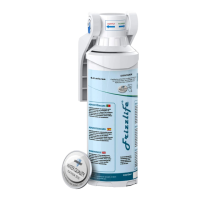
After connecting the tubing to the filter cap, the cap is reattached to the bracket, and the filter cartridge is twisted back into the cap, firmly seating the system. A crucial step after installation is flushing the filter. Users are instructed to place the outlet tubing into a sink or a suitable draining area and open the water valve. The filter should be flushed for 5-10 minutes. During this initial flush, it is common to observe black particles, which are carbon fines from the filter media, and this is considered normal. Following the flush, the system is connected to the refrigerator or the cold water line, and all connections are checked for leaks. The manual provides visual aids and detailed descriptions for each step, making the installation process accessible even for users with limited plumbing experience.
Maintenance of the Frizzlife MS99 primarily revolves around the timely replacement of the filter cartridge and regular leak inspections. The 2-in-1 composite filter cartridge (FZ-2) has a recommended replacement period of 6-8 months. However, the manual notes that the actual service life can vary depending on the source water quality and daily water usage. This highlights the importance of monitoring water flow and taste to determine the optimal replacement schedule for individual households.
The system is designed with an auto shut-off feature, which is a significant convenience for maintenance. This feature means that users do not need to turn off the main water supply when replacing the filter cartridge. To replace the cartridge, users simply twist the housing counter-clockwise and use a wrench to unscrew the housing body. The old cartridge is then removed, and a new one is loaded in its place. The housing is then screwed back on in the same manner. After installing a new cartridge, it is essential to flush it for 5-10 minutes before regular use to remove any loose carbon fines and prepare the filter for optimal performance.
Beyond filter replacement, the manual stresses the importance of regular checks for water leakage. Since many components are made of plastic, they can eventually break or crack from stress. Therefore, continuous leak inspection is crucial to prevent property damage. The system should also be protected from freezing temperatures, as freezing can cause the filter to crack and lead to water leakage. The manual also advises against using the system outdoors or in locations exposed to direct sunlight or freezing conditions, reinforcing the need for proper environmental protection to ensure the longevity and effectiveness of the filter. Adherence to these maintenance guidelines is vital for ensuring the system operates efficiently and provides clean water consistently.
| Brand | Frizzlife |
|---|---|
| Model | MS99 |
| Filter Type | Reverse Osmosis |
| Flow Rate | 0.8 GPM |
| Water Production Rate | 50 GPD |
| Weight | 15 lbs |
| Installation | Under Sink |
| Operating Pressure | 40-80 psi |
| Operating Temperature | 40-100°F |
| Filtration Method | Reverse Osmosis |
| Certifications | NSF, WQA |
| Filtration Stages | 3-Stage |