Instruction Manual for FrSky R9M 2019 ( EU ) Module
FrSky Electronic Co., Ltd www.frsky-rc.com Contact us : frsky@frsky-rc.com
Add:F-4,Building C, Zhongxiu Technology Park, No.3 Yuanxi Road, Wuxi, 214125, Jiangsu, China Technical Support: sales4tech@gmail.com
FrSky is continuously adding features and improvements to our products. To get the most from your product, please check
the download section of the FrSky website www.frsky-rc.com for the latest update firmware and manuals
Note:
1. The 2 modes both conform to the CE standard.
2. The receiver should be rebound after switching the modes between Telemetry (25mW) and No
Telemetry (200mW/500mW).
More information please refer to the introduction manual for transmitter.
• No Pulse: on loss of signal the receiver produces no pulses on any channel. To use this type, select it in the menu
and wait 9 seconds for the failsafe to take effect.
• Hold: the model will maintain the last position after the signal is lost. To use this type, select it in the menu and wait
9 seconds for the failsafe to take effect.
• Custom: the customized position of each individual channel. The model will move to the pre-set position after the
signal is lost. Move the cursor to “Set” and press ENTER, you
will see FAILSAFE SETTING screen below. Move
the cursor to the channel you want to set failsafe on, and press ENTER. When moving the crresponding sticks or
switches, you will see the channel bar moving. Move the channel bar to the place you want for failsafe and long
press ENTER to finish the setting. Wait 9 seconds before the failsafe takes effect.
How to Set Failsafe mode (on the transmitter)
There are 3 failsafe modes: No Pulse, Hold, Custom
Note: If failsafe is not set, the model will hold the last position after signal is lost , thus it may fly away
or cause injury.
Range Check
A pre-flight range check should be done before each flying session. Reflections from nearby metal fences, concrete
buildings or trees can cause loss of signal both during range check and during the flight. Under Range Check Mode,
the RF power would decrease and Range distance will reduce to 1/30--1/10 that of Normal Model.
1. Place the model at least 60cm (two feet) above non-metal contaminated ground (e.g on a wooden bench). The
receiver antenna should be in vertical position.
2. For Taranis X9D/X9D Plus/X9E and Taranis Q X7/X7S, turn on the transmitter and the receiver, go to: MODEL
SETUP/External RF/ Mode R9M/Range.
3. For Horus X12S/X10/X10S, turn on the transmitter and the receiver, go to: MDL/RF SYSTEM/External RF (ON)/
STATE (RANGE).
4. For PPM mode: Shorten TX&RX, power on R9M 2019 again.
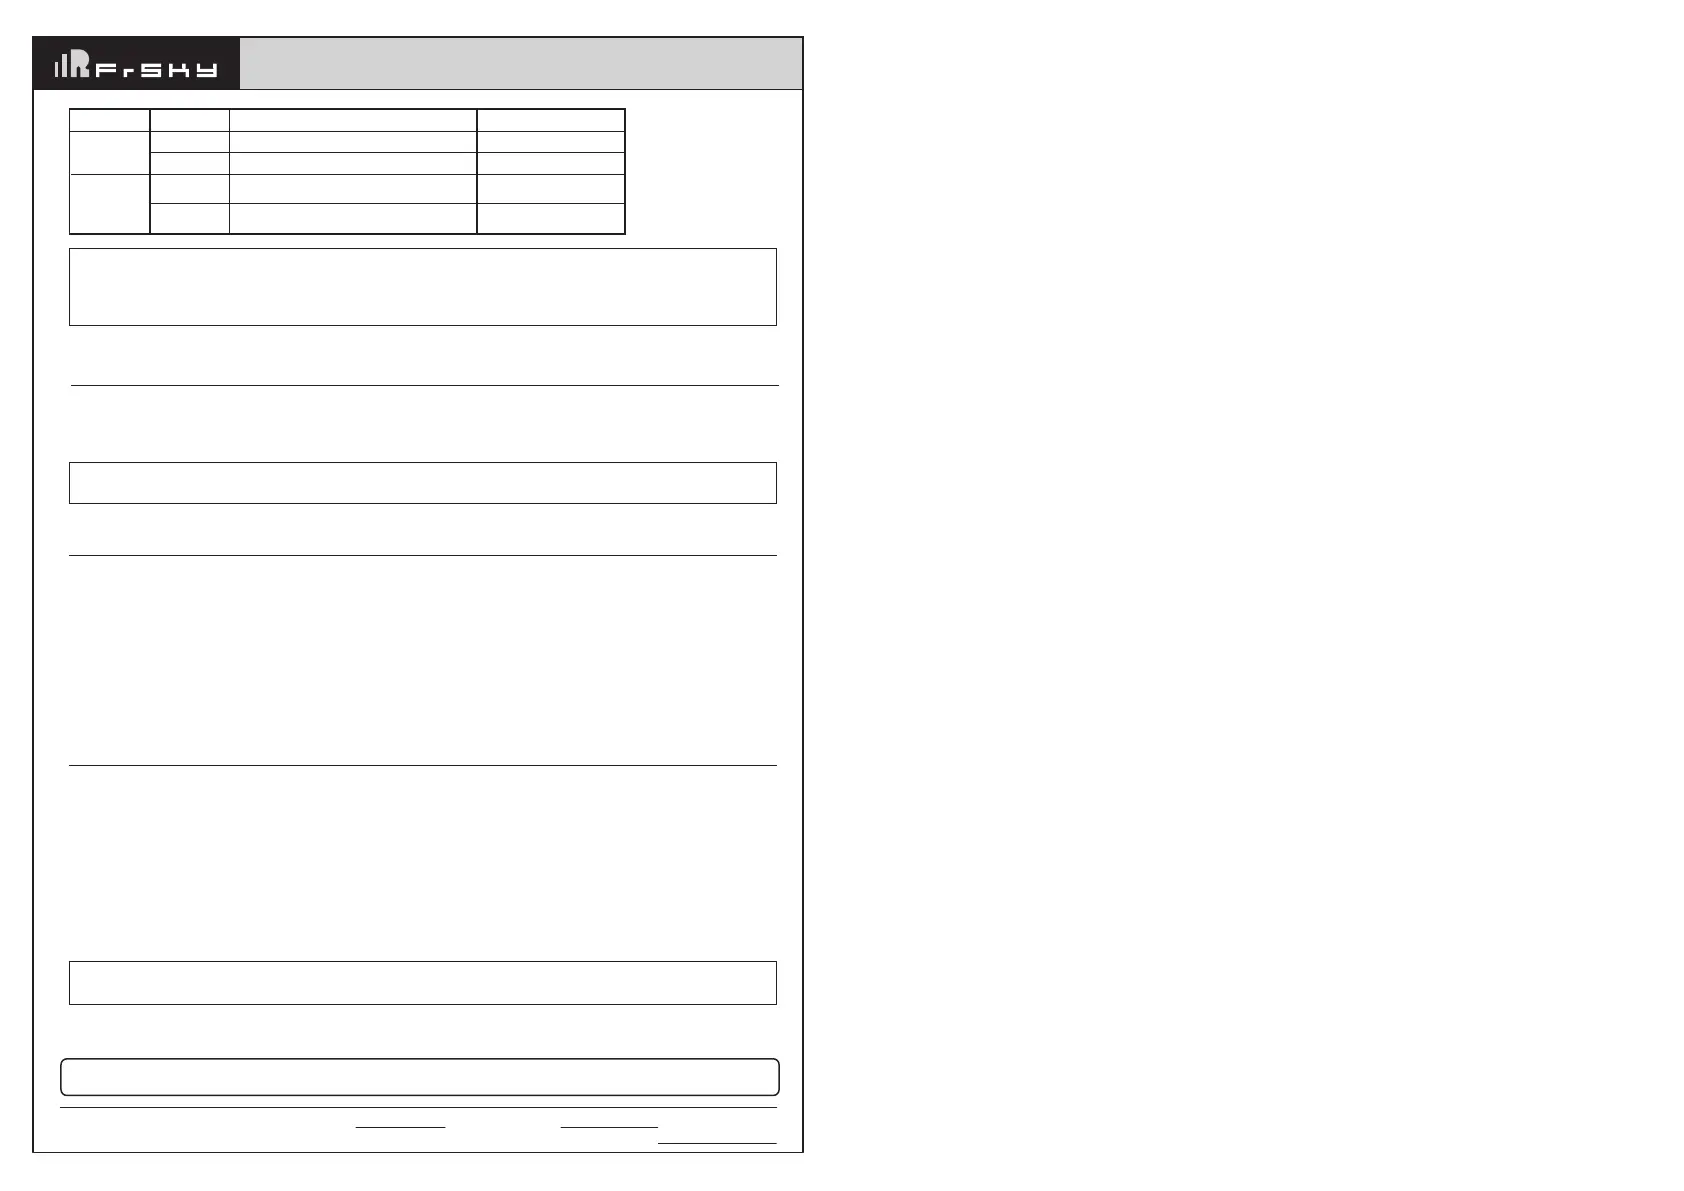
Switch 1
Switch 2
Status
LED Blink (Times)
OFF
ON
ON
OFF
ON
OFF
Telemetry mode (25mW, 8CH output)
Telemetry mode (25mW, 16CH output)
Once (Green)
Twice (Green)
No telemetry mode (200mW)
No telemetry mode (500mW)
Twice
(Green&Red)
Three times
(Green&Red)
How to enable/disable the S.Port of R9M 2019
-- For Taranis X9D/X9D Plus and Taranis Q X7/X7S, If you want to turn on the S.Port of R9M 2019, turn off the
Internal RF.
-- For Horus X12S/X10/X10S, turn on the transmitter. go to the RF SYSTEM, choose the External RF and select
the R9M, and select the S.Port or not.
Note: If S.Port is disabled, communication related to S. Port between R9M 2019 and the transmitter will
be cut off.
 Loading...