Do you have a question about the FUFU & GAGA Armoire and is the answer not in the manual?
Read the entire manual before assembling or using the product for thorough guidance and future reference.
Assemble furniture on a soft surface, like a rug, to prevent scratching the finish.
Collaborate with a partner to speed up assembly and reduce overall installation time.
Prevent serious injury by securing furniture to the wall using appropriate attachments.
Re-tighten screws regularly and follow care instructions for longevity and stability.
Gather all necessary tools before starting the assembly process.
Confirm each screw corresponds to the manual; distinguish similar shapes by size.
Insert quickfit screws (A) into corresponding holes in side panels (No.5 and No.6).
Insert quickfit screws (A) into corresponding holes in the base panel (No.3).
Connect side panels (No.5, No.6) to the base (No.3) using dowels (C) and cam locks (B).
Attach top plate (No.1) and bottom plate (No.4) using dowels (C) and screws (D).
Secure the back panel (No.7) using screws (E) and attach part (F) with washer (P) and screw (O).
Fix wheels (G&H) to the base plate (No.4) using screws (O).
Fix hinges (J) to door plates (No.8, No.9) with screws (I) and attach knobs (L) with screws (K).
Attach door plates (No.8, No.9) to cabinet panels (No.5, No.6) using hinges and screws (I).
Adjust screws on hinges to achieve the best door alignment and condition.
Insert shelf supports (M) into side panels and place shelves (No.2) as illustrated.
Fix the item to the wall using hardware (D,N,P) for enhanced stability and safety.
Details on 30-day warranty, claim procedure, and requirements for returns or replacements.
Failure to follow instructions invalidates warranty; covers transportation damage, not installation damage.
Manufacturer not liable for misuse, user damage, or loss of parts during installation.
Covers sheet and electrical parts for 1 month from the date of purchase.
Follow retailer's instructions for returning items if you have simply changed your mind.
Contact us for assistance if your item is defective and the cause is unidentified.
Refuse delivery for obvious shipping damage; follow retailer instructions if damage is found after acceptance.
Save all packaging material; disposing of it may jeopardize your claim or credit.
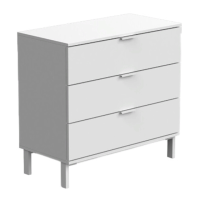
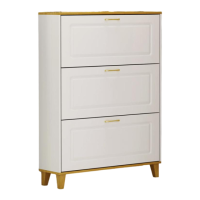
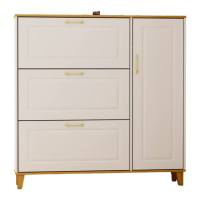
| Product Type | Armoire |
|---|---|
| Material | Wood |
| Number of Doors | 2 |
| Number of Drawers | 3 |
| Assembly Required | Yes |
| Color | White |