Fax/Internet Fax
205
Fax
4
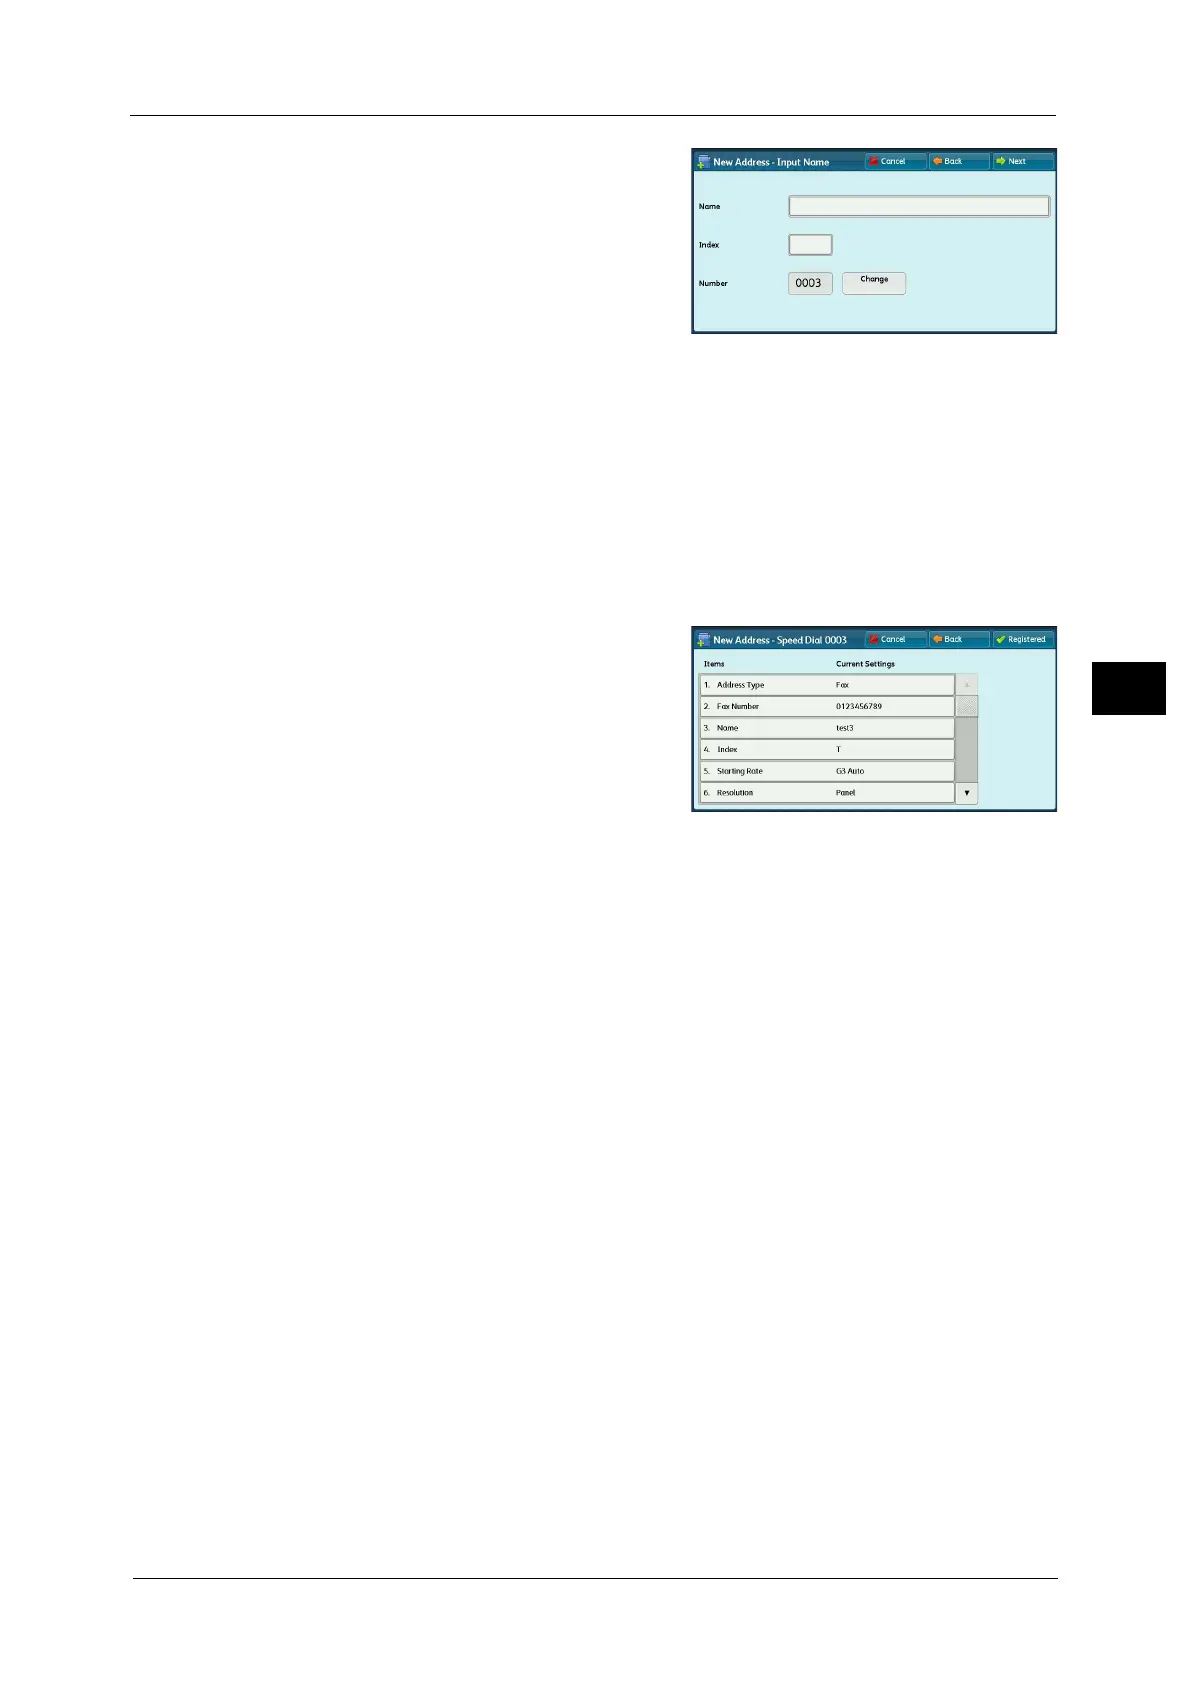
5 Select [Name], enter a name using the
keyboard displayed on the screen, and then
select [Save].
For information on how to enter characters, refer to "Entering
Text" (P.73).
6 To change the index, select [Index], select a new character from the keyboard displayed on
the screen, and then select [Save].
You can register a single alphanumeric index character for use as a keyword to search with
the Address Book.
For information on how to enter characters, refer to "Entering Text" (P.73).
7 To the address number, select [Change], select a number from the list, and then select
[Save].
8 Select [Next].
Note • To return to the previous screen, press the [Back] button.
9 Select an item to set and set.
The following items appear:
z
Address Type
z
Fax Number
z
E-mail Address
z
Name
z
Index
z
Extension / Outside Line
z
Relay Station Setup
z
Starting Rate
z
Resolution
z
Cover Page
z
Maximum Image Size
z
Delay Start
z
Remote Folder
z
F Code
z
Relay Broadcast
z
Billing - Day Time, Billing - Night Time, Billing - Midnight
z
Internet Fax Profile
z
S/MIME Certificate (ApeosPort Series Only)
Note • The items to be displayed on the screen depend on the Address Book entry type.
• To delete the input data and return to the [Fax Address Book] screen, select [Cancel].
For more information on the setting items, refer to "5 Tools" > "Setup" > "Add Address Book Entry" in the Administrator
Guide.
10 When the settings are completed, select [Registered].
Note • To return to the previous screen, press the [Back] button.
 Loading...


