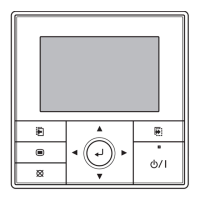
En-4
■
Details on Demand Response mode
DR mode Description of operation in this mode
DR mode 1 Compressor off .
DR mode 2
electrical energy consumption in 30 minutes:
50 % or less
(compared with rated energy consumption)
DR mode 3
electrical energy consumption in 30 minutes:
75 % or less
(compared with rated energy consumption)
NOTES:
• During the DR mode, the cooling or heating performance may be
reduced.
• During the DR mode, only the following operations are valid.
- Turning off the operation by the remote controller
-Off timer operation
• During the DR mode, the Filter sign will not display.
• Timer setting error indicator will be prioritized over the DR mode
indicator.
If you have operational issues:
(1) Contact your electricity supplier to check whether they are activating
the DR mode.
(2) Is the air conditioner under the Demand controlling?
Yes
Contact your electricity supplier.
No • Contact Fujitsu General (AUST.) PTY LIMITED. (Refer to
your warranty card.)
or
• Visit our website (www.fujitsugeneral.com.au).
6. CLEANING AND CARE
CAUTION
• Before cleaning the indoor unit, be sure to turn it off
and disconnect all the power supply.
• The fan operates at high speed inside the unit and
could result in personal injury.
• If the fi lter cleaning involves high-place work, consult
the professional technical service personnel.
• Do not expose the indoor unit to liquid insecticides or
hair sprays.
• Do not stand on slippery, uneven, or unstable
surfaces when you maintain the unit.
When cleaning the unit, do not use water hotter than 40 °C,
harsh abrasive cleansers, or volatile agents like benzene or
thinner.
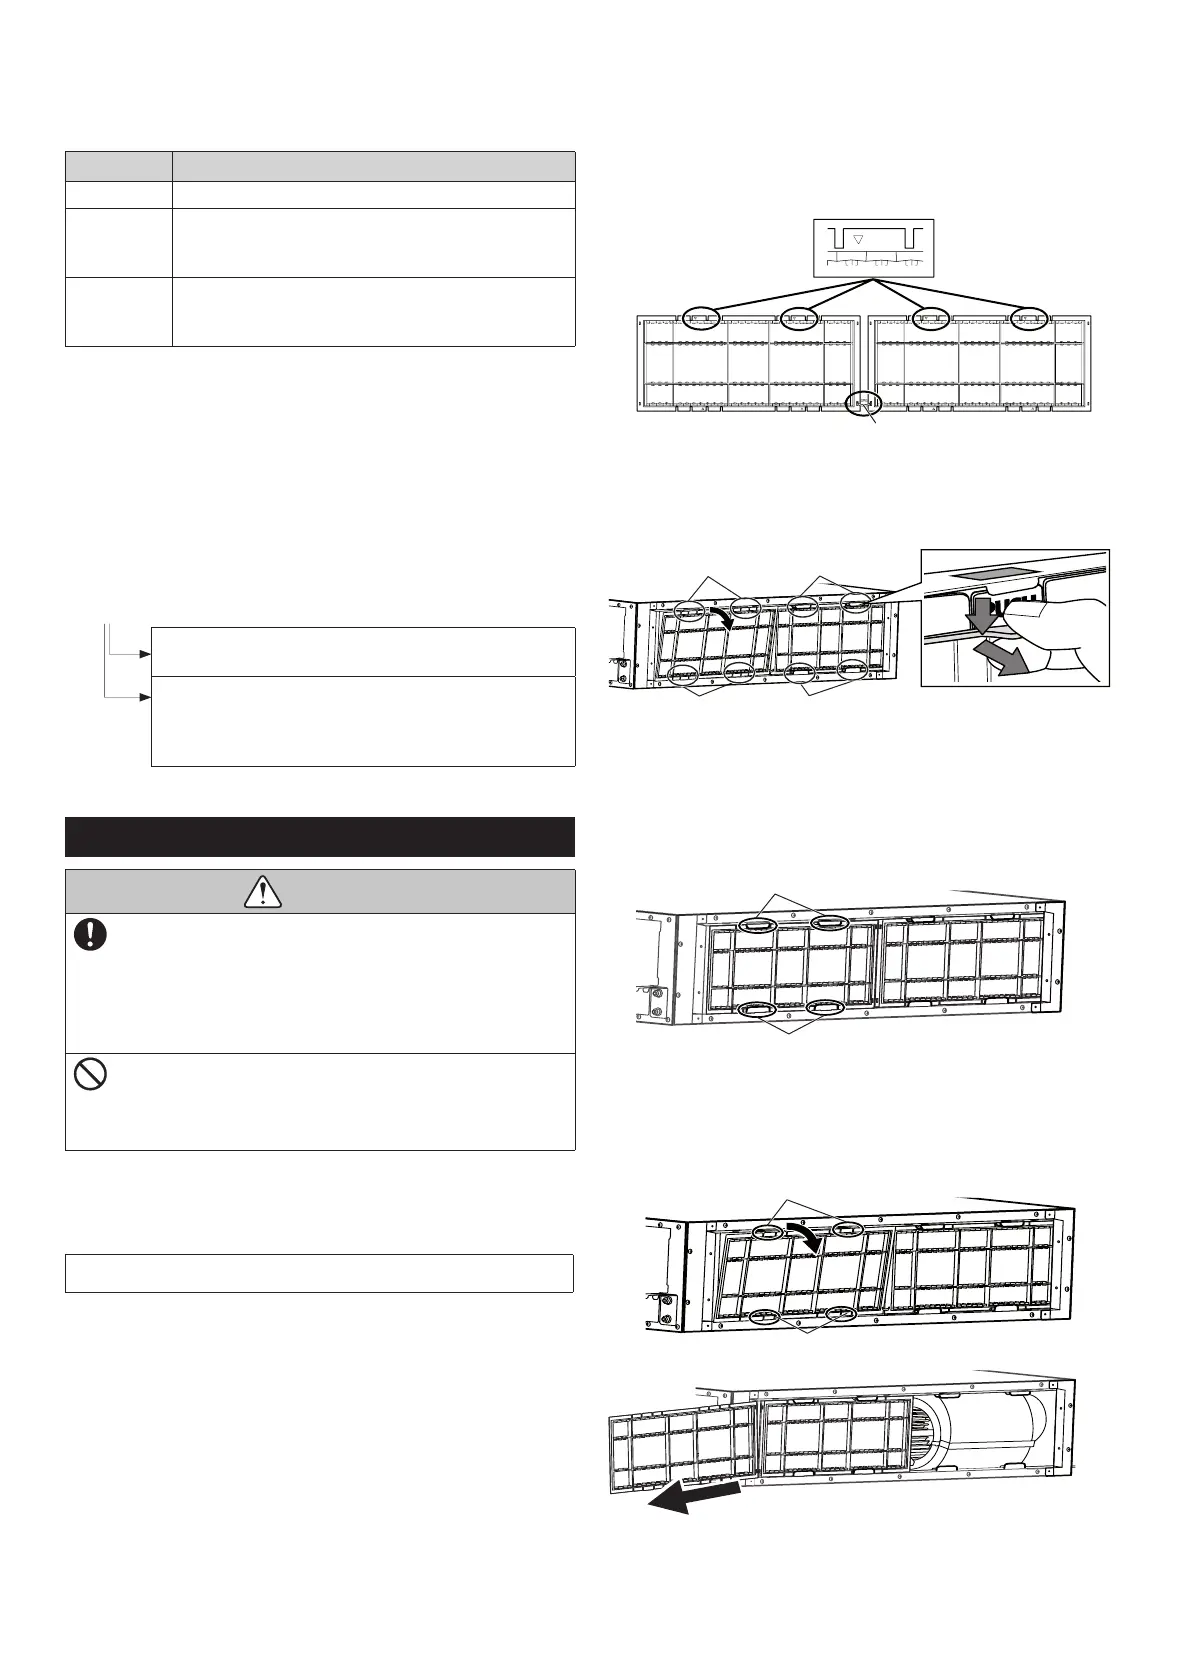
Cleaning air fi lter (optional)
NOTE:
The air fi lters are optional parts. When purchasing, contact the
store where you purchased this air conditioner.
<Overview of air fi lters>
There are two air fi lters, which are bound with a cable tie.
*The side bound with the cable tie is the bottom.
*The side with "PUSH" markings is the front.
1.
Remove the air fi lters.
(1) Pinch and push down the tabs (4 places by each air fi lter) to
release them from the hooks.
(2) Pull out the air fi lters.
3.
Remove the dust in either of the following ways.
• Cleaning with vacuum cleaner.
• Washing with mild detergent and warm water. After washing, dry the
air fi lters thoroughly in shade.
4.
Install the air fi lters.
Fit each air fi lter to the 4 hooks on the indoor unit.
■
When the rear hooks cannot be released
Remove the air fi lters
Remove the 4 hooks shown in the fi gure, and pull out the left air fi lter.
When the right air fi lter comes to the fore, remove the hooks in the
same way and remove it.
⅝ⅢⅠ⅕
⅝ⅢⅠ⅕
⅝ⅢⅠ⅕
⅝ⅢⅠ⅕
⅝ⅢⅠ⅕
⅝ⅢⅠ⅕
⅝ⅢⅠ⅕
⅝ⅢⅠ⅕
⅝ⅢⅠ⅕
Bound with cable tie
Hooks Hooks
PUSH
Hooks Hooks
Hooks
Hooks
Hooks
Hooks
9381067237_OM_EN.indd 49381067237_OM_EN.indd 4 2021/8/30 10:19:122021/8/30 10:19:12