3
Side-to-side position
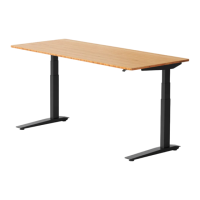
In our experience, desks have better lateral stability the further apart the legs are. We position
the screw holes for the Side Brackets 2" in from the sides of the desktop. This leaves about 1"
of desktop overhang and maximizes lateral stability.
Placing the holes at least 2" in from the sides lowers the chance that your desktop will split
during drilling.
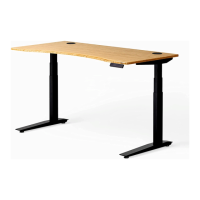
Front-to-back position
To avoid a tripping hazard with the feet, ensure the front-most hole of the Side Bracket is at
least 6” from the front of your desk.
For reference, the Side Bracket is 21" in length.
Laying it out
The easiest way to position your own desktop is to partially assemble the frame and use it as
a guide. This frame assembly is easier to maneuver than the entire frame and will allow you to
see exactly how things line up and where all of the holes should be.
1. Lay your desktop on a padded workspace with the underside facing up, and the front of
the desktop towards you.
2. Without the Lifting Columns, attach the Side Brackets to the Frame Ends as shown in
Step 1, on page 3 in the Remi Assembly Instructions.
3. Slide the Center Rails into the Frame Ends.
4. Position the frame assembly on the underside of your desktop, with the screw holes in
the Side Brackets 2" or more from the side edges of the top, and the front-most hole
6" or more from the front (user-facing) edge of the top.
5. Your Control Box fits best placed toward the back of the desk. For placement refer to
Step 6 in the Remi Assembly Instructions.