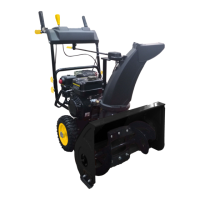
3.Slide the crank handle through the mounting hole
on upper handle.
Mounting Hole
4.Attach the crank handle to the mount bracket onto
the chute housing using spring locking pin.
Spring Locking Pin
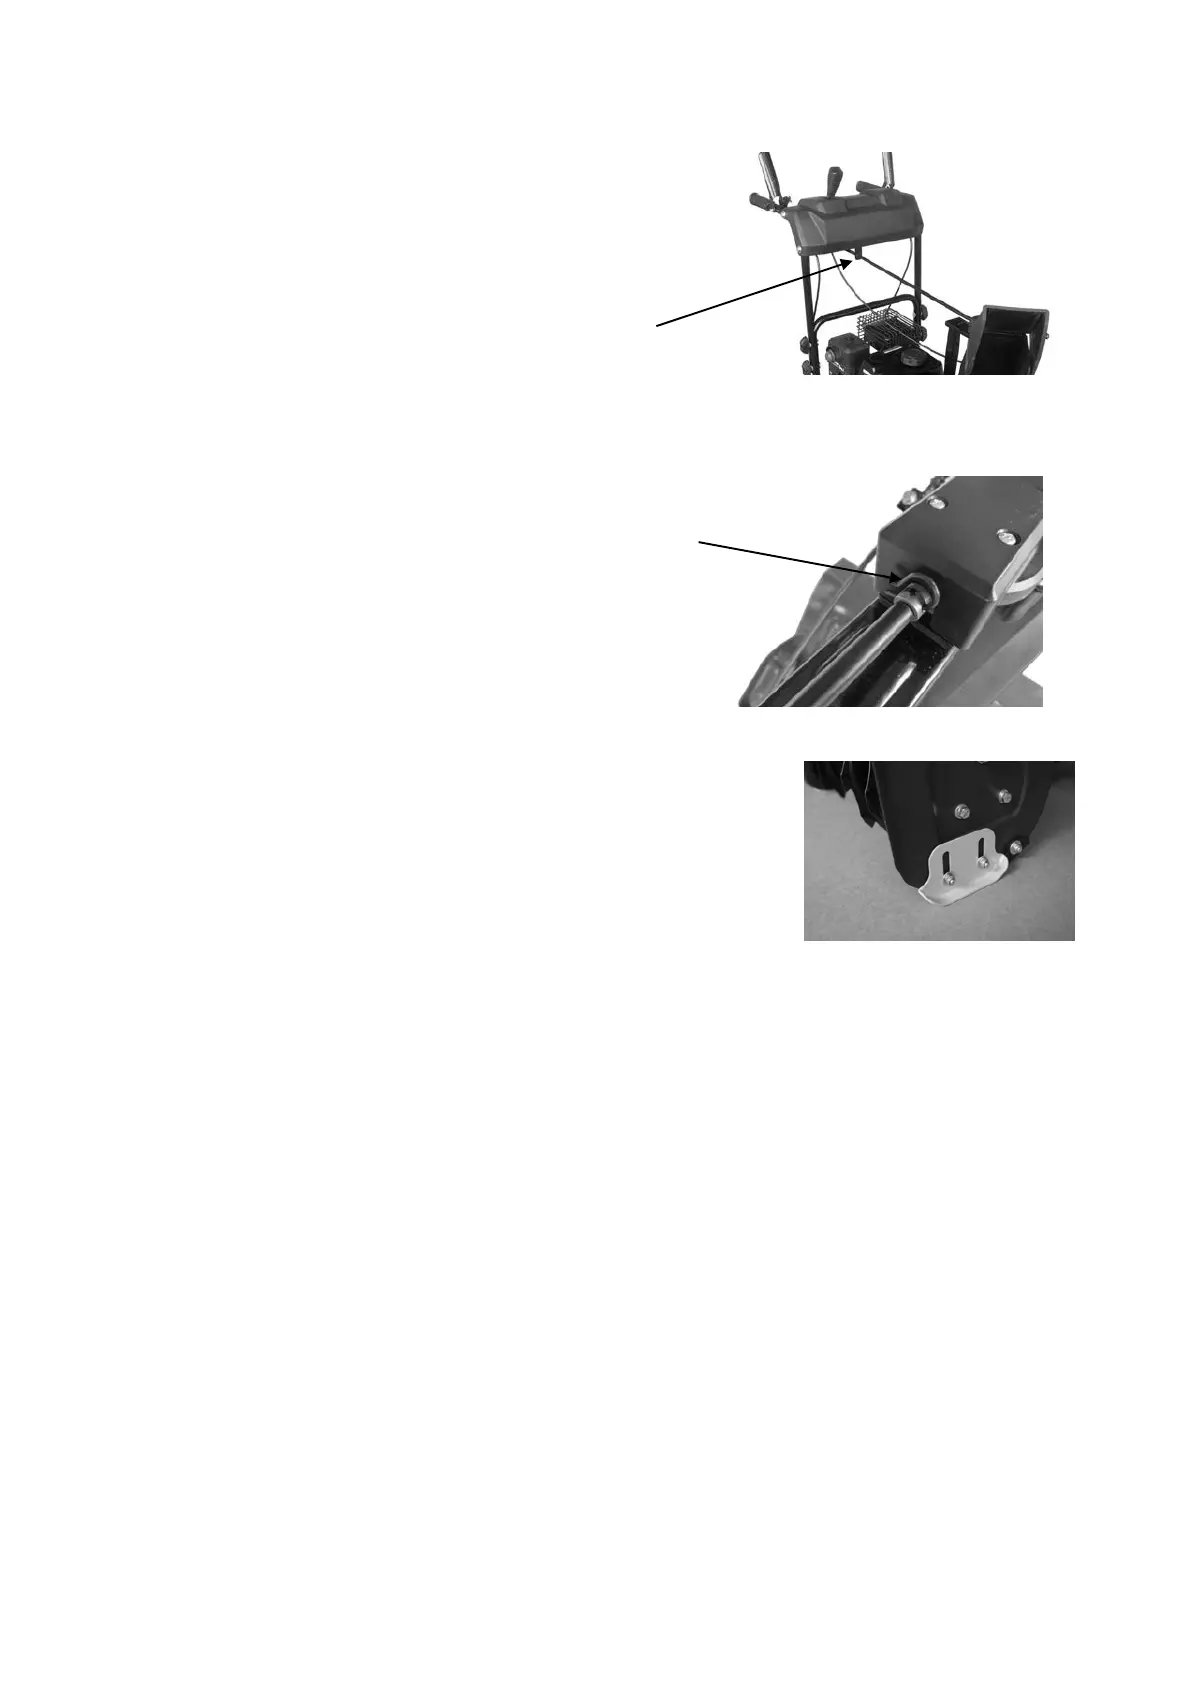
Step 3 – Skid shoes installation and adjustments
1. Locate the pair of skid shoes from parts bag and remove the bolts.
2. Loosely install the skid shoes using the bolts and hex nuts
as shown on each side of the auger housing. Make sure
the skid shoe tip faces out.
Adjustment of the skid shoes sets the height above the ground
at which the auger shave plate operates.
For clearing snow from concrete, asphalt, and other smooth surfaces, set the auger shave
plate so that the bottom of the plate is just above the ground.
For clearing snow from gravel, dirt, and other rough surfaces set the auger shave plate slightly
above the ground to avoid dirt and gravel from entering the auger.
The optimal height of the plate will vary depending on the type of surface being cleared.
Surfaces with larger gravel or stones require a higher shave plate setting.
3. Move the Snow Thrower to a solid, smooth, and level surface.
4. Place a spacer board on the ground underneath the auger shave plate between the skid
shoes. The thickness of the board should be the same as the height above the ground you
wish to raise the auger shave plate. The skid shoes should not touch the board.
5. With the two (2) nuts loose allow the skid shoe to slide to the ground then tighten the nuts
to secure the skid shoe.