T
T
F
F
-
-
D
D
G
G
C
C
A
A
L
L
-
-
P
P
A
A
K
K
F
F
i
i
x
x
t
t
u
u
r
r
e
e
M
M
a
a
n
n
u
u
a
a
l
l
MIC TRAC MT-3000
18
2010 Gagemaker, LP
RCDMMT300010-10
27. When the confirm window displays, click the
Yes button if you want to print the calibration
report.
Note: If you have a Brother P-Touch Label Printer
for printing calibration stickers, the Confirm window
for printing a calibration tag displays.
28. Click the Yes button to print the calibration tag.
Affix the Calibration Tag to the caliper.
29. Continue with the same calibration process for
the next caliper.
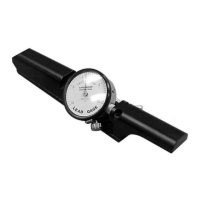
30. After calibrating all depth micrometers, be sure
to remove the depth gage fixture and flat face
anvil from the MT-3000. Oil the fixture and anvil
and return them to the storage case.

 Loading...