GAT ECO.Lock 7xxx F/ISO
Installation
20
HB_GAT-ECOLock-7xxxFISO--EN_12
www.gantner.com
3.7.3 Installation Instructions for Non-Metallic Doors
Complete the following steps to install the GAT ECO.Lock 7xxx F/ISO into lockers with non-metallic doors.
► Drill 1 hole into the locker door for the lock button. Position the button hole according to the measurements in
Figure 3.4 and Figure 3.5 (for right-hinged doors) or Figure 3.6 (for left-hinged doors).
► Mark out 4 mounting holes on the inside of the locker door for the lock housing. Position the holes according to
the measurements in Figure 3.4 and Figure 3.5 (for right-hinged doors) or Figure 3.6 (for left-hinged doors).
► For harder doors, where the screws cannot be screwed in easily, the holes must be pre-drilled. If necessary,
pre-drill the mounting holes for the lock housing.
NOTE! Do not drill the holes for the screws completely through the door.
► If you are also using the optional GAT Lock Door Handle, this must be installed before the GAT ECO.Lock 7xxx
F/ISO. See "3.10 Door Handle Installation (Optional)" for more information.
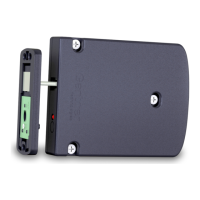
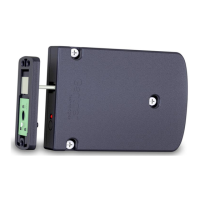
► Mount the GAT ECO.Lock 7xxx F/ISO onto the inside locker door using 4 screws. Hardware recommendation:
- For wooden or HPL doors: ABC Spax 5 x 35 mm (0.2´´ x 1.38´´) wood screws.
- For wooden or HPL doors under heavy load or in public areas: screw-in or glue-in M5 threaded sleeves with
5 x 35 mm (0.2´´ x 1.38´´) cylinder head screws.
- The maximum allowed tightening torque of the screws is 2 Nm (1.47 lb-ft).
► Attach the door label(s) to the door front as shown in section “3.9 Attaching the Door Labels”.
Testing
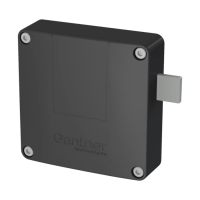
► Check that there is no pressure applied to the button shaft of the GAT ECO.Lock 7xxx F/ISO in its assembled
state, e.g., by a part of the locker door, as this could lead to malfunction.
► Ensure that the lock button is centrally aligned in the drill hole.
► Ensure that the GAT ECO.Lock 7xxx F/ISO housing does not contact the inside of the locker body when
opening/closing the locker door.
► Ensure that the battery cover can open and is not hindered by other components.
See section “4 START-UP” for instructions on inserting the batteries and putting the GAT ECO.Lock 7xxx
F/ISO into operation.
 Loading...