14
GB
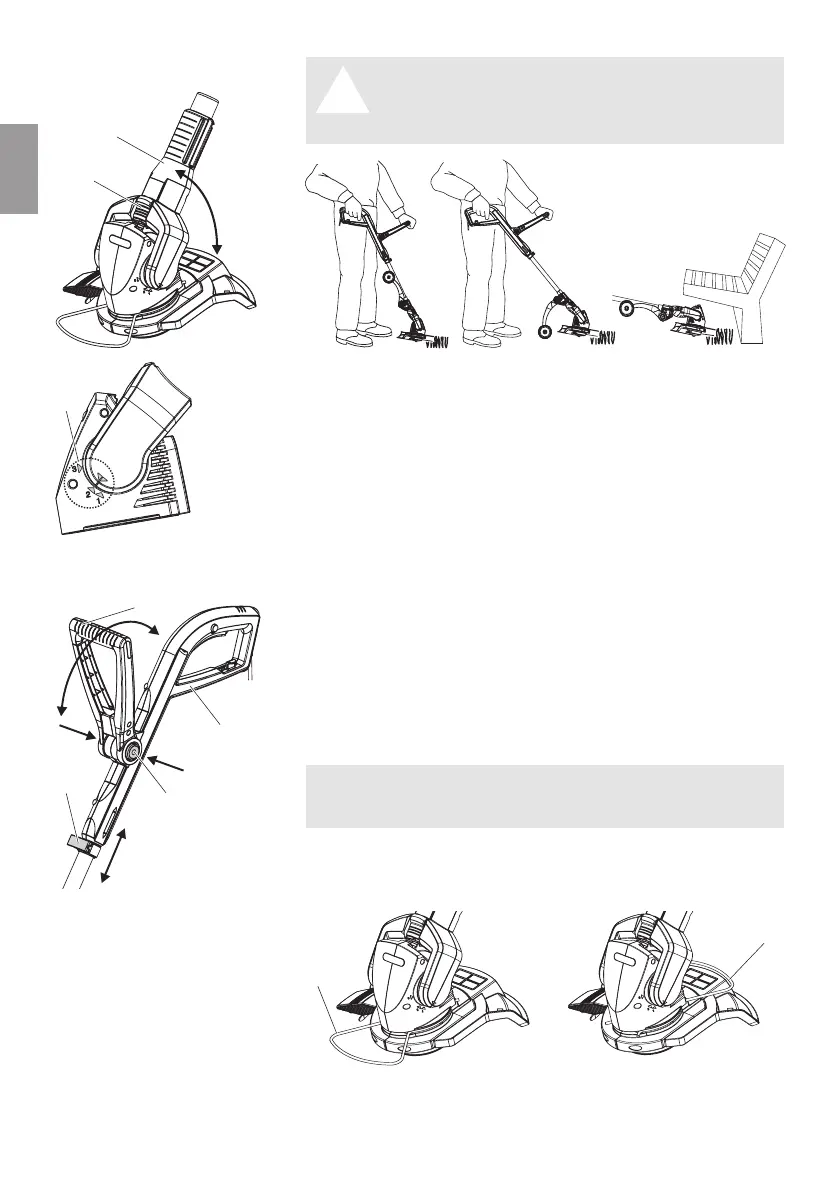
Setting the working position:
Setting the trimmer
to body height:
Adjusting the plant guard:
ATTENTION !
A
Overloading of the motor.
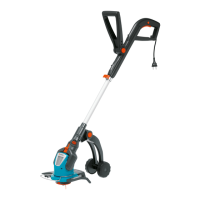
V When trimming with wheels, working position
2 must be set.
The angle of the handle can be set to 3 working positions.
1. Push slider
B
up and set the handle
C
to the required
working position (see scale
D
).
2. Let the slider
B
lock into the required working position.
Setting the handle length:
v Open clamping lever
E
, extend upper part of handle
8
to
required handle length and close clamping lever
E
again.
ATTENTION ! With EasyCut 400, ensure that when adjusting
the handle length the upper part of the handle
8
is not
twisted.
Adjusting the additional handle:
v Press adjusting buttons in
F
on both sides, set additional
handle
G
to required angle and release the adjusting buttons
F
again.
When the trimmer is set to the correct body size, the body
is upright and the cutting head is angled slightly forwards in
working position.
v Hold the trimmer on the upper part of the handle
8
and
additional handle
G
in such a way that the cutting head is
angled forwards slightly.
Working position Parking position
v Turn plant guard
H
through 180° into the required position until
it locks into place.
C
B
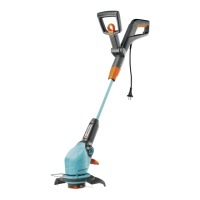
Working position 1 :
Trimming without
wheels
Working position 2 :
Trimming with
wheels
Working position 3 :
Trimming under
obstacles
D
G
F
8
E
H
H

 Loading...