15
GB
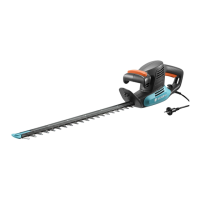
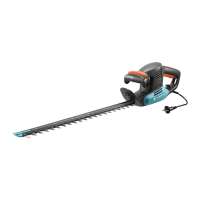
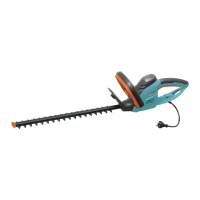
ComfortCut 450 / PowerCut 500:
1. Setting the plant guard
H
to parking position (see
“Adjusting the plant guard”
).
2. Set handle angle to position 3
(see
“Setting the working
position”
).
3. Push slider
I
upwards,
turn handle
J
through 90°
and let slider
I
lock into
place (see arrows
z
P
on
articulated fork and handle
holder).
EasyCut 400:
v Open clamping lever
E
,
turn upper part of handle
8
through 180° and close
clamping lever
E
again.
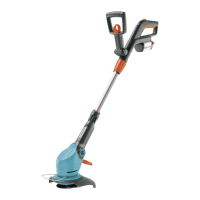
Switching the trimmer on:
1. Press and hold the safety lock
K
and then press the start
button
L
on the handle.
2. Release the safety lock
K
again.
Switching the trimmer off:
v Release the start button
L
on the handle.
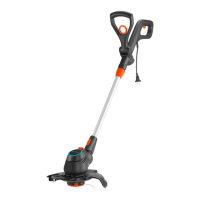
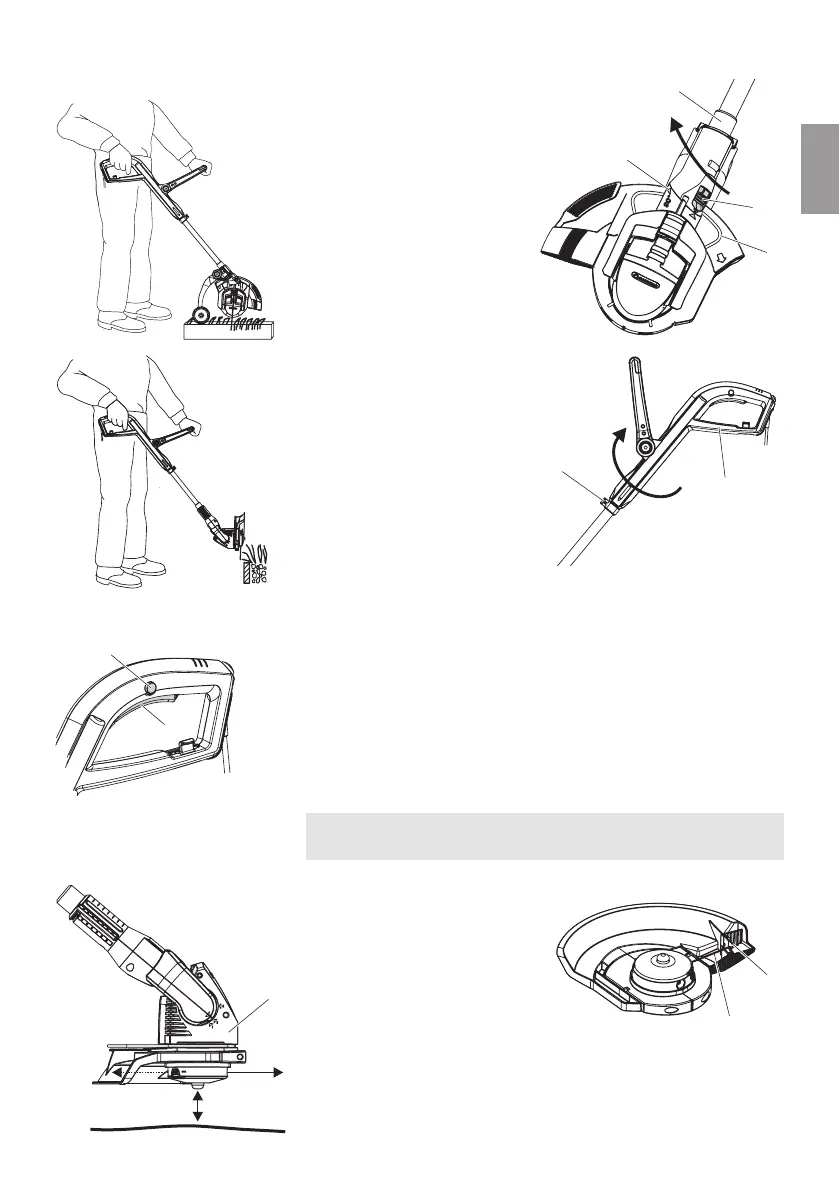
The tip mechanism works when the motor is running. A clean
cut is only achieved with the maximum filament length.
1. Start the trimmer.
2. Hold the cutting head
2
parallel to the ground and
tap the trimmer with the
cutting head
2
on the
ground (avoid sustained
pressure).
The cutting filament
M
is automatically lengthened with an audible
switching process and adjusted to the correct length with the fila-
ment limiter
N
. If necessary tap several times one after the other.
Starting the trimmer:
Filament feed
(Tip mechanism):
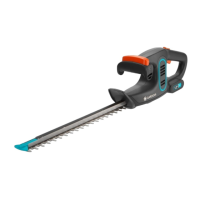
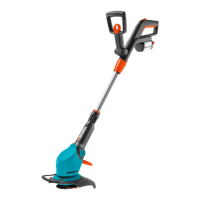
Trimming overhanging
lawn edges:
J
z
P
I
H
K
L
N
M
2
E
8

 Loading...