Do you have a question about the Garmin GC 100 and is the answer not in the manual?
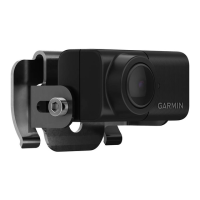
Guidelines for camera placement, including range, visibility, and protection from damage.
Instructions for routing and connecting the camera's power cable to the battery terminal.
Steps to wirelessly connect the GC 100 camera to a Garmin chartplotter via Wi-Fi.
Description of LED color and blink sequences indicating camera operational status.
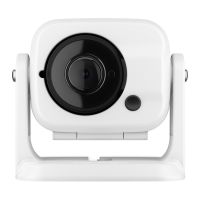
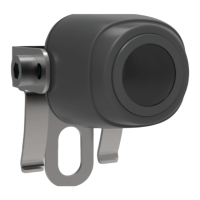
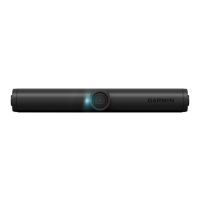
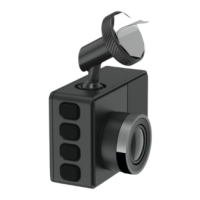
The Garmin GC™ 100 is a wireless camera designed for marine use, intended to be paired with a Garmin chartplotter to provide video streaming. This device is built to withstand marine environments and offers a range of features for easy installation and operation.
The GC 100 camera captures video and wirelessly transmits it to a compatible Garmin chartplotter. It integrates into the chartplotter's wireless network, allowing users to view camera feeds directly on their display. The camera is designed for flexible mounting, enabling users to monitor various areas around their vessel. It features an internal battery that can be charged via its powered mount or a Micro-USB cable, providing operational flexibility. The camera's status is indicated by an LED light, which uses different colors and blink sequences to communicate its operational status, such as turning on/off, attempting to connect, or indicating a low battery.
Settings > Communications > Wireless Devices > Garmin Camera > Start. A notification will confirm successful pairing.| Brand | Garmin |
|---|---|
| Model | GC 100 |
| Category | Digital Camera |
| Language | English |