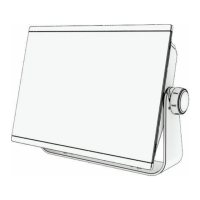
Preparing the Mounting Surface for Flush Mounting
1 Trim the template, and make sure it fits in the location where you want to mount the device.
2 Secure the template to the mounting location.
3 Using a drill bit according to the table below, drill one or more of the holes inside the corners of the solid line
on the template to prepare the mounting surface for cutting.
Device Drill bit size
GPSMAP 7x3 6.5mm (
1
/
4
in.)
GPSMAP 9x3 8mm (
5
/
16
in.)
GPSMAP 12x3 and GPSMAP 16x3 14mm (
9
/
16
in.)
4 Using a jigsaw or a rotary tool, cut the mounting surface along the inside line on the template.
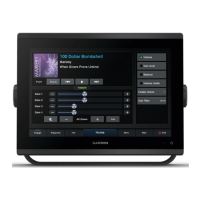
5 Place the device in the cutout to test the fit.
6 If necessary, use a file and sandpaper to refine the size of the cutout.
7 If necessary, remove the trim caps.
NOTICE
Use a plastic pry tool when possible. Using a metal pry tool, such as a screwdriver, can damage the trim caps
and the device.
8 After the device fits correctly in the cutout, ensure the mounting holes on the device line up with the hole
locations on the template.
NOTE: GPSMAP 12x3 and GPSMAP 16x3 models have six mounting holes. GPSMAP 9x3 and GPSMAP 7x3
models have four mounting holes.
9 If the mounting holes on the device do not line up, mark the new hole locations.
After you have prepared the mounting surface, proceed to the topic for mounting the device using nut plates
or mounting the device using wood or metal screws, depending on how you plan to secure the device to the
mounting surface.
6