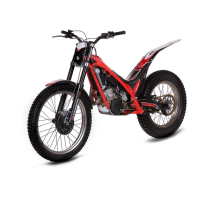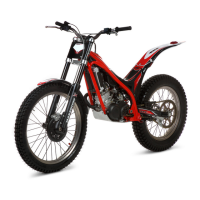
Do you have a question about the GAS GAS TXT BOY - 2009 and is the answer not in the manual?
| Brand | GAS GAS |
|---|---|
| Model | TXT BOY - 2009 |
| Category | Motorcycle |
| Language | English |
The motorcycle requires a mixture of petrol and oil for its two-stroke engine.
Features a rapid access cap and a vent hose for gas escape.
Has three positions: open, closed, and reserve.
Manual selection of a two-speed gearbox when stationary.
Check gear lever in neutral and open fuel tap before starting.
Kick the start-pedal until the engine starts.
Move gear lever to neutral and press stop button.
Select gear based on track characteristics; gear changes while stationary.
Release throttle and use front and rear brakes.
Crucial engine care during the first hours of use for optimal performance.
Check transmission oil level through the transparent window when the motorcycle is perpendicular.
Top up transmission oil by removing vent hose and filler cap if level is low.
Procedure to drain and refill transmission oil after warming up the engine.
Check hydraulic clutch fluid level through the transparent window on the tank.
Remove air from the hydraulic circuit using the bleeder if system was dismounted or faults detected.
Check and top up coolant level by removing fuel tank cover and radiator cap.
Adjust throttle lever cable free play to between 2 to 3 mm.
Adjust idle speed using the idle adjusting screw A.
Inspect spark plugs, checking electrode separation is from 0.6 to 0.7 mm.
Clean the air filter regularly to improve engine performance and prolong its life.
Check front brake fluid level within the transparent window.
Check rear brake fluid level between the min and max marks on the tank.
Adjust clutch lever to have a maximum play of 3 mm.
Adjust front brake lever to have a maximum play of 3 mm.
Ensure perfect wheel alignment by checking eccentric marks on the rear axle.
Adjust chain tension so slack in the tensed zone is 1.5 cm.
Check the master link's elastic locking clip placement.
Check tyre pressures for optimal holding.
Check brake pads for wear periodically to ensure effective braking.
Remove air from the hydraulic brake circuit using bleeders if necessary.
Each front fork suspension rod is filled with 310 cm³ of SAE 5 oil.
Clean and lubricate the joints of the clutch and front brake levers.
Clean and lubricate the joint and spring of the foot pegs.
Clean and lubricate the joint of the kick-start pedal.
Clean and lubricate the secondary chain.
Clean and lubricate the axle of the secondary chain tensor.
Lubricate the throttle lever, especially after washing.
The serial number is engraved on the steering stem and should match documents.
Details manufacturer warranty terms, period, and conditions for the vehicle.
Outlines purchaser's responsibilities regarding maintenance and proper use.
Lists items not covered by the manufacturer's warranty.
Covers various aspects like repair decisions, proof of defect, and resale.


