SAFETY WARNING: While this product can reduce your risk of harm resulting from gas leaks, it can in no way
guarantee your safety. Please instead prevent gas leaks at their source. Do not depend on this detector alone
to save your life. For more info on gas safety and how to respond in the event of a gas leak, go to
www.Warranty.GasKnight.com to download our free E-book.
LEGAL DISCLAIMER: The use or misuse of this gas detector is conditioned upon the user’s agreement that in
no event shall the manufacturer, importer, reseller, or distributor of this gas detector be liable for any direct,
indirect, punitive, incidental, special consequential damages, to property or life, whatsoever arising out of or
connected with the use of this gas detector.
OTHER PRECAUTIONS:
● DO NOT disassemble or attempt to repair the detector yourself.
● DO NOT immerse the detector in water or any other liquid.
● DO NOT allow the sensor aperture to accumulate dirt or dust. The sensor aperture must be kept clean,
or impurities may cause inaccurate measurements.
● DO NOT expose the detector to extensive amounts of gas or water vapor which may affect the
accuracy of the combustible gas sensor.
● DO NOT expose the detector to environments with excessively high or low oxygen concentrations
which may lead to inaccurate measurements.
● DO NOT allow children to play with the batteries and ensure the batteries are not exposed to any
hazardous environments.
Get Started
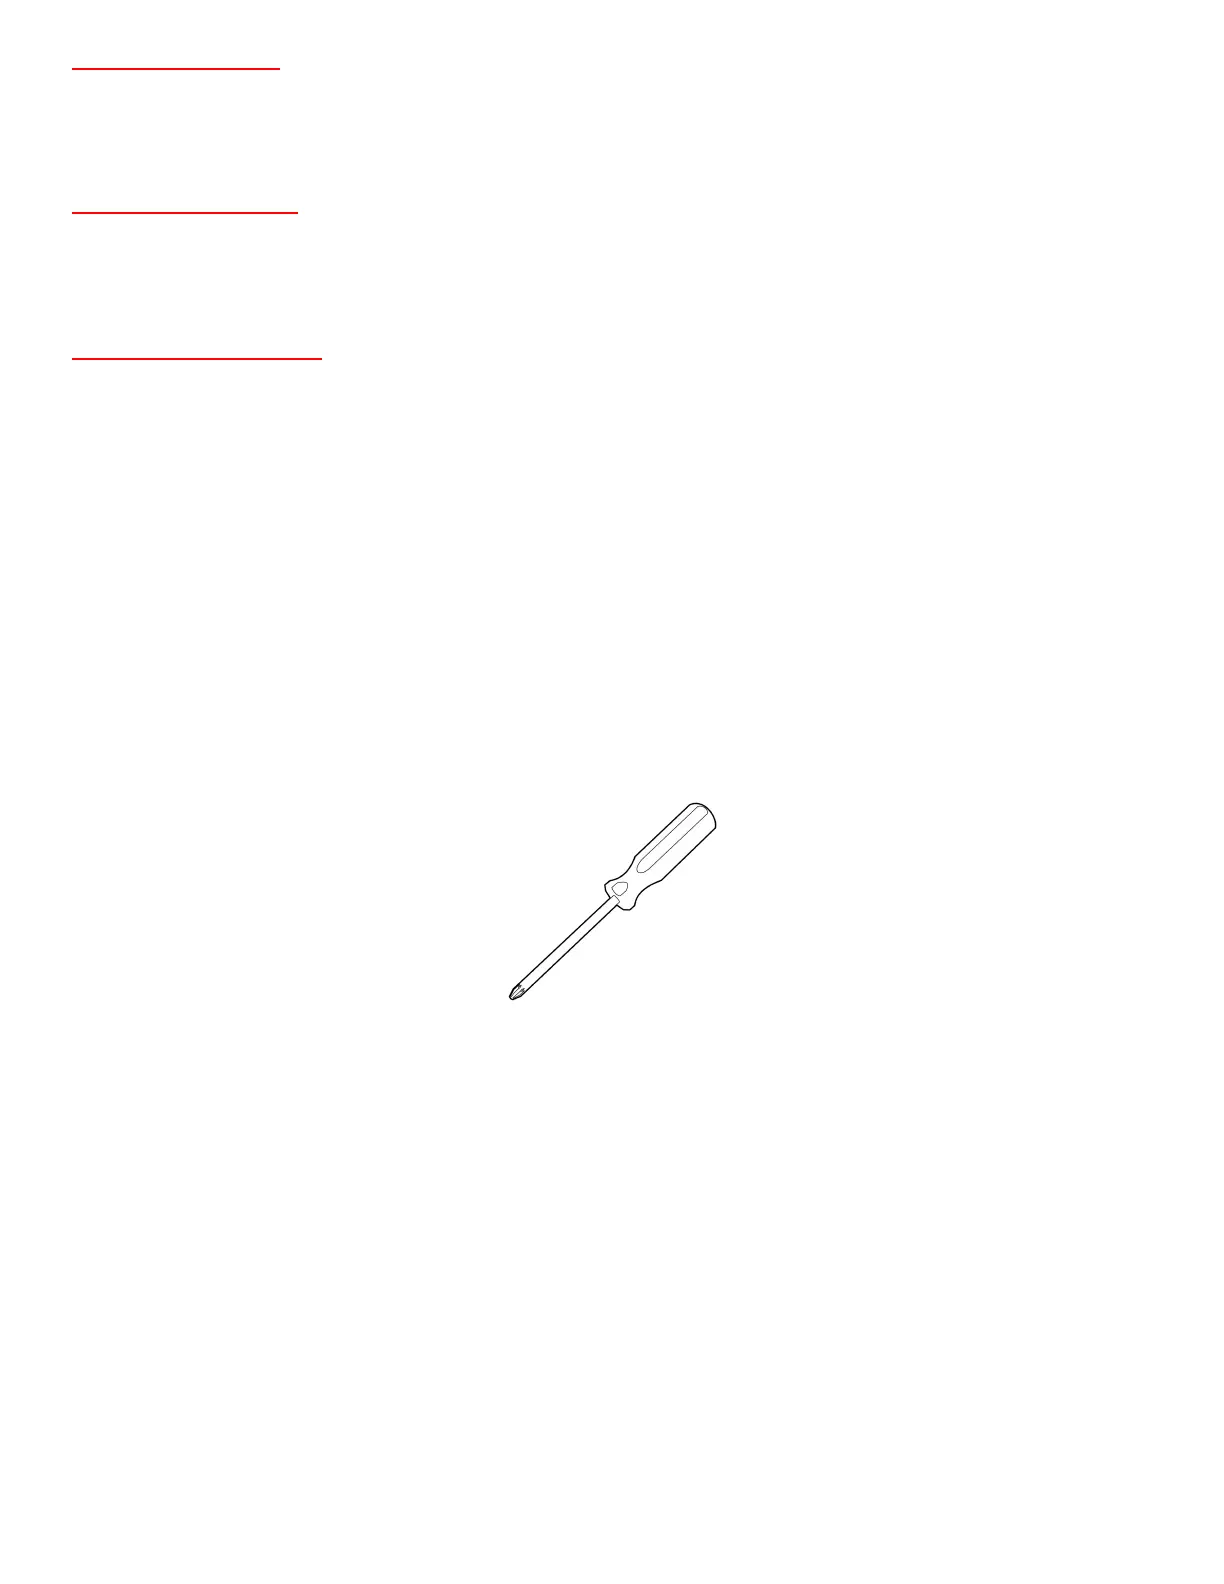
Tools Needed:
1 small sized screw driver (ideally Phillips).
1. Obtain a small screw driver which fits the size of the screw on the door of the battery compartment on
the back of the detector.
2. Remove the door of the battery compartment on the back of the detector.
3. Remove the 4 AA 1.5V batteries (which came included with your GasKnight Pro) from their package.
4. Insert all 4 AA batteries into the battery compartment ensuring they are correctly matched + with
positive and – with negative.
Note: Inserting the batteries backwards or in an incorrect way can cause electrical leakage. Be sure to
install them correctly.
5. Screw the door of the battery compartment back into place, securing the batteries inside the detector.
 Loading...