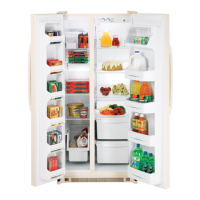
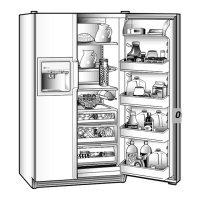
Abouttheautomaticicemaker.
It is normal fl0r several cubes to be joined together.
If ice is not used frequentl}; aM ice cubes will become
doud?; taste stale, and shrink.
IcemakerAccessoryKit
If your refrigerator did not come zflreadyequipped
with an automatic icelnaker, an icelnakcr accessoW ldt
is availal01eat extra cost. Check the back of the
refrigerator fl0rthe specific icelnakcr ldt needed fl0r
your model.
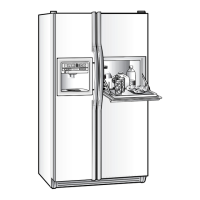
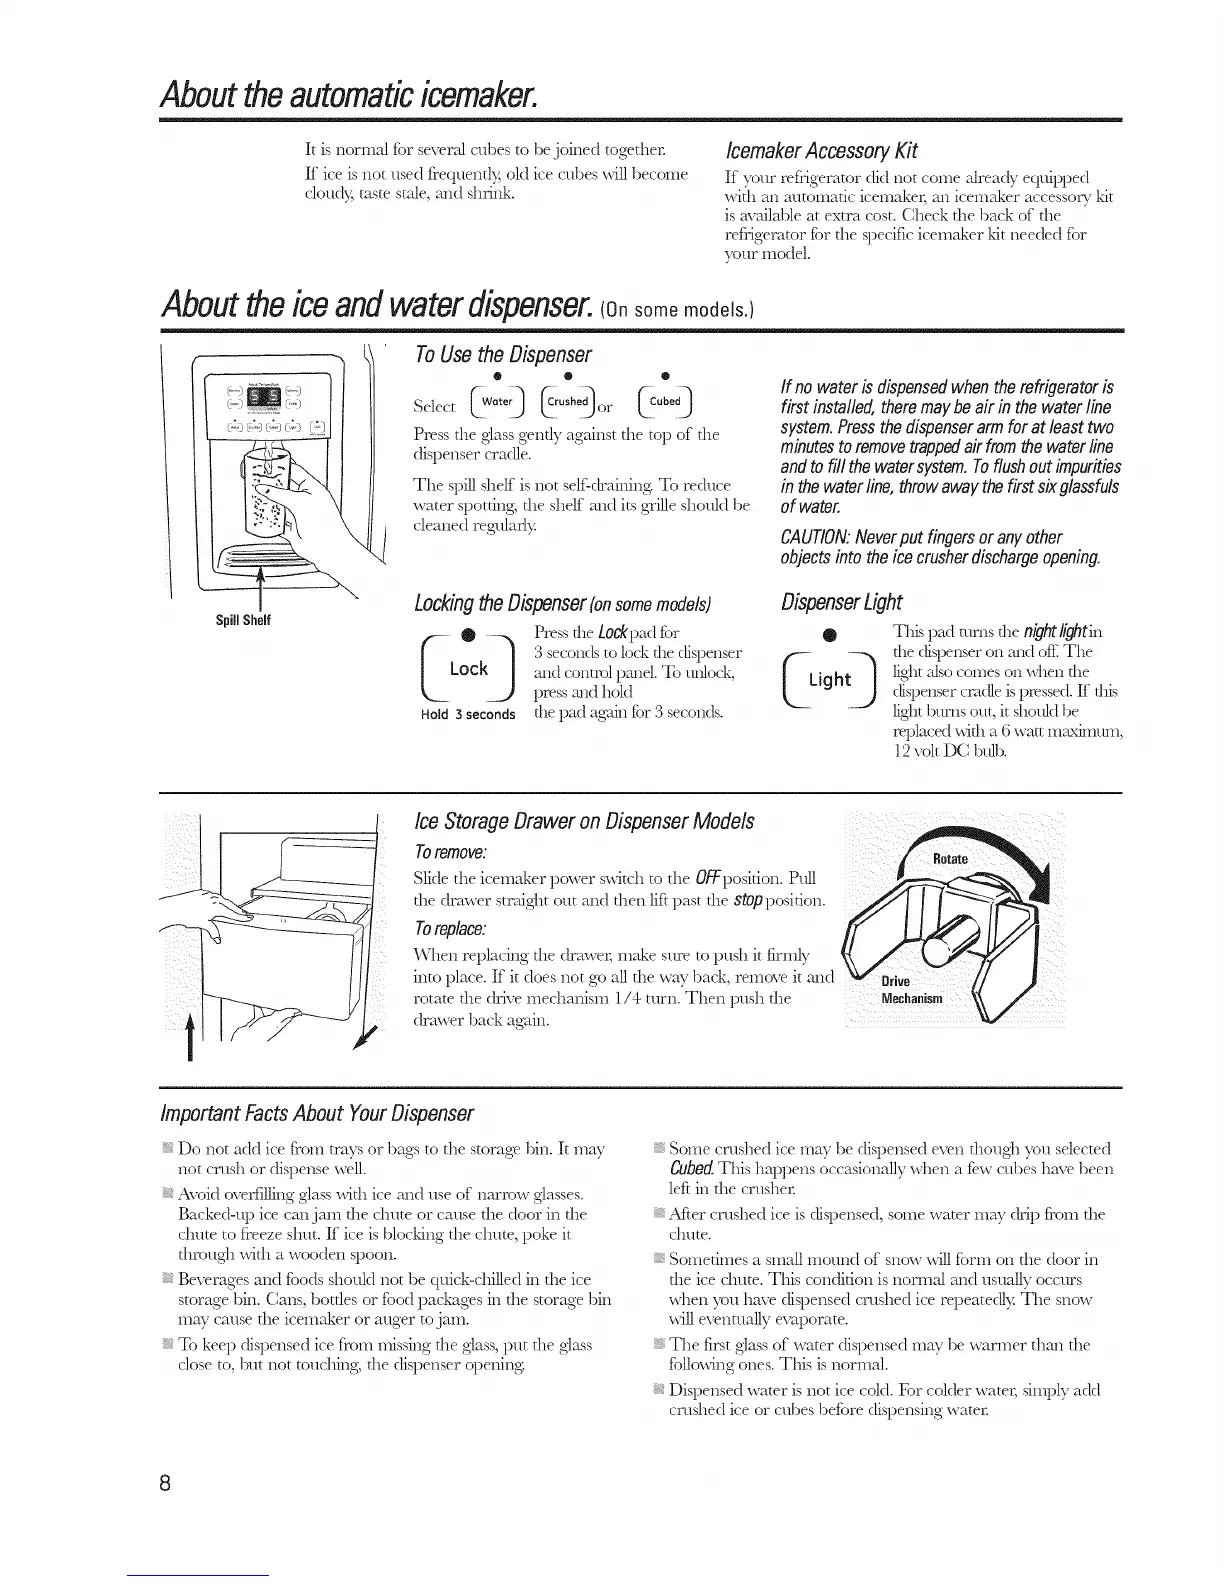
Abouttheiceandwaterdispenser.(Onsome models.)
//
Spill Shelf
ToUse the Dispenser
• • ®
Press the glass gendy against the top of the
dispenser cradJe.
The spill shelf is not self<kaining To reduce
water spotting, the shelf and its gTilleshould be
cleaned reglflarly.
LockingtheDispenser(onsomemodels)
O --_ Press tileLockpadflor
| 3secondsto locktile dispenser
LockJ and control pmlel.To unlock,
press mxt hold
Hold 3 seconds the pad again fl0r3seconds.
If no wateris dispensedwhen therefrigeratoris
first installed, theremaybe air in the water line
system.Pressthedispenserarmfor atleast two
minutestoremovetrappedair fromthe waterline
andtofill thewatersystem.Toflushoutimpurities
in the waterline,throwawaythefirstsixglassfuls
of water.
CAUTION:Neverput fingersor anyother
objectsinto the icecrusherdischargeopening
DispenserLight
Q This pad turns the nightlightin
igh lightalsocomes on when the
dispensercradle ispressed. If this
lightNlrns out, it should be
replaced with a 6 wattm_xilnmn,
12 x'c01tDC 1oullo.
Ice Storage Drawer on DispenserModels
Toremove:
Slide the icemakcr power switch to the OFFposition.Pull
the drawer straight out and then liftpast the stOpposition.
Toreplace:
When replacing the drawer, make sure to push it firmly
into place. If it does not go all the way badq remove it and
rotate tile drive medlanism l/4 turn. Then push tile
drawer back again.
Drive
Mechanism
Important FactsAbout YourDispenser
Do not add ice from trays or bags to tile storage bin. It may
not crush or dispense well.
Avoid c0verfilling glass with ice and use of narrow glasses.
Backed-up ice can jam the dmtc or cause the door in the
dmte to freeze shut. If ice is blocldng the chute, poke it
through with a wooden spoon.
Beverages and floods shouM not be quick-dlilled in die ice
storage bin. Cans, bottles or flood pa&ages in the storage bin
may cause the icelnakcr or atger to jam.
To keep dispensed ice from missing the glass, put the glass
dose to, Nit not toudling, the dispenser c0pening
Some crushed ice may be dispensed even though }ou selected
CubedThis happens occasionally when a few cubes have been
left in the crusher.
_M'ter crashed ice is dispensed, some water may drip from the
dmte.
Sometimes a small mound of snow will florm on the door in
the ice dmte. This condition is normal and usually occurs
when you have dispensed crushed ice repeatedly: The snow
will eventually evaporate.
The first glass of water dispensed may be warmer than the
fl01k_ving ones. This is normal.
Dispensed water is not ice cold. For colder ware1; simply add
crashed ice or cubes befl0re dispensing waten

 Loading...