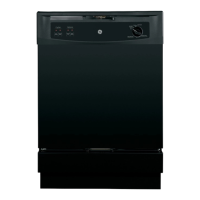
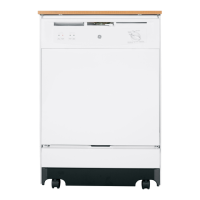
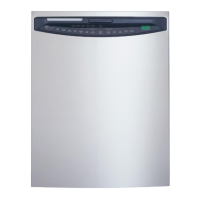
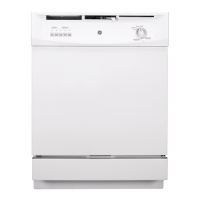
Dishwasher Installation
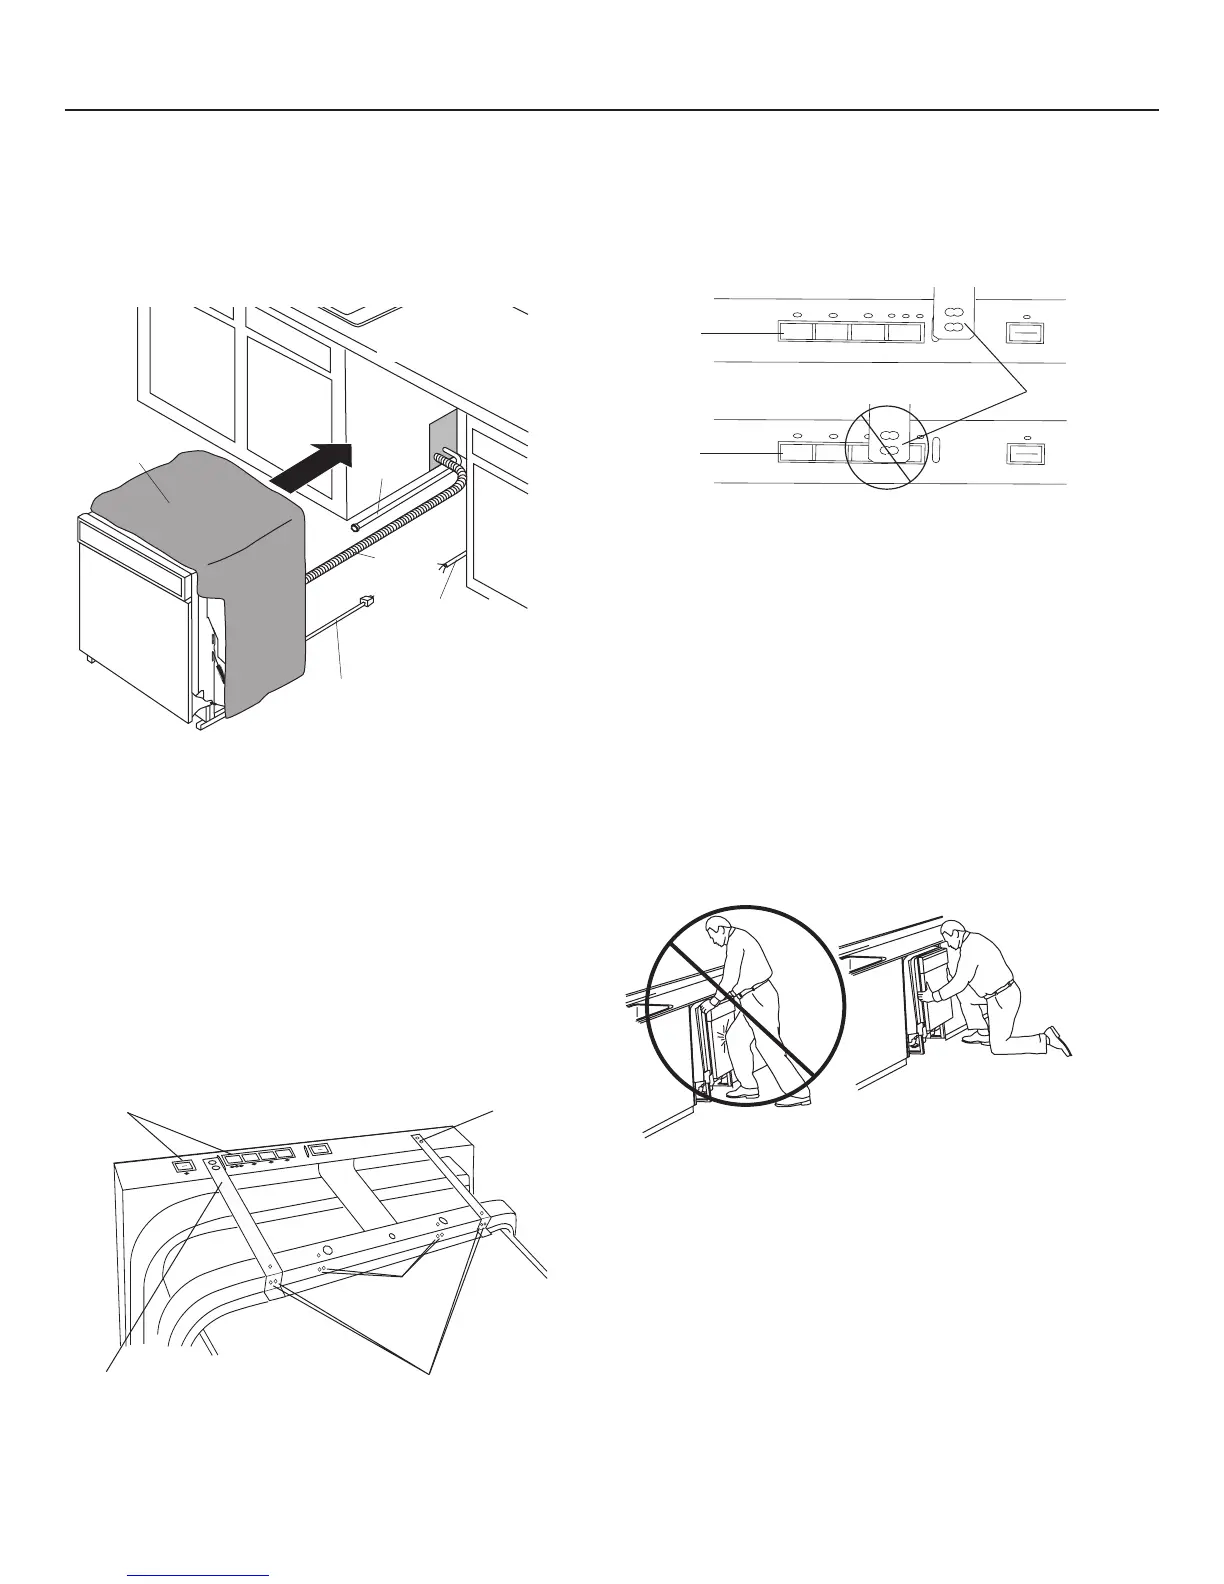
STEP 13 – SLIDE DISHWASHER THREE-
FOURTHS OF THE WAY INTO
CABINET
IMPORTANT – DO NOT PUSH AGAINST FRONT PANEL
WITH KNEE. DAMAGE WILL OCCUR.
• Grasp the dishwasher by its sides and slide it into the opening
a few inches at a time.
• As you proceed, pull the drain hose through the opening
under the sink. Stop pushing when the front of the
dishwasher is a few inches forward of adjacent cabinets.
• Make sure drain hose is not kinked under the dishwasher
and there is no interference with the water line, wiring or any
other component.
Tip: Make sure the dishwasher will fit in the cabinet. Check to
be sure the power cable, drain hose and hot water line are not
trapped behind the dishwasher. Utility lines trapped behind the
dishwasher prevent the dishwasher from being pushed fully
into the enclosure.
Do Not Push Against
Front Door Panel With
Knee. Damage to The
Door Panel Will Occur.
Power Cord
(If Used)
Insulation
Blanket
Water
Line
House Wiring
(If Power Cord
is NOT Used)
Drain
Hose
Maximum Drain
Hose Length 10'
STEP 11 – INSERT DRAIN HOSE
THROUGH CABINET
• Position dishwasher in front of cabinet opening. Insert drain
hose into the hole in cabinet side. If a power cord is used,
guide the end through a separate hole.
Figure R
Tip: Position water line and house wiring on the floor to avoid
interference with base of dishwasher.
Figure U
10
STEP 12 – INSTALL COUNTERTOP BRACKETS
• Determine if your countertop is granite or a similar material
that will not accept screws. If so, skip this step and go to step
13.
• If the countertop is wood or a wood-like material, install the
countertop brackets set aside in step 1.
• Locate the inner set and outer set of mounting holes on the
back side of the dishwasher tub frame.
STEP 12 – INSTALL COUNTERTOP BRACKETS
(Continued)
• Fasten the 2 brackets to the back of the tub frame in the
selected positions using the #8 pan-head screws included
with the kit.
• Select the set of holes, inner-set or outer-set, that will locate
the countertop brackets away from the buttons on the top of
the dishwasher door.
Contro ck
Sanitize
Clean
Auto
Sanitize
Normal
Light
Added
Heat
Start
Reset
Start
Reset
Heated
Dry
Steam
Delay
Hours
Outer-Set of Holes
Inner-Set
of Holes
Buttons
Bracket
Bracket
IMPORTANT - The brackets can be mounted in the
inner-set or outer-set hole locations. You must use the location
that positions the brackets over a non-button location on the
top of the door. Positioning the bracket over the push buttons
will cause damage to the push buttons.
Added
Heat
Heated
Dry
Delay
Hours
Steam
2
4 8
Control Lock
Hold 3 Sec.
uto
anitize
ormal
ight
Start
Reset
Control Lock
Sanitized
Clean
Added
Heat
Heated
Dry
Delay
Hours
Steam
2
4 8
Control Lock
Hold 3 Sec.
uto
anitize
ormal
ight
Start
Reset
Control Lock
Sanitized
Clean
Correct
Incorrect
Do not install brackets over buttons or damage will occur
Top of dishwasher door
Buttons
Bracket
Figure S
Figure T
Buttons
 Loading...