6
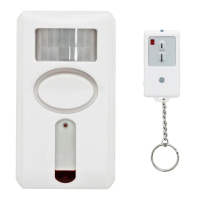
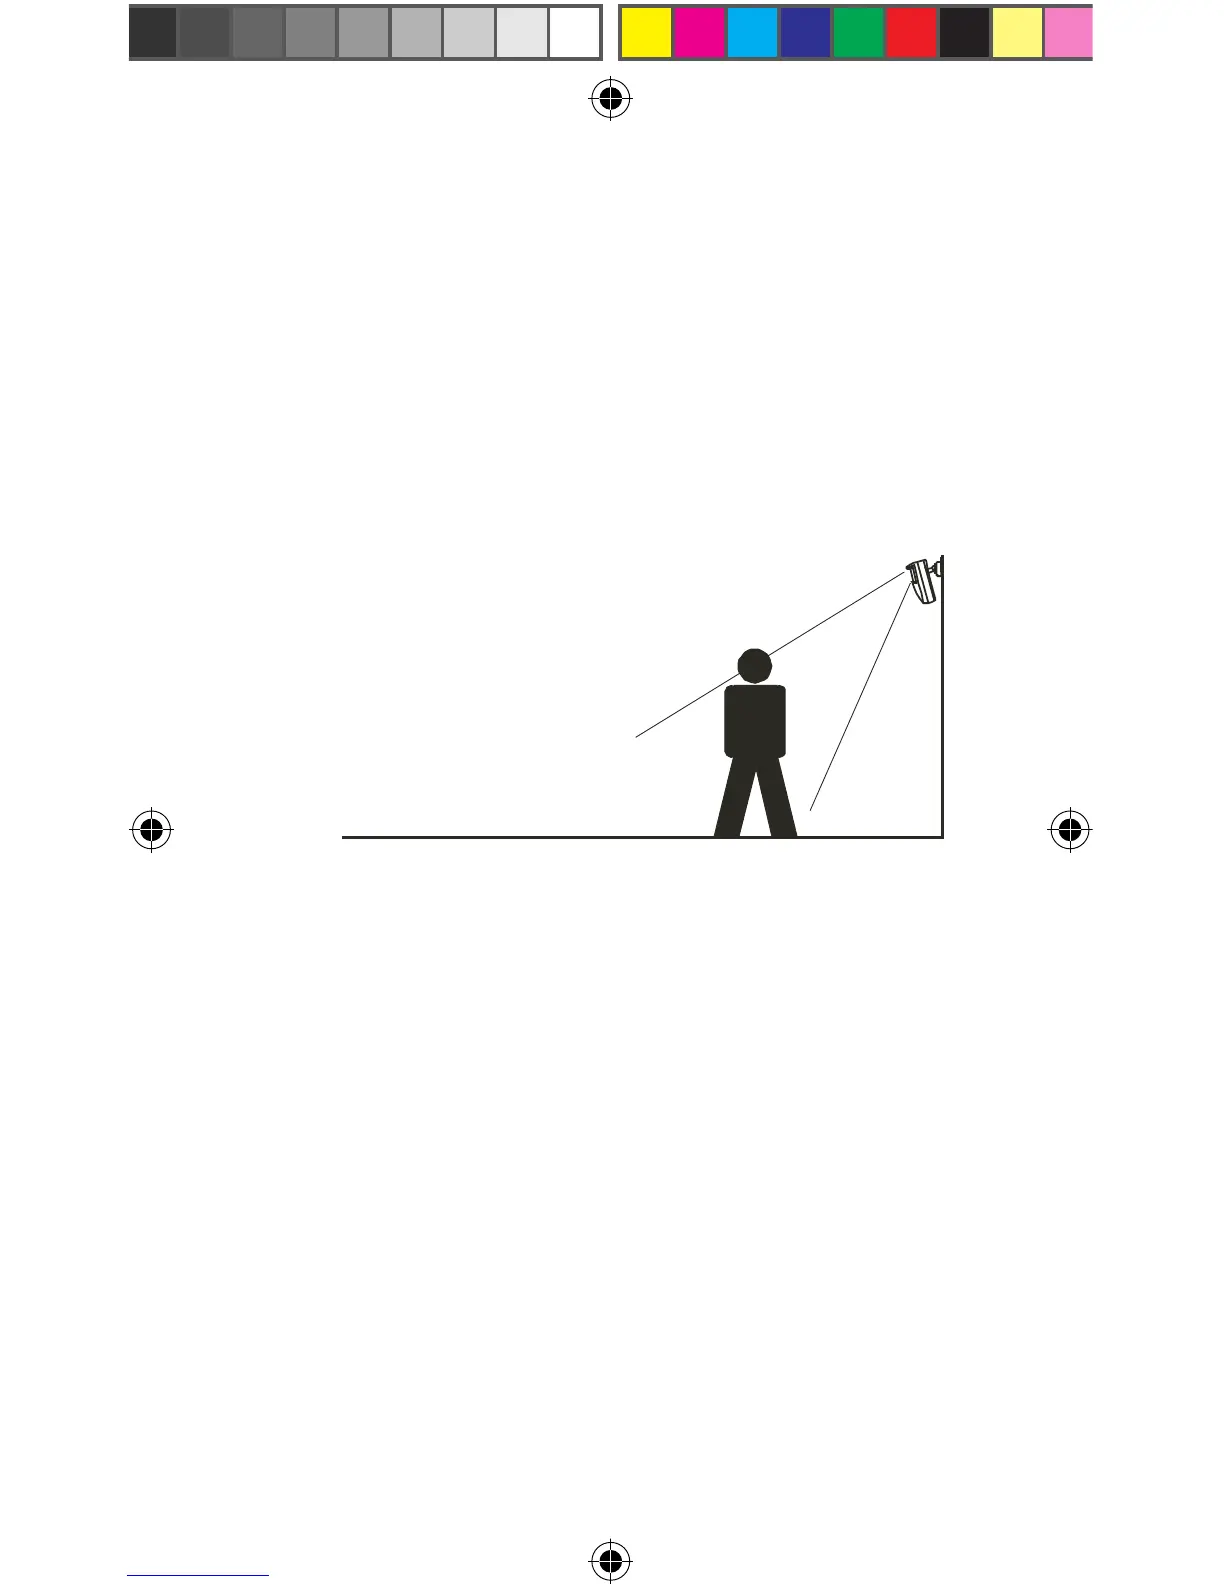
Preparing the Motion Sensor for Installation
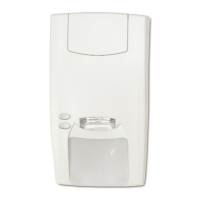
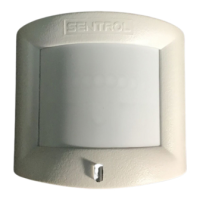
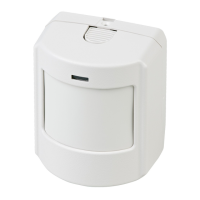
The Motion Sensor consists of 2 parts – The Sensor
(Transmitter) and the wall mount. Before installing,
remove the screw from the battery door on the back
of the Sensor. You’ll need to attach the battery leads
to a “9V” battery (not included); Take care to note the
polarity markings. Replace the battery cover and
secure screw. An Alkaline “9V” battery in the Motion
Sensor can last up to 9 months,
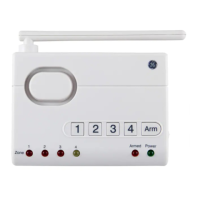
Before mounting the Motion sensor, you’ll need to
assign the Sensor to a zone on the Control Center.
Follow these steps to assign a Sensor to a Zone.
Step 1 – Press and hold the Learn button on the
Control Center for three seconds. After the
Control Center sounds a long beep, release the
Learn button.
Step 2 – Press the Zone button (1, 2, 3 or 4) for the
Zone you want to assign to the Motion Sensor.
The LED indicator for that Zone will begin to flash.
Step 3 – Release the Zone button.
Note: Zone 4 is for dedicated alerts only. Sensors in this Zone
will not trigger an alarm or chime.
Step 4 – Activate the Motion Sensor