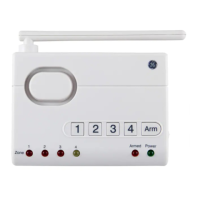
8
Step 3 - Set the Notification Mode to switch ‘Alert’
position and begin activating Sensors one at a time.
Note: The sensor has a LED that flashes to show when the
sensor has triggered and transmitted to the main unit.
Step 4 - When testing is complete, unplug the AC
adapter, then plug the AC adapter back in and
reinstall batteries. This returns the Control Center
to standard operation mode.
Note: The Control Center will automatically return to standard
operation mode after 5 hours.
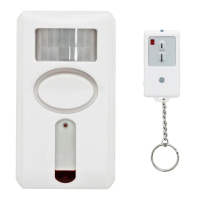
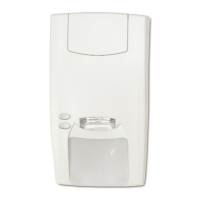
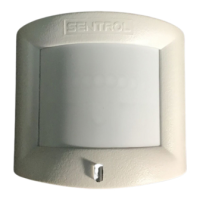
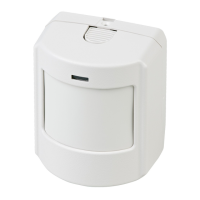
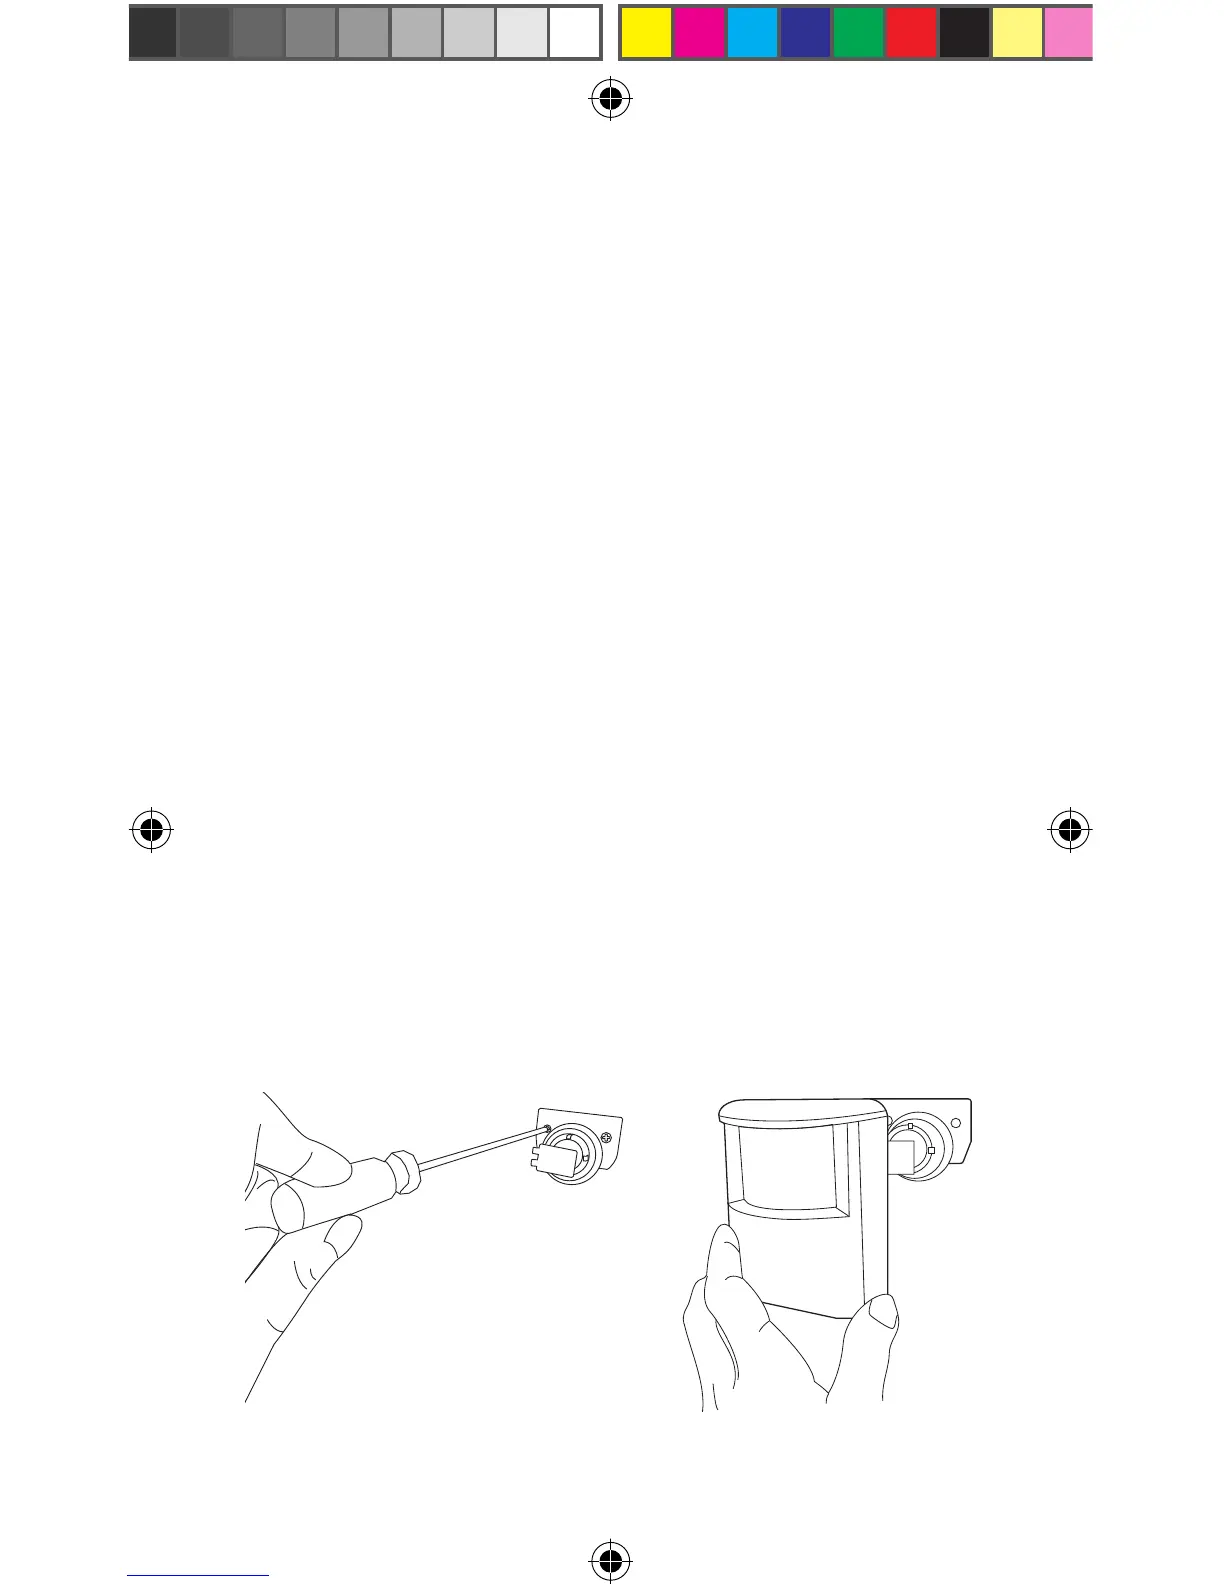
Installing the Sensor
Use the ball-head mount to mount the Sensor. The
minimum height recommended is 5-6 ft from the floor,
depending on where you want to mount the Motion
Sensor. Once the location is selected, before mounting
you should perform a manual test to confirm the
Motion Sensor is within range of Control Center. Refer
to the Testing a Sensor section on pg 7. Mount the
ball-head joint to the location with screws provided.
Once the ball-head joint is mounted to the wall, slide
the back of the sensor onto the ball-head joint. The
mounting angle can be adjusted.