CL 5 Issue 01, 04/05 3-11
Creating and Erasing Custom Setup Files
Setting Up the CL 5
alarm is violated. Note that the inputted alarm value
will correspond to a thickness except when the
VELOCITY measurement option is installed and
activated. In this case the alarm settings will represent
velocity values. To input a minimum or maximum
alarm:
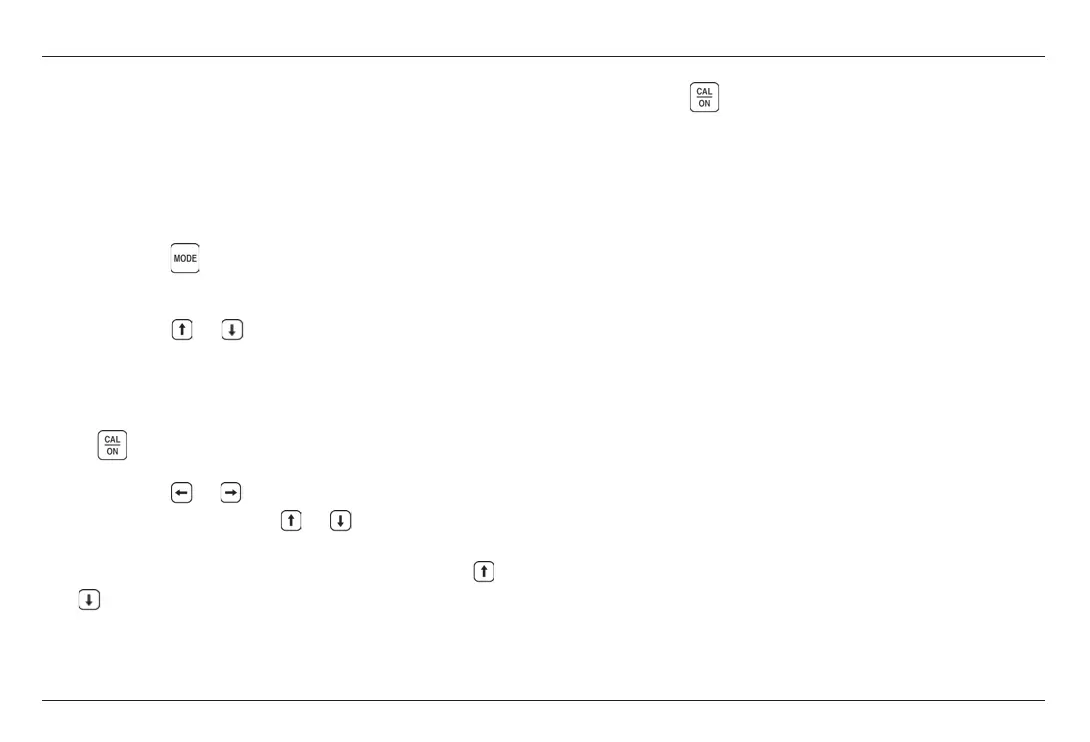
Step 1: Press to access the Configuration display
(shown in Figure 3-3).
Step 2: Press or to select
MINIMUM ALARM or MAXIMUM ALARM
Step 3: When the desired parameter is highlighted,
press
to activate it.
Step 4: Press or to change the selected position
in the alarm thickness and
or to adjust the value
of the selected position. To switch the alarm setting to
OFF from any other value, simultaneously press
and .
Step 5: Press
when the alarm thickness is set to
the desired value.
3.5 Creating and Erasing Custom
Setup Files
After loading a Standard Setup and performing the
necessary adjustments to optimize performance for a
given application, the instrument settings can be
stored and named as a Custom Setup file. The
instrument is capable of storing up to 5 Custom Setup
files, which can be erased at any time
(Figure 3-5).
Custom Setups can be created from any CL 5 keypad.
Custom Setups created using a base-model instrument
include the following settings:
User-assigned Custom Setup file name
VELOCITY
CL 5 Issue 01, 04/05 3-11
Creating and Erasing Custom Setup Files
Setting Up the CL 5
alarm is violated. Note that the inputted alarm value
will correspond to a thickness except when the
VELOCITY measurement option is installed and
activated. In this case the alarm settings will represent
velocity values. To input a minimum or maximum
alarm:
Step 1: Press to access the Configuration display
(shown in Figure 3-3).
Step 2: Press or to select
MINIMUM ALARM or MAXIMUM ALARM
Step 3: When the desired parameter is highlighted,
press
to activate it.
Step 4: Press or to change the selected position
in the alarm thickness and
or to adjust the value
of the selected position. To switch the alarm setting to
OFF from any other value, simultaneously press
and .
Step 5: Press
when the alarm thickness is set to
the desired value.
3.5 Creating and Erasing Custom
Setup Files
After loading a Standard Setup and performing the
necessary adjustments to optimize performance for a
given application, the instrument settings can be
stored and named as a Custom Setup file. The
instrument is capable of storing up to 5 Custom Setup
files, which can be erased at any time
(Figure 3-5).
Custom Setups can be created from any CL 5 keypad.
Custom Setups created using a base-model instrument
include the following settings:
User-assigned Custom Setup file name
VELOCITY
 Loading...