J
Julia JonesAug 9, 2025
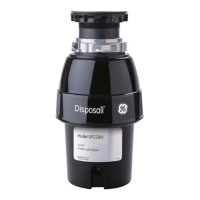
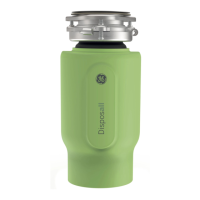
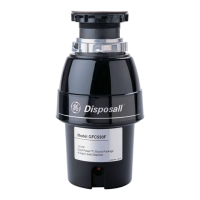
What to do if my GE Garbage Disposal doesn't start?
- PPatrick FullerAug 9, 2025
First, with the splash guard removed, check if the turntable moves freely using a broom handle. If it does, replace the splash guard and check the red reset button, located opposite the discharge elbow near the bottom of the disposer, to see if it has been tripped. Push the button in until it clicks and remains depressed. If the reset button hasn't tripped, check for shorted or broken wires connected to the disposer, and inspect the electrical power switch, fuse box, or circuit breaker. If wiring and electrical components are intact, the unit may have internal problems requiring service or replacement.