49-3000368 Rev 0 5
USING THE WASHER
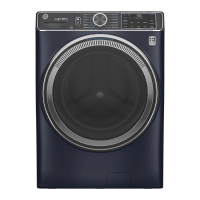
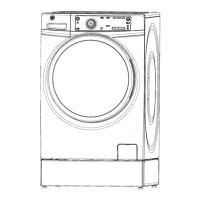
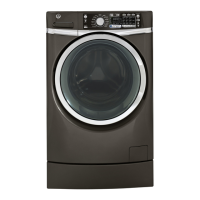
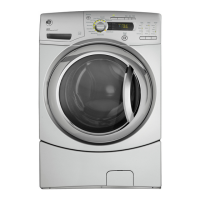
Throughout this manual, features and appearance may vary from your model.
Step 4 Step 5Step 1
To reduce the risk of fire, electric shock, or injury to persons, read the IMPORTANT SAFETY
INFORMATION before operating this appliance.
WARNING
(cycle options
vary by model)
Load clothes into your
washer and close the
door.
If the screen is dark,
press the Power pad or
turn the knob to “wake
up” the display.
Turn the knob to
select the desired
cycle.
Open the dispenser and add
detergent, bleach and fabric
softener, as desired. Models
with SmartDispense™ only
require that you select the
SmartDispense pad once the
tank has been filled.
Press Start to begin the
wash cycle. The machine
will weigh your clothes and
add the proper amount of
water. When the wash cycle
is finished, the door will
unlock.
Step 2
Step 3
Quick Start:
Display and Status Lights
(Features and appearance will vary)
On some models, the display shows the approximate time remaining until the end of the cycle and the washer cycle
status (Prewash, Fill, Wash, Rinse and Spin).
NOTE: The cycle time is affected by how long it takes the washer to fill. This depends on the water pressure in your
home. The “smart” timer “learns” the amount of time it takes to fill your washer and adjusts the total time accordingly.
On some models, if an out-of-balance condition is detected by the washer, the Spin status light or Spin option selection
light will blink during the remaining portion of the cycle and will stay illuminated for a short time after cycle completion.
When this occurs, the washer is taking actions to correct the out-of-balance condition and complete the cycle normally.
In some cases, the washer may not be able to balance the load and spin up to full speed. If you notice the load is more
wet than usual at the end of the cycle, redistribute the load evenly in the wash tub and run a Rinse & Spin cycle.
In addition, the display will show:
(WiFi)
(on some models)
Will allow your appliance to communicate with your smartphone for remote appliance monitoring,
control and notifications. It stays lit whenever the washer is on and is connected. It will blink during the
commissioning process or if it loses connection to the network.
Venting
(on some models)
Venting will blink to indicate that you can select the ULTRAFRESH VENT feature at the end of the cycle.
It then stays illuminated once selected until venting is complete.
Control
The controls on the washer are locked when this icon is illuminated. You must press and hold the Control
Lock pad to unlock the controls.
Door
This icon will illuminate while the door is locked and will blink while the washer is in the process of pausing
and then unlocking.
Smart
This icon will illuminate when the Smart AI features of your washer are active.
Auto, More, Less
(on some models)
The SmartDispense will automatically dose detergent according to the weight and soil level of the clothes. You
can adjust this feature to dose MORE or LESS detergent or turn it OFF to manually dose detergent.
Tank Low
(on some models)
At start up the unit displays when the SmartDispense tank needs to be re-filled. Typically, this first lights up when
there are approximately 8 - 10 loads of detergent remaining.
Loads Left
(on some models)
Displays the estimated number of wash loads left for the amount of detergent in the SmartDispense tank.
Delay
(on some models)
When you select a delay start to your wash, this will be indicated by either a light next to the pad or with the word
“Delay” in the center of the options window. The display will also countdown the hours until the cycle begins.
Using the washer
Step 6 (on some models)
After the wash cycle
is completed and the
clothes unloaded, select
ULTRAFRESH VENT™ to
help eliminate the excess
moisture in your washer so
you can close the door.
 Loading...