Do you have a question about the GE GXSF40H and is the answer not in the manual?
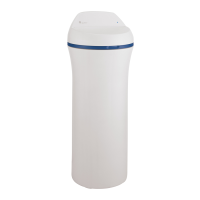
| Filtration Stages | 1 |
|---|---|
| Flow Rate | 7 GPM |
| Warranty | 1 year |
| Filter Life | 6 months |
| Filtration Technology | Ion Exchange |
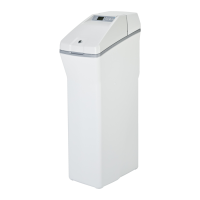
Guidelines for safe handling, salt usage, and electrical connection.
Requirements for system installation location, temperature, sunlight, grounding, and water pressure.
Read instructions, check codes, leave instructions with consumer, installer responsibility.
Adhere to Massachusetts plumbing code, use lead-free solder, connect before water heater, avoid hot water.
Check for shipping damage and parts loss. Keep small parts packaged.
Lists necessary tools like pliers, screwdriver, Teflon tape, and materials like fittings and drain hose.
Placement considerations include proximity to drain, avoiding freezing, sunlight, and ensuring electrical outlet access.
Decide on pipe routing and size based on existing plumbing (copper, plastic, galvanized).
Diagram showing typical water softener connection with main water pipe, bypass valve, and adapters.
Diagram illustrating an optional 3-valve bypass system for water softener installation.
Turn off water/gas, drain pipes, open faucets, remove top cover for easier access.
Steps to remove shipping plugs, install turbine, and attach bypass valve and NPT adapters with clips.
Ensure surface is level and smooth, use plywood and shims if needed to level the softener.
Connect inlet/outlet pipes considering water flow direction, pipe size, and using Teflon tape.
Attach drain hose with clamp, locate drain point, ensure air gap, and check local codes.
Avoid elevating drain hose excessively to prevent back pressure; check for restricted drain.
Insert grommet and hose adapter into brine tank, attach hose to drain point, do not tee overflow to valve drain.
Steps to adapt a copper drain tube using a compression fitting and cutting the barbed end.
Attach grounding clamp to metal pipe for electrical ground continuity, clean pipe, ensure clamp fits.
Open faucets, bypass valve to service, slowly pressurize, open hot water faucet to expel air, check for leaks.
Add water to brine tank, fill with recommended salt (NUGGET, PELLET, SOLAR), keep cover closed.
Remove covers, connect transformer to 120V outlet, replace covers.
Set current time using MODE, UP, and DOWN buttons, ensuring AM/PM is correct.
Set water hardness in grains per gallon using MODE, UP, and DOWN buttons.
Adjust hardness setting for clear water iron, obtain hardness from lab or water department.
Set recharge start time, typically 2:00 AM, using MODE, UP, and DOWN buttons.
Set salt level based on indicator, using MODE, UP, and DOWN buttons.
Information on the DAYS TO EMPTY display and initial learning period.
Configure alarms, salt usage, and run system diagnostics.
Understand various signal lights and error displays for system status.
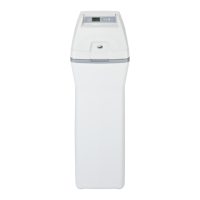
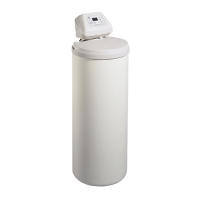
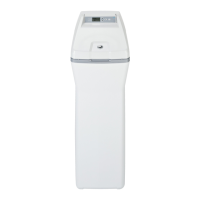
Technical specifications including capacity, efficiency, flow rate, hardness limits, and physical dimensions.
Explains the 'Service' mode where the system provides soft water by ion-exchanging hard minerals.
How hard water is available during recharge cycles, avoiding hot water use.
Details the stages of recharge: Fill, Brining, Brine Rinse, Backwash, and Fast Rinse.
How to check salt level, when to refill, and recommended salt types.
How to clean the resin bed for iron removal and recommended cleaners.
Lists common causes and solutions for not getting soft water, like salt level, bypass position, and hardness setting.
Covers hardness, slippery feel, blue water, and cloudiness on glassware.
Addresses issues like no salt, no regeneration, and high brine tank water.
Addresses salty, brown, or yellow water and resin beads in water.
Covers error codes, flashing lights, and system status indicators.
Lists exclusions from warranty coverage, such as improper installation or misuse.
Lists warranty exclusions for Canadian customers, similar to US coverage.
Access GE Appliances website, schedule service, order parts, and contact customer relations.
Information on Real Life Design Studio and extended warranties.
Benefits of registering your appliance online for better service.