-6-
GE MEDICAL SYSTEMS LOGIQ 400/500 UNPACKING INSTRUCTIONS
REV 1 2227892
Accessories (cont'd)
7. Plug probe into 2nd probe port (Port #1 is normally INACTIVE in
the LOGIQ 400.) If there is a second probe, plug it into the 3rd
probe port.
NOTE: Use caution when handling probes. They are fragile and
can be easily damaged.
8. Ensure that the locking handle is pointed to the right
(see Image 10).
Image 10
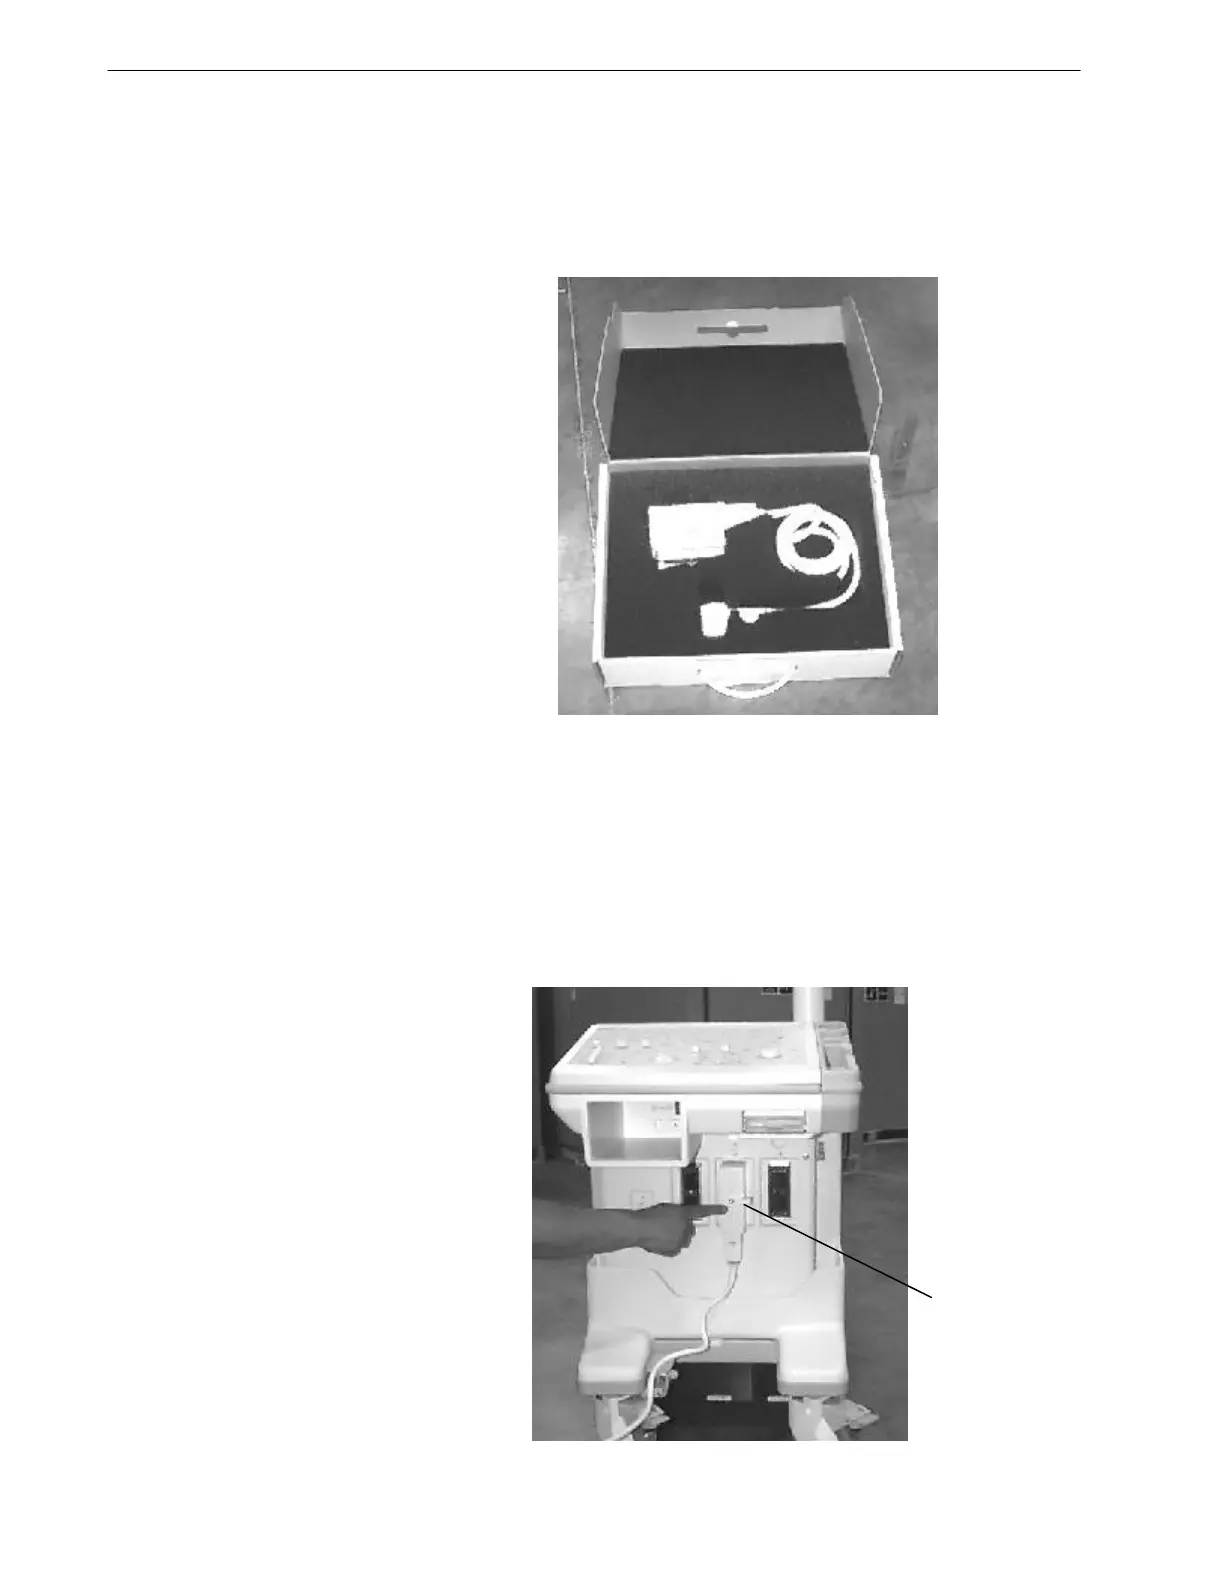
6. Unpack a probe (see Image 9).
NOTE: The probe box(es) should remain with the customer and
be in good condition.
Image 9
Locking Handle
Points Right

 Loading...


