29-6094 13
INSTALLATION PREPARATION
Installation Preparation
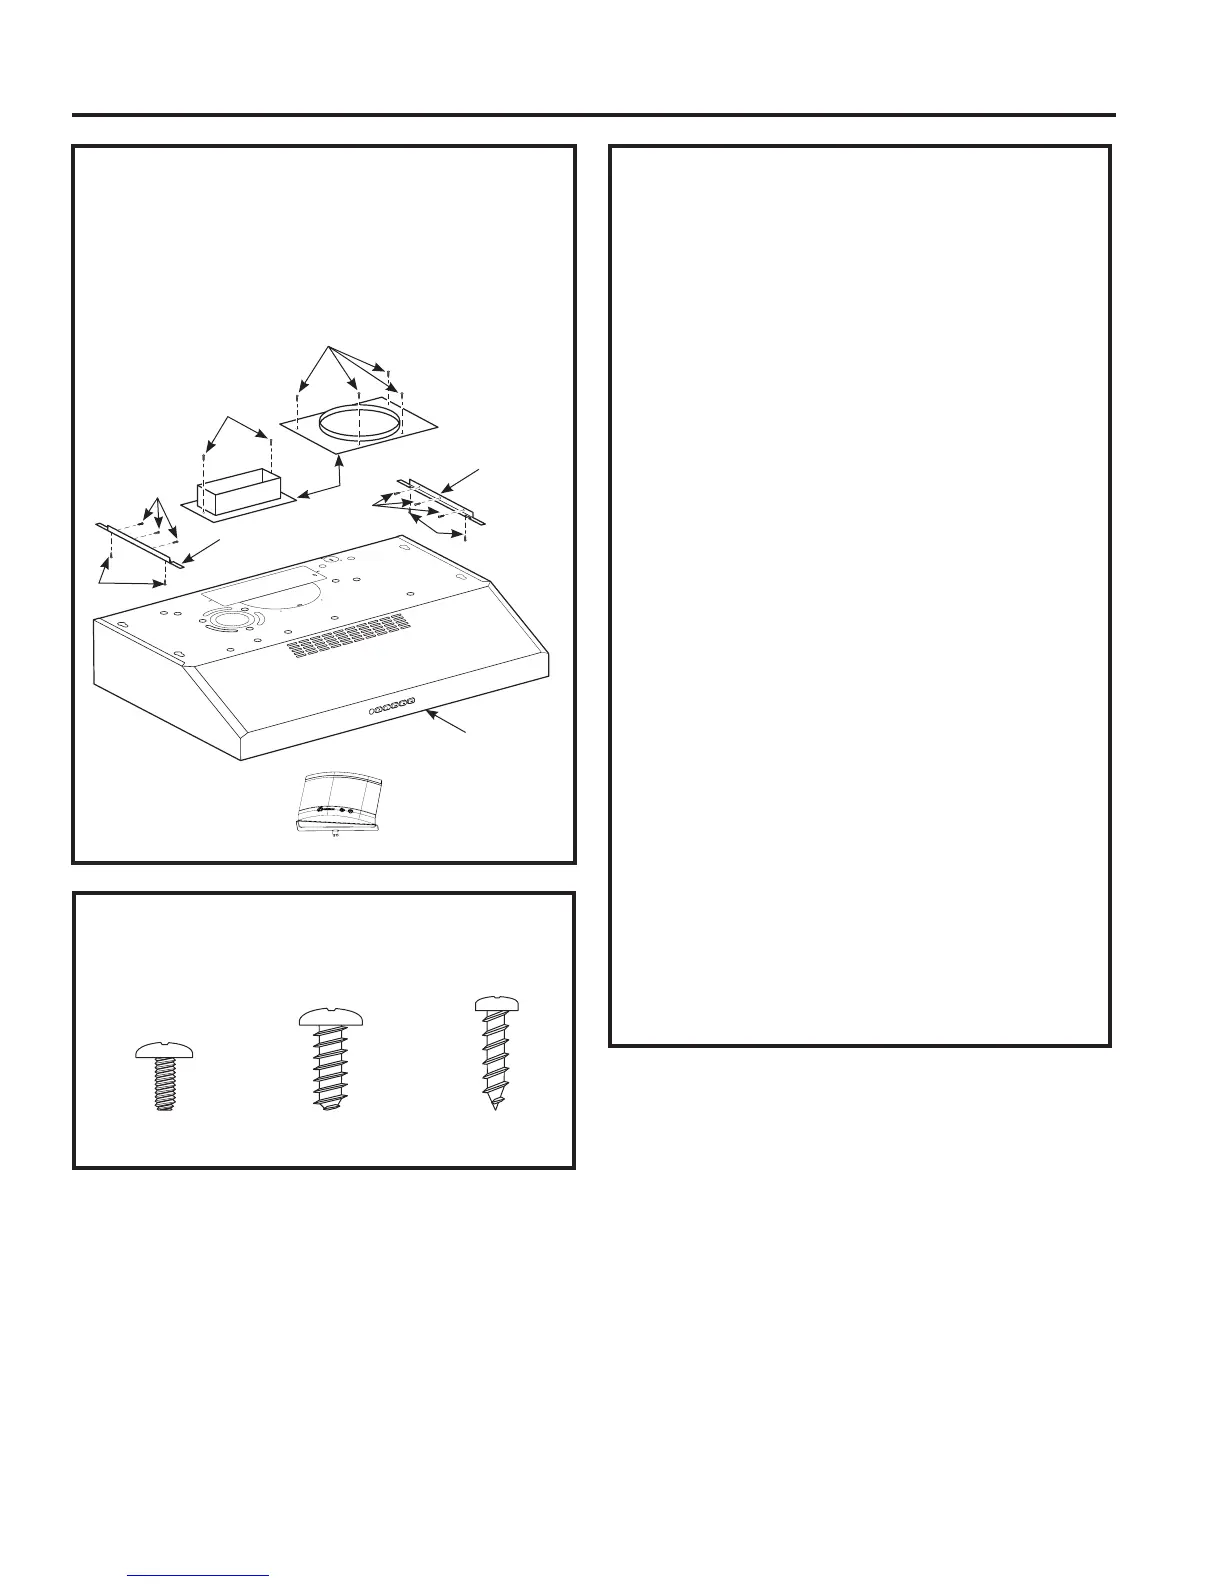
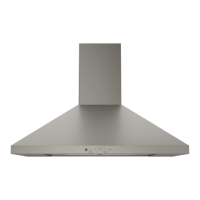
RANGE HOOD COMPONENTS
A. Hood Body
B. Damper/Duct Connector
C. Mounting Bracket
D. Screws (4)
E. Screws (4)
F. Screws (6)
HARDWARE COMPONENTS
DE F
C
C
B
A
D
D
E
F
E
F
For vented
mode only
1" = 2.5 cm; 1' = 0.3 m
ADVANCE PLANNING
Vented Install Planning
This hood is designed to be vented vertically using
a 7" round duct or a 3
1
»4" x 10" rectangular duct or
horizontally using a 3
1
»4" x 10" rectangular duct.
Use metal ductwork only.
Determine the exact location of the vent hood.
Plan the route for venting exhaust to the outdoors.
To maximize the ventilation performance of the
vent system:
1. Minimize the duct run length and number of
transitions and elbows.
2. Maintain a constant duct size.
3. Seal all joints with duct tape to prevent any
leaks.
4. Do not use any type of flexible ducting.
Install a wall cap or roof cap at the exterior
opening. Purchase the wall or roof cap and any
transition and length of duct needed in advance.
When applicable, install any makeup (replacement)
air system in accordance with local building code
requirements.
Recirculation Install Planning
This hood may be installed in recirculation mode
and is shipped in this configuration. The charcoal
filter is necessary for recirculation installation.
This part may need to be ordered separately
depending on model.
Power Supply Planning
The location of the power supply connection is
called out in the Prepare for Electrical and Venting
section on page 15.