49-1000610 Rev. 0 19
INSTALLATION INSTRUCTIONS
PLUMBING - GRAVITY DRAIN (cont)
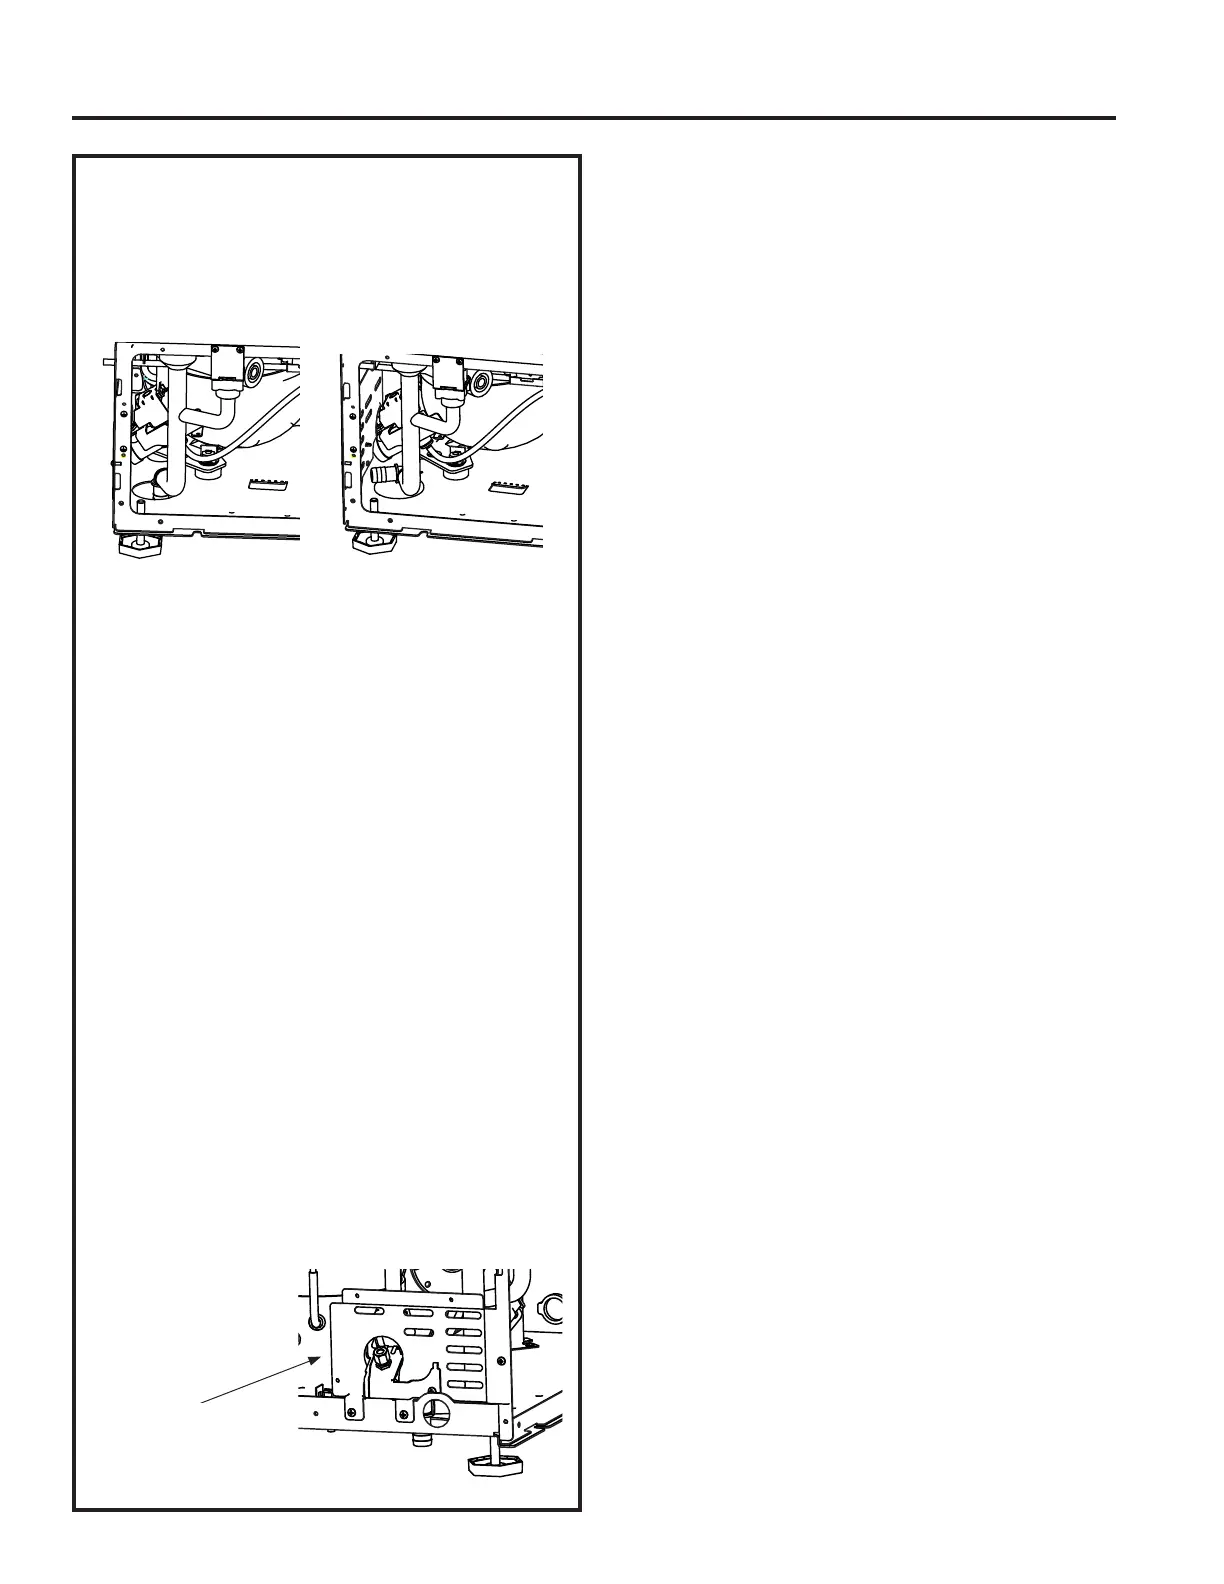
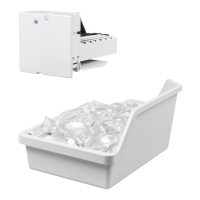
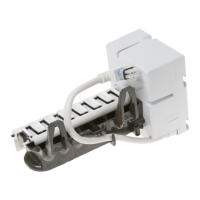
4. Remove the clamp and rotate the barbed elbow
so that it is pointing down toward the hole (see
figure a below). Re-secure the barbed elbow
with the clamp. Take off the plastic cover in the
base pan below the drain hose.
&XWDQSLHFHRI2'[2'W\JRQ
(clear plastic) tubing. Slide one end of the tube
onto the clamp, Leave the other end of the tube
lying on the floor of the base pan until the unit is
positioned over the floor drain.
6. Route the drain tube. Either a) insert the drain
tube through the base pan into the floor drain or
b)) route the drain tube through the hole in the
lower back panel and connect to barbed elbow
and secure with clamp.
IMPORTANT: Make sure to use tubing that cannot
be kinked.
7. Reinstall any panels removed to connect the drain.
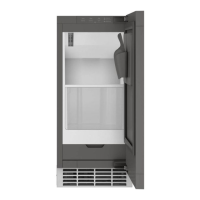
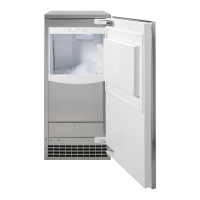
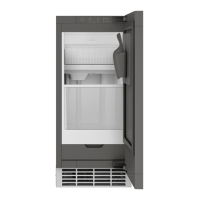
Water Supply
The recommended water supply line is part
number WX08X10006G. and is available at
*($SSOLDQFHSDUWVFRPRUE\FDOOLQJ,Q
Canada visit GEAppliances.ca or call 800.561.3344.
,QVWDOODQHDVLO\DFFHVVLEOHVKXWRIIYDOYHEHWZHHQ
the supply and the unit. This shut- off valve should
not be installed behind the unit.
The water connection is at the back of the cabinet.
When built in: Coil enough tubing behind the
machine so it can be pushed into the cavity without
kinking the tubing.
Connect water
supply here.
Installation Instructions