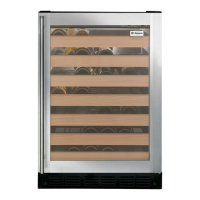
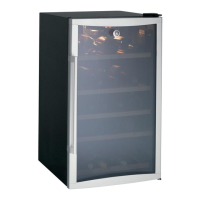
Installation Instructions
12
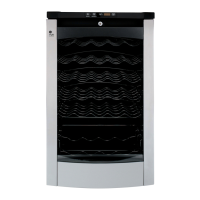
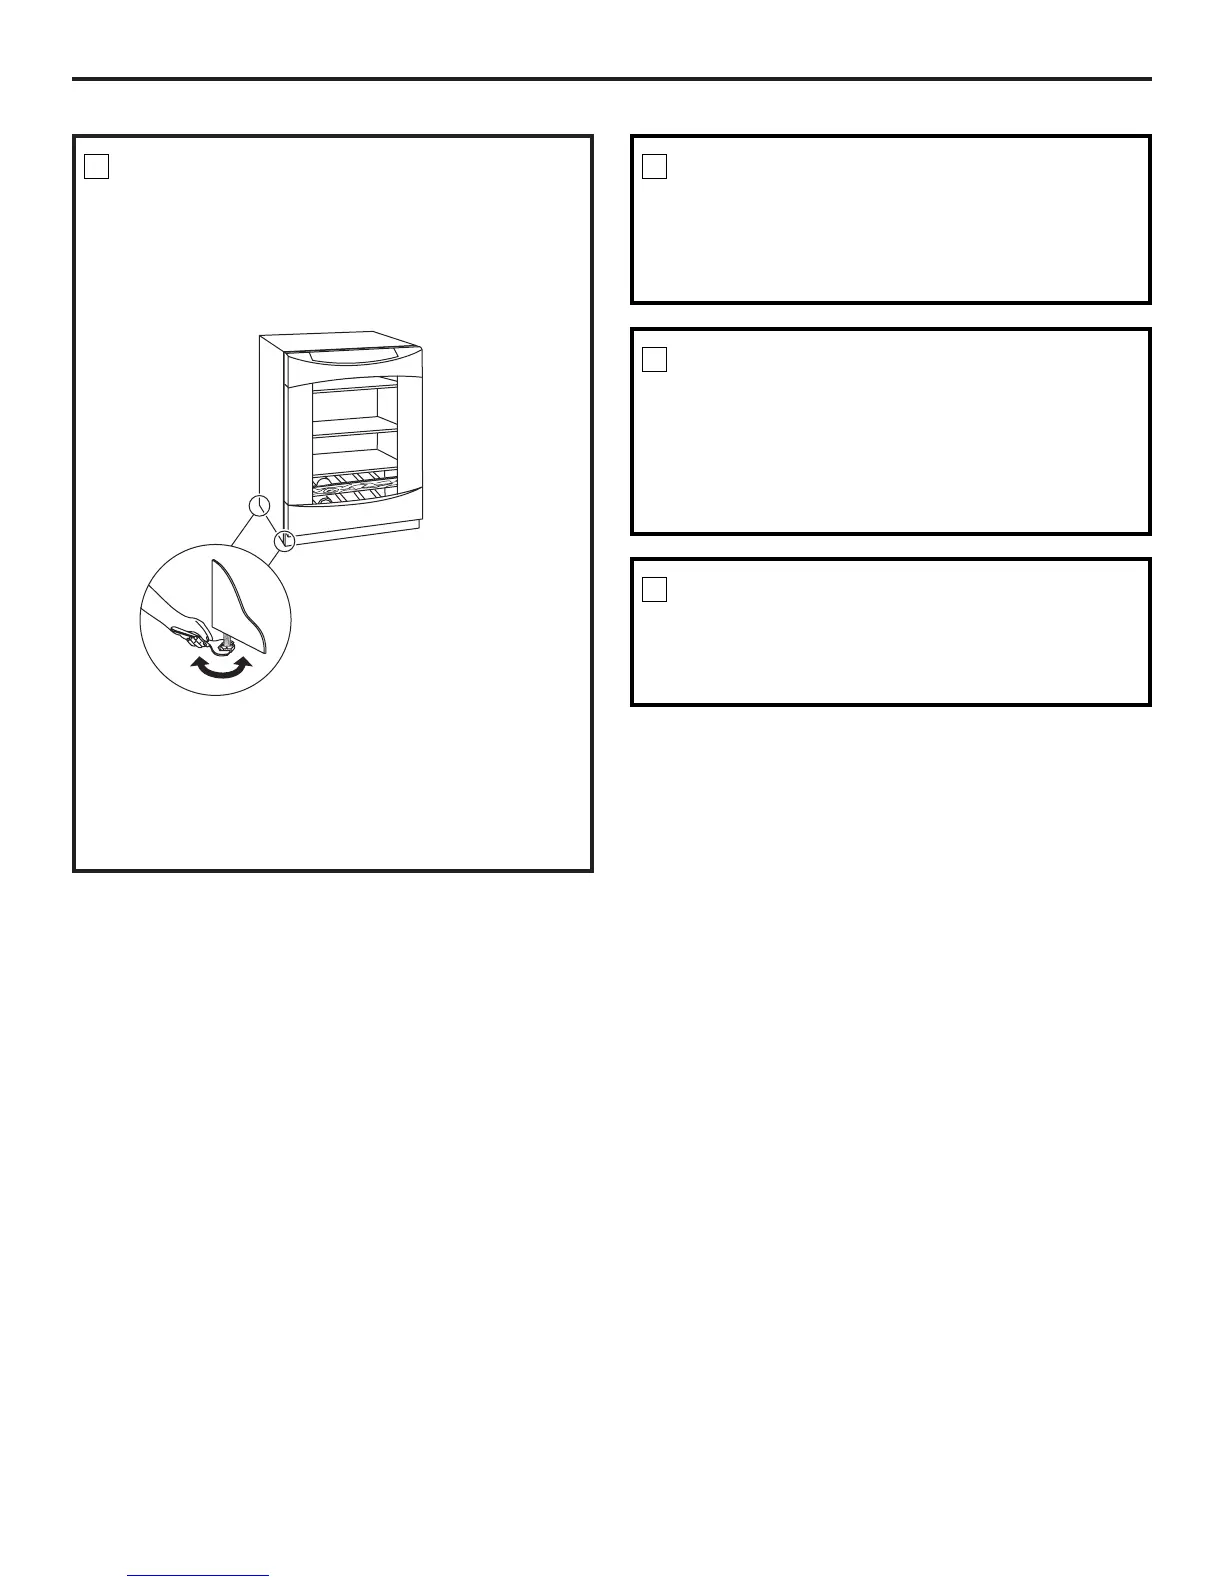
LEVEL
• Use an adjustable wrench to turn the leveling legs and
raise or lower the product.
• Adjust carefully; the product should be level and plumb
with cabinetry, and should align with adjacent toekick
height.
3
If you skipped Step 2:
• Select the hinge cover marked “R” or “L”, depending on
door swing.
• Peel backing off the tape inside the decorative hinge cover.
Press and snap into position.
CONNECT POWER
• Connect power cord plug to a properly grounded
receptacle.
• Make sure power is on by opening the door to see if
interior light turns on.
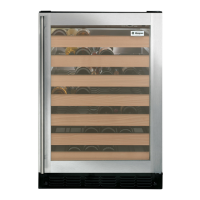
4
SLIDE PRODUCT INTO THE CUTOUT
• Carefully slide the unit into the opening. Be careful not
to entangle power cord.
• Make certain that the door protrudes 1″ beyond the
surrounding cabinets.
• Check again to be sure the unit is level.
5
SET TEMPERATURE CONTROLS
• The temperature controls are preset. Refer to the
Temperature Control section for more information.
Allow 24 hours for temperature to stabilize.
6
 Loading...