1
2
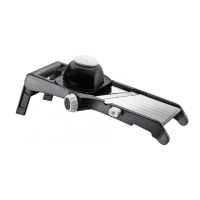
• Wählen Sie an dem Regler (4) die gewünschte Teigstärke. Achten Sie
dabei auf den Markierungspfeil.
• Stufe 1 = Portionieren von einer kleineren Teigmenge möglich.
• Stufe 2 = Portionieren von einer größeren Teigmenge möglich.
• Choose the desired dough thickness on the regulator (4). Pay attention
to the marking arrow.
• Stage 1 = small dough quantity portioning possible.
• Stage 2 = larger dough quantity portioning possible.
• Sélectionnez l’épaisseur de pâte souhaitée avec le bouton (4). Suivez la
flèche de sélection.
• Niveau 1 = Possibilité de portions à partir d’une petite quantité de pâte.
• Niveau 2 = Possibilité de portions à partir d’une grande quantité de pâte.
• Selezionare sul regolatore (4) lo spessore desiderato per l’impasto. Fare
attenzione alla freccia .
• Livello 1 = Possibilità di dividere in porzioni piccole quantità di impasto.
• Livello 2 = Possibilità di dividere in porzioni quantità di impasto
abbondanti.
• A través del regulador, (4) seleccione el espesor de masa deseado. Preste
atención a la flecha que marca la posición.
• Nivel 1 = Permite dosificar una menor cantidad de masa.
• Nivel 2 = Permite dosificar una mayor cantidad de masa.
• Kies aan de regelaar (4) de gewenste deegdikte. Let daarbij op de
markeringspijl.
• Niveau 1 = portioneren van een kleine hoeveelheid deeg mogelijk.
• Niveau 2 = portioneren van een grotere hoeveelheid deeg mogelijk.
• Выбрать на регуляторе (4) желаемую толщину теста. Обратить
внимание на стрелку маркировки.
• Уровень 1 = Возможно меньшее количество теста
• Уровень 2 = Возможно большее количество теста
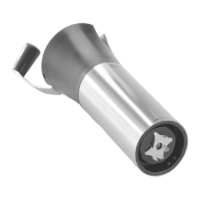
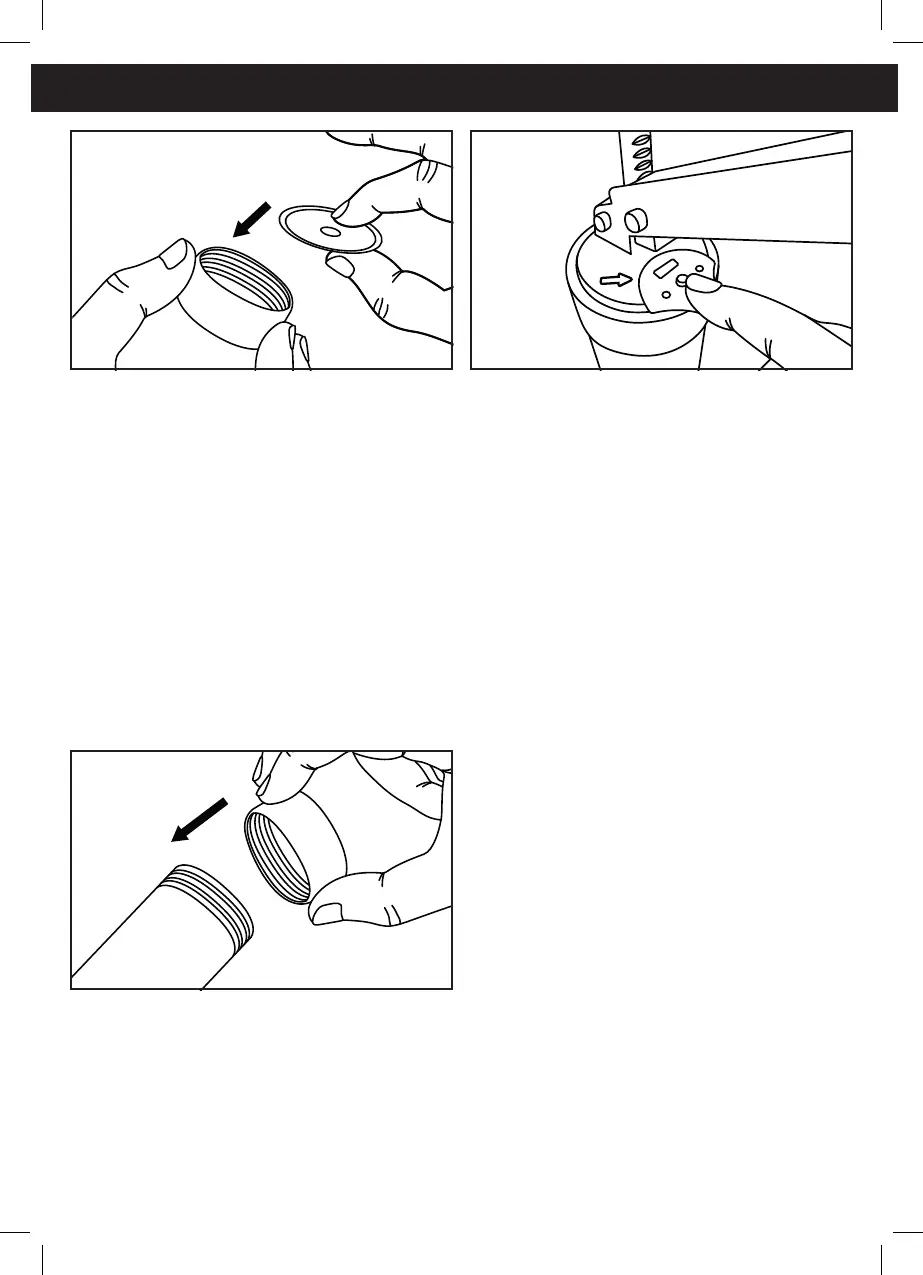
• Schrauben Sie den Verschlussring (7) nun wieder auf den Zylinder (6).
• Screw the closing ring (7) onto the cylinder (6) again now.
• Revissez ensuite la bague de blocage (7) sur le cylindre (6).
• Riavvitare l’anello di chiusura (7) sul cilindro (6).
• Vuelva a enroscar el anillo de cierre (7) sobre el cilindro (6).
• Schroef de sluitring (7) nu weer op de cilinder (6).
• Снова привинтить стопорное кольцо (7) на цилиндр (6).
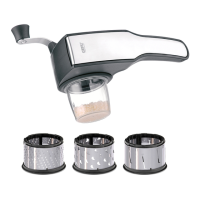
• Setzen Sie die gewünschte Lochscheibe (8) in den Verschlussring (7) ein.
Achten Sie darauf, dass die Wölbung der Lochscheibe (8) nach außen
zeigt.
• Insert the perforated disc (8) you choose into the closing ring (7). Make
sure that the elevation in the perforated disk (8) faces outwards.
• Placez le disque perforé (8) choisi dans la bague de blocage (7). Veillez à
ce que le bombement du disque perforé (8) soit tourné vers l’extérieur.
• Inserire la trafila (8) desiderata nell’anello di chiusura (7). Accertarsi che
la parte concava della trafila (8) sia rivolta verso l’esterno.
• Inserte el disco perforado (8) deseado en el anillo de cierre (7).
Asegúrese de que la curvatura del disco perforado (8) esté orientada
hacia fuera.
• Plaats de gewenste matrijs (8) in de sluitring (7). Let erop dat de welving
van de matrijs (8) naar buiten wijst.
• Вставить нужную решётку (8) в стопорное кольцо (7). Убедиться, что
решётка (8) находится выпуклой стороной наружу.
6
 Loading...