30 / 44
600, 630
Installation - Threaded connections:
1. Screw the threaded connections into
the piping in accordance with valid
standards.
2. Screw the diaphragm valve body into the
piping, use appropriate thread sealant.
The thread sealant is not included in the
scope of delivery.
Installation - Flange connection:
1. Pay attention to clean, undamaged
sealing surfaces on the mating fl anges.
2. Align fl anges carefully before installing
them.
3. Centre the seals accurately.
4. Connect the valve fl ange and the piping
fl ange using appropriate sealing material
and matching bolting. Sealing material
and bolts are not included in the scope
of delivery. Use all fl ange holes.
5. Only use connector elements made of
approved materials!
6. Tighten the bolts diagonally!
Installation - Solvent cement sockets:
CAUTION
Damage to the valve body!
®
Only use solvent cement suitable for
the valve body.
The solvent cement is not included
in the scope of delivery!
1. Apply solvent cement on the inside of
the valve body and on the outside of
the piping as specifi ed by the solvent
cement manufacturer.
2. Connect the valve body to the piping.
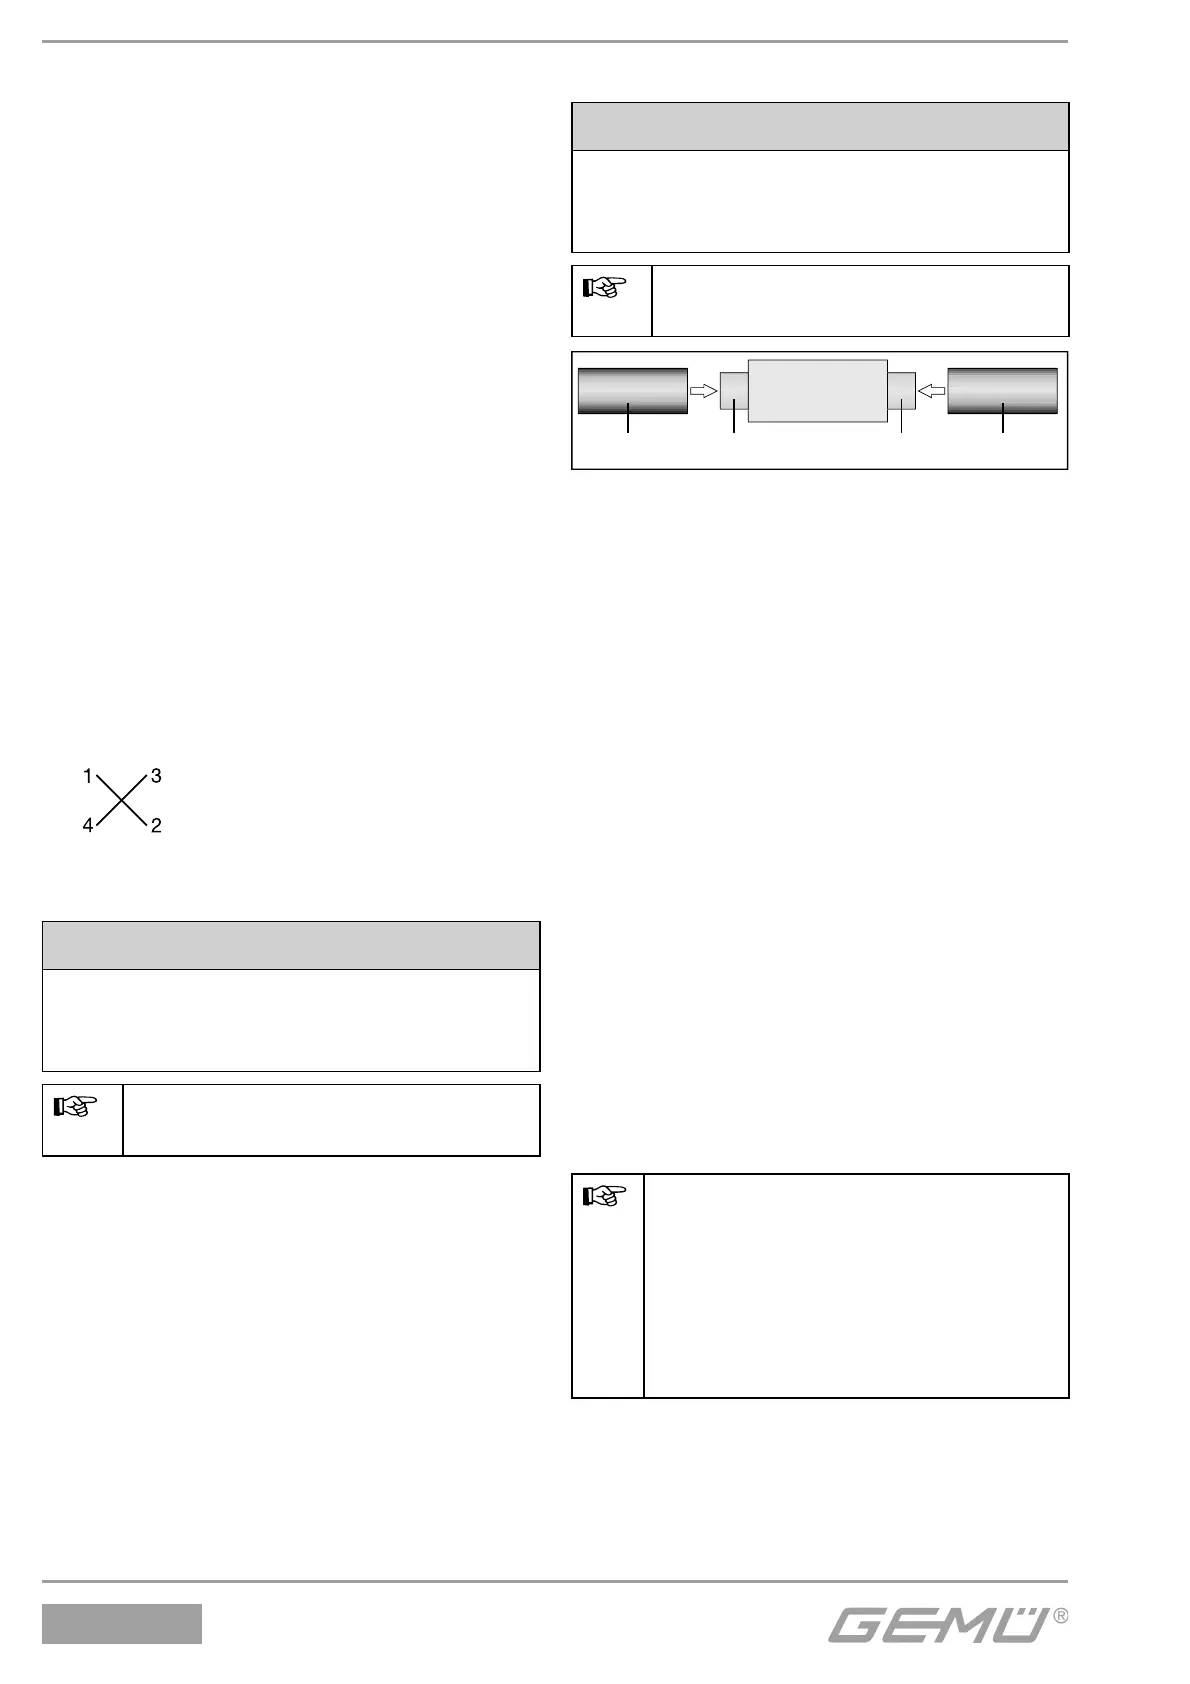
Installation - Solvent cement spigots:
CAUTION
Damage to the valve body!
®
Only use solvent cement suitable for
the valve body.
The solvent cement is not included
in the scope of delivery!
1 212
1. Apply solvent cement on the outside
of the valve body spigots 1 and on
the inside of the piping connector 2
as specifi ed by the solvent cement
manufacturer.
2. Connect the valve body to the piping.
Installation - Flare connection:
1. Also refer to GEMÜ FlareStar
®
brochure
and GEMÜ fl are and assembly
instructions for preparation and
connection of fl are connections!
2. Push the fl ared PFA tube onto the fl are
connection.
3. Screw on union nut.
4. Use connection fi ttings resistant to and
suitable for the ambient conditions.
Observe appropriate regulations for
connections!
After the installation:
Important:
Diaphragms degrade in the course
of time. After valve installation
and commissioning you must
retighten the bolts 18 (see chapter
20 "Sectional drawings and spare
parts").
G
Reactivate all safety and protective
devices.