


M
Matthew RobertsAug 20, 2025
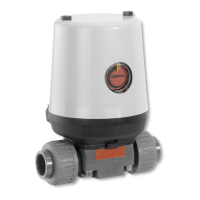
Why is my GEM 550 product leaking downstream?
- PPatrick ReedAug 20, 2025
If your GEM Control Unit product is leaking downstream, it might be due to several reasons: the operating pressure could be too high (operate the product with operating pressure specified in datasheet); there might be foreign matter between the seat seal and seat (remove the actuator, remove any foreign matter, and check the seat seal for damage, replacing it if necessary); the valve body may be damaged (check the valve body for damage and replace the valve if needed); the seat seal could be faulty (check the seat seal for damage and replace it if necessary); or the actuator spring might be faulty (replace the actuator).