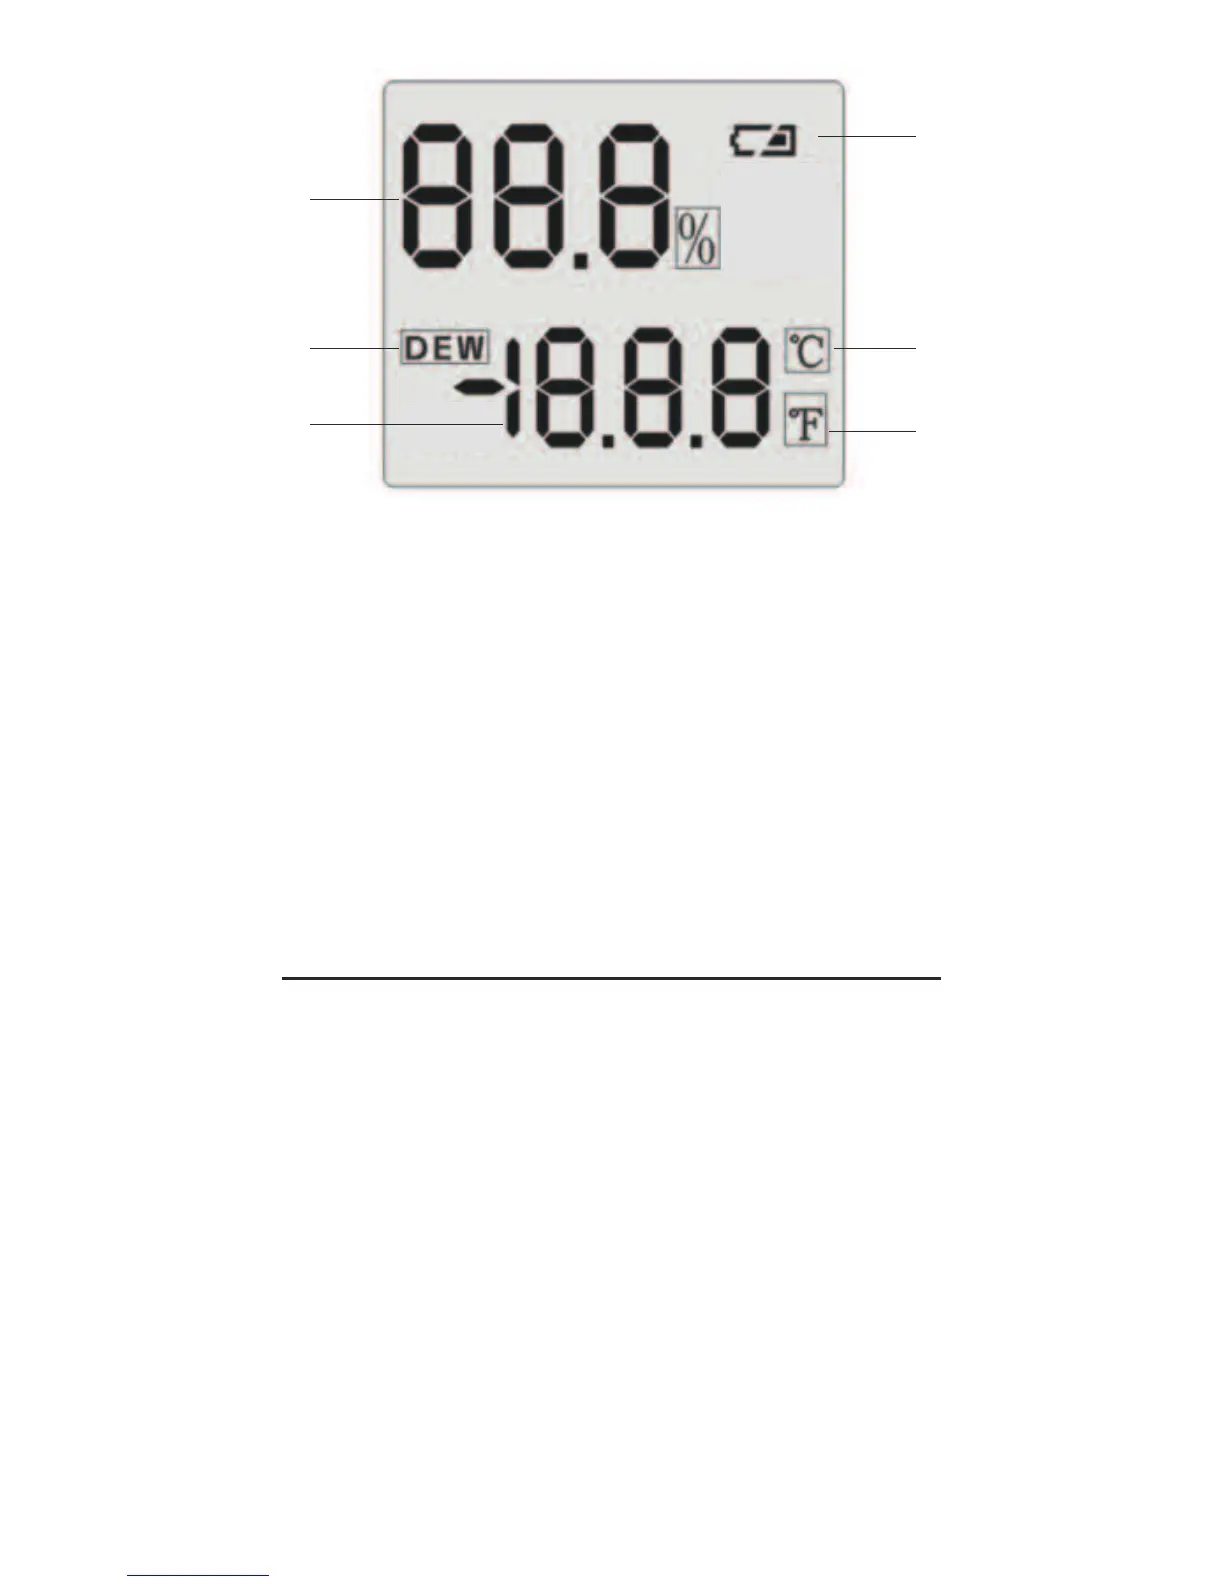
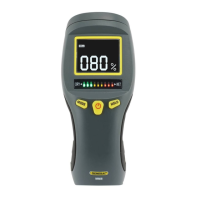
Fig. 2. All possible display indications and
their meanings
A. Low battery icon
B. °C indicator
C. °F indicator
D. Temperature readout
E. Dew point temperature indicator
F. Relative humidity (RH) readout
SETUP INSTRUCTIONS
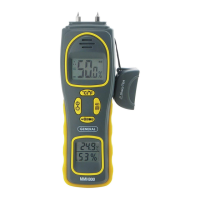
INSTALL BATTERY
1. The meter’s battery compartment (Fig. 1,
Callout E) is accessible from the bottom
of the unit. Use a Phillips-head
screwdriver to loosen the single screw in
the back of the unit that holds the yellow
battery compartment cover in place. Set
the cover and screw aside.
6