OPERATING INSTRUCTIONS
DEPLOY THE UNIT
The HT08
08
08
08
is particularly easy to deploy on a job site because
the unit does not need to be plugged into a computer to be
activated (ready to start logging data). Working together, the
MODE button and the pair of two-color LEDs (Fig. 1, Callouts
F and C) serve as the control and indicators needed to: 1)
start and stop data logging and 2) verify and change the unit’s
working status.
That leaves only two things to be sure of when choosing a
place to deploy the HT :
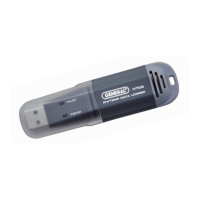
• The temperature and humidity sensor window
(Fig. 1, Callout A) is not covered
• The humidity and temperature values at the unit’s
location are “representative” of the room
The HT —with its protective cap on—can be deployed
either by laying it on a horizontal surface or by hanging it
vertically within the inc
luded plastic mounting bracket. The
back of the bracket features both a magnet and a hanger
hole.
Once you have deployed the HT , you can initiate data
logging. To start data logging, press and hold the MODE
button for at least 3 seconds. Both LEDs will flash green
twice to confirm that logging has begun.
STOP LOGGING AND IMPORT LOGS
To stop data logging, press and hold the MODE button for at
least 3 seconds
. Both LEDs will flash red 2 or 3 times to
confirm that logging has stopped.
13